Amigurumi Sea Otter – Crochet Pattern
You’ll find no OTTER crochet pattern as fun, easy, and fluffy as this amigurumi Sea Otter! It works up so quickly and uses only a few basic stitches, and it truly resembles one of the sea’s cutest creatures when finished. Plus, it’s just the right size to use as a stuffed toy or decoration!
Why a Sea Otter? Well, much like my Amigurumi Polar Bear, this little critter was made for the World Amigurumi Exhibition by RESOBOX. The theme of the exhibition this year is endangered species, so artists from all over the world have been asked to crochet creatures in their area of the world that are endangered/vulnerable.
When trying to choose some species from the list to crochet for the exhibit, I came across the Sea Otter. My heart instantly melted when I saw the photo – sea otters are so unbelievably cute, and it’s sad to think that their population is dwindling! To find out more and to learn how you can help, please see the IUCN Red List of Threatened Species!
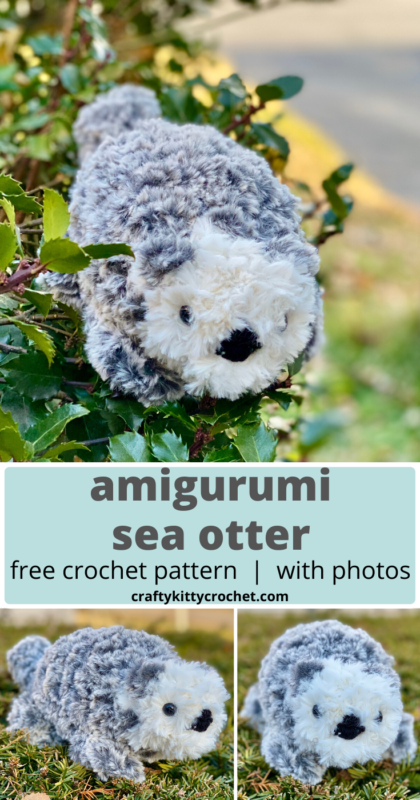
Pin it for later!
Another similarity to my Polar Bear pattern is the type of yarn I used. You guessed it – this jumbo fluffy yarn is Go For Faux Thick & Quick by Lion Brand! I used Baked Alaska again for the face (on Amazon HERE!), and used Mink (on Amazon HERE
!) for the majority of the otter. The colors worked really well and I love the soft, cuddly texture!
This amigurumi otter is so versatile – it’s just the right size for a toy, but it would also look great as decor! If you have someone in your family or friends circle who loves sea otters, or just cute fluffy animals in general, then this would be the perfect gift!
So what are we waiting for? Let’s get started on a little crocheted sea otter that you are sure to love like no OTTER! Okay, okay, I’ll stop with the puns once we start the pattern!
Supplies
Size Q / 15 mm crochet hook
Size H/8 5.00 mm crochet hook
1 skein each of Lion Brand Go For Faux Thick & Quick in Baked Alaska, Mink
Small amounts of Lion Brand Vanna’s Choice in Black for Nose
1 pair of 12 mm safety eyes
Fiberfill stuffing
Yarn Needle with large eye
Scissors
Abbreviations
Ch = chain
Rnd(s) = round(s)
Sc = single crochet
Sc2tog = single crochet 2 together
Sl St = slip stitch
St(s) = stitch(es)
Gauge
Exact gauge is not essential to this project.
Size
About 12 inches length (including tail)
Notes
1 skein of Mink will be enough only if ends for sewing are very short; if you are a fairly loose crocheter or need more than a few inches to sew on the Paws, you may want to purchase an additional skein of Mink to be safe.
Instructions
Head/Body
(This piece is worked in continuous rnds; do not join. You may wish to use a stitch marker and move it up at the beginning of each new round.)
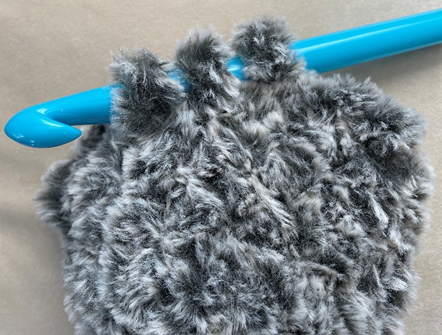
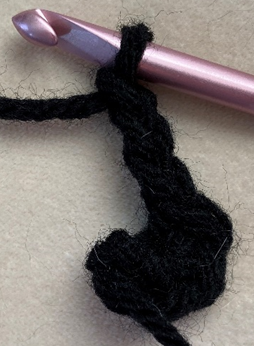
Rnd 1 – With Baked Alaska and Q hook, ch 2. 6 sc in first ch. (6 sc)
Rnd 2 – Sc in each st around. Change to Mink in last st. (6 sc)
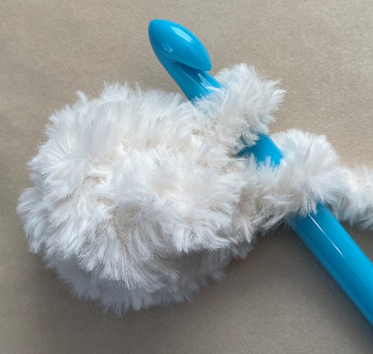
Rnd 3 – sc in each st around. Attach safety eyes near Rnd 1. (6 sc)
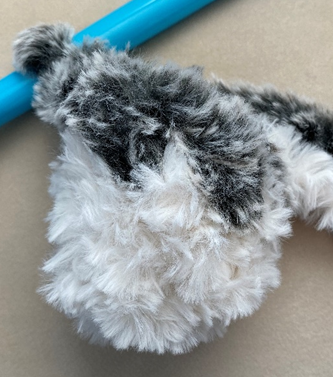
Rnd 4 – 2 sc in each st around. (12 sc)
Rnds 5 – 8 – sc in each st around. Begin stuffing (12 sc per rnd)
Rnd 9 – sc2tog in each st around. (6 sc)
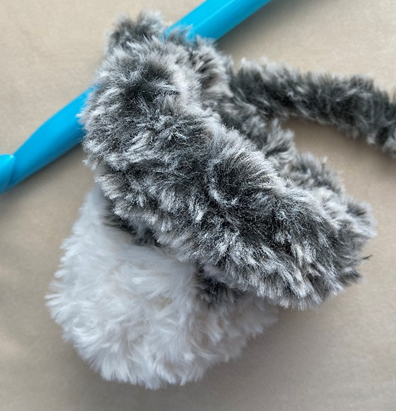
Rnd 10 – sc in each st around. (6 sc)
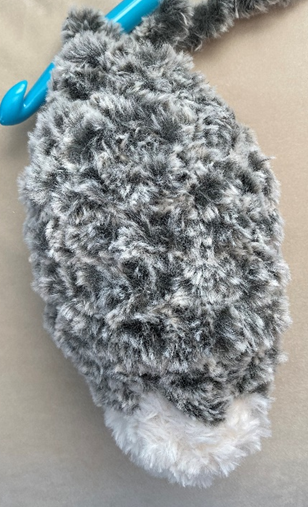
Rnd 11 – sc2tog in each st around. (3 sc)
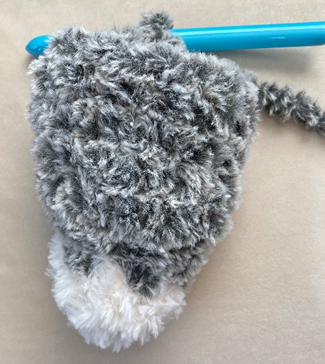
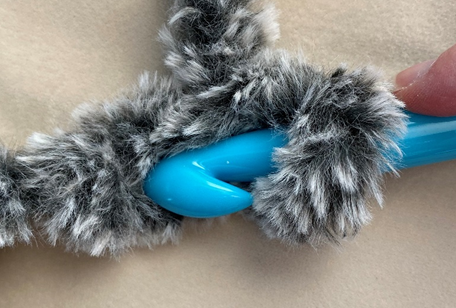
Rnds 12 – 14 – sc in each st around. Finish stuffing. Press tail flat and sl st into st across from you to close tail. (3 sc per rnd)
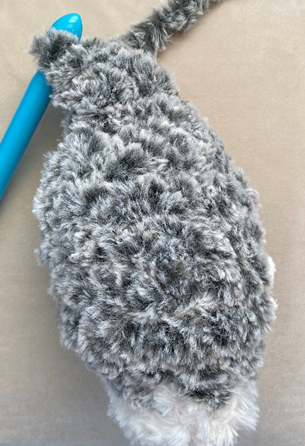
Fasten off.
Paw (make 4)
With Mink and Q hook, ch 2. 2 sc in first ch. (2 sc)
Fasten off, leaving tail of a few inches for sewing.
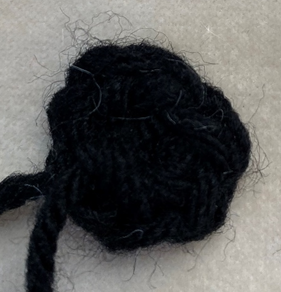
Nose
Rnd 1 – With Black and H hook, make a magic ring. 5 sc in the ring. Ch 3, sl st to first sc of rnd. (5 sc)
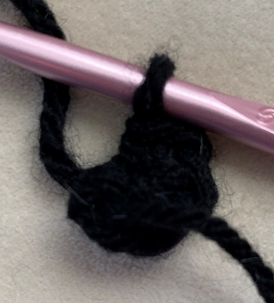
Fasten off, leaving long tail for sewing.
Finishing
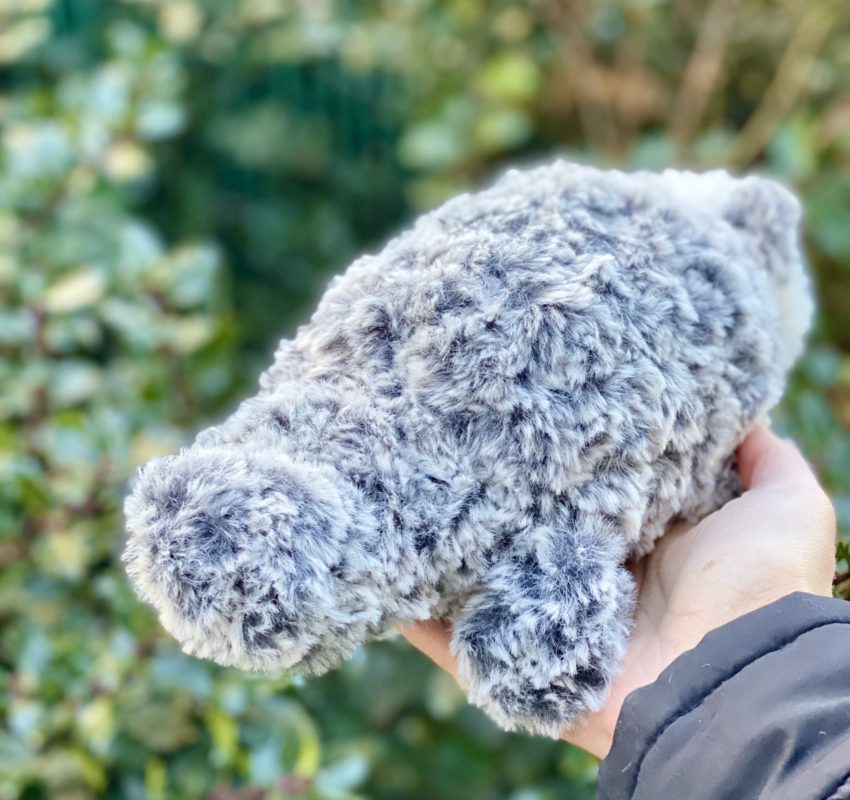
Sew Paws lengthwise to bottom of Body.
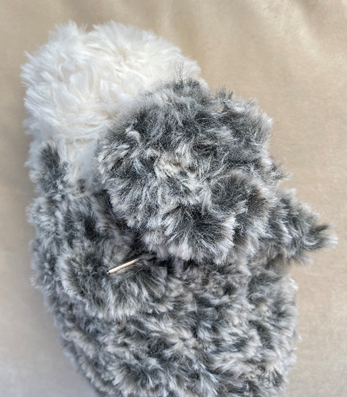
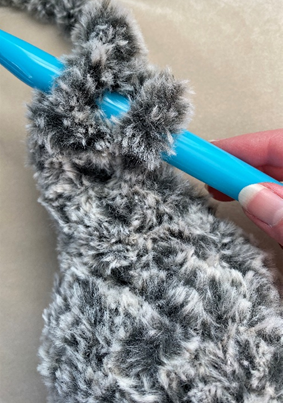
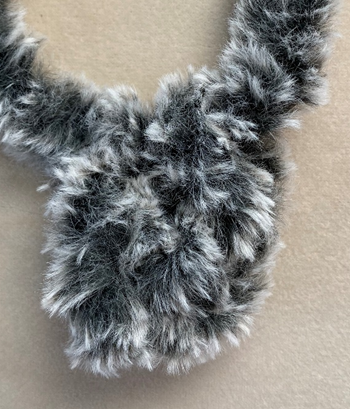
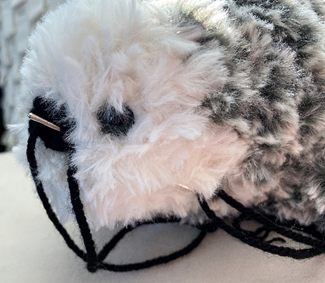
With ends of Mink, sew small peaks on either side of Head for Ears (sew through as if you were sewing a regular st, but do not pull all the way through in order to create the peak.)
Sew Nose between and slightly below Eyes. Weave in all ends or tie off and hide knots in sts.
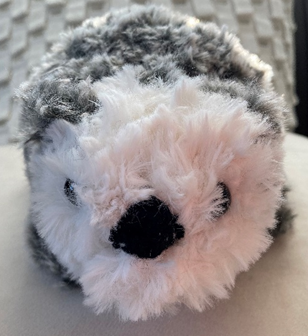
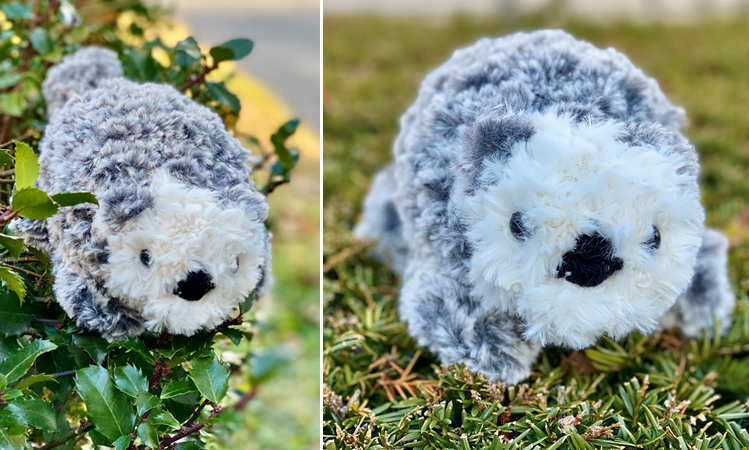
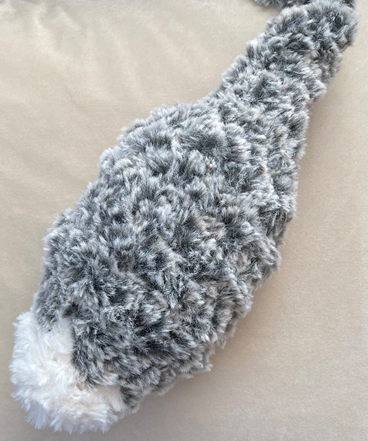
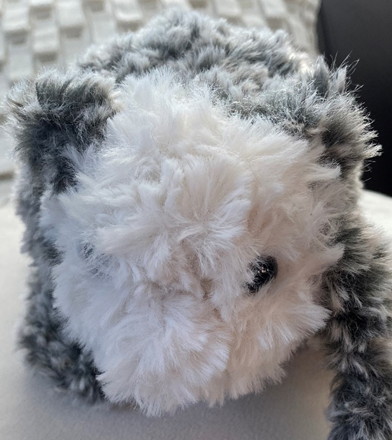
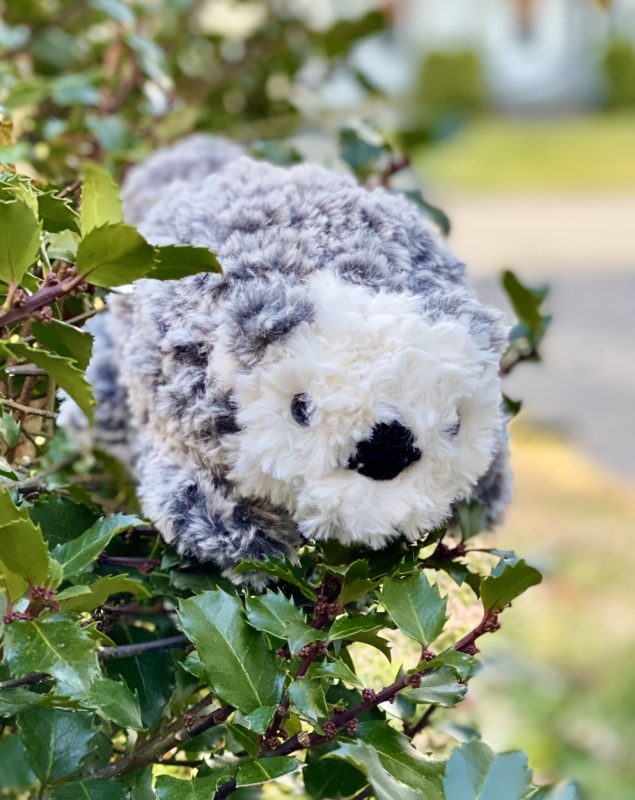
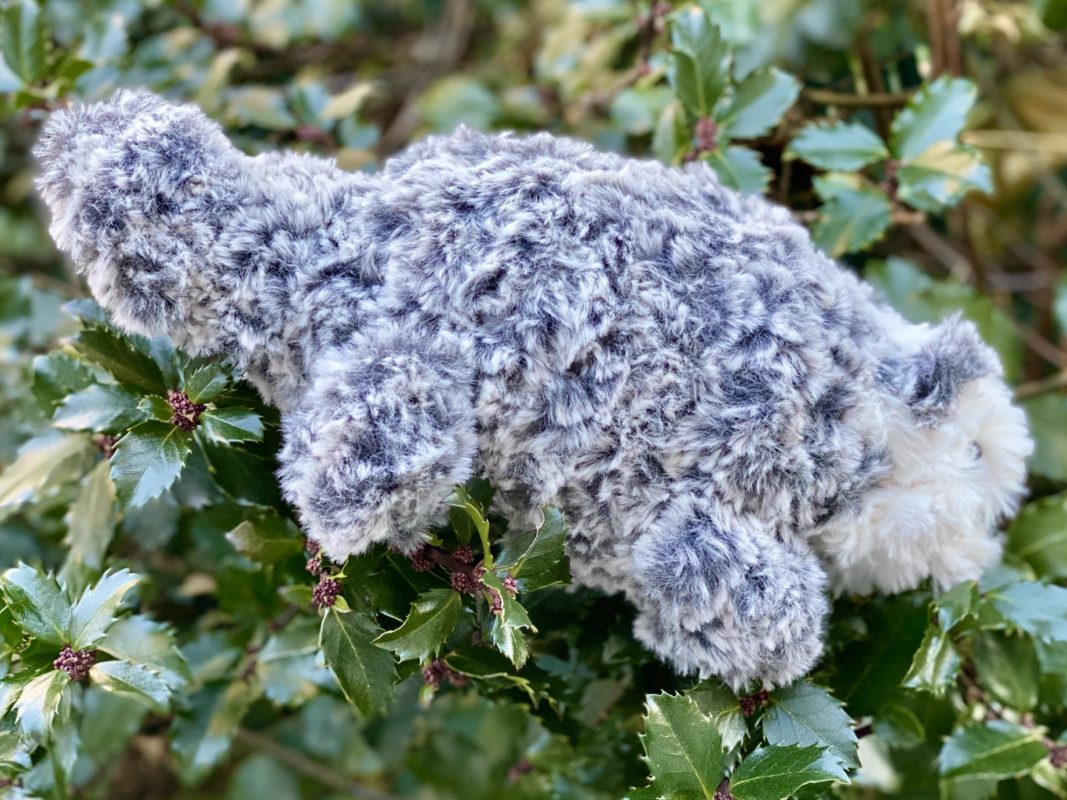
Here is the finished Sea Otter!
I hope you had fun crocheting this Sea Otter along with me! If you love fun, free patterns, please be sure to subscribe to my email list and follow me on social media. I have lots more fun patterns like this one coming soon!
Happy Crocheting!
COPYRIGHT: This pattern is owned by Crafty Kitty Crochet (Melissa Moore). Any reselling or distribution of this pattern is prohibited. Sale of items made using this pattern is welcomed, but I do ask that credit/a link be provided back to my site, craftykittycrochet.com.