
Amigurumi Polar Bear – Crochet Pattern
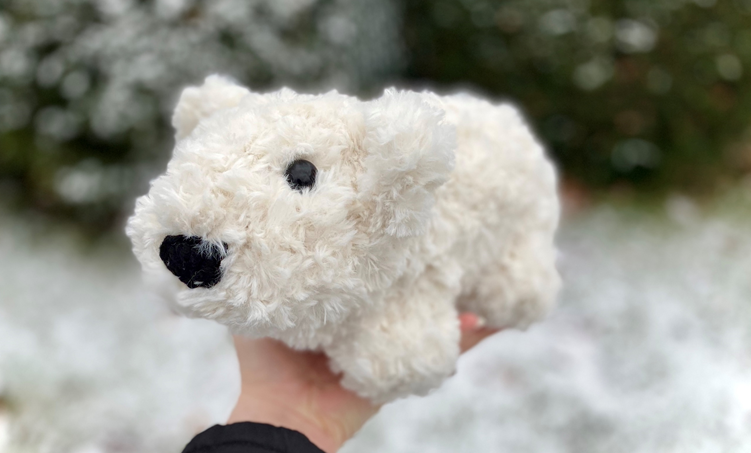
This polar bear crochet pattern is full of frosty fun and is easy to make! Using super chunky faux fur yarn, this polar bear works up with just a few basic crochet stitches, and the head/body take only 12 rounds to work up!!! If you’re looking for a cute, cuddly, and fast amigurumi that you can give to just about anyone on your holiday gift list, then look no further! This is one DIY project that will save you plenty of time for all the other things on your to-do list during this busy season!
So what was my reasoning behind designing this polar bear? My main reason was that I am lucky to participate in this year’s World Amigurumi Exhibition hosted by RESOBOX, a Japanese cultural center in New York City. You may remember me writing about amigurumi originating in Japan in some of my other blog posts. RESOBOX decided to start showcasing handmade amigurumi items from artists all over the world a few years ago, and I’ve been incredibly fortunate to be accepted as one of those artists for a few of those years!
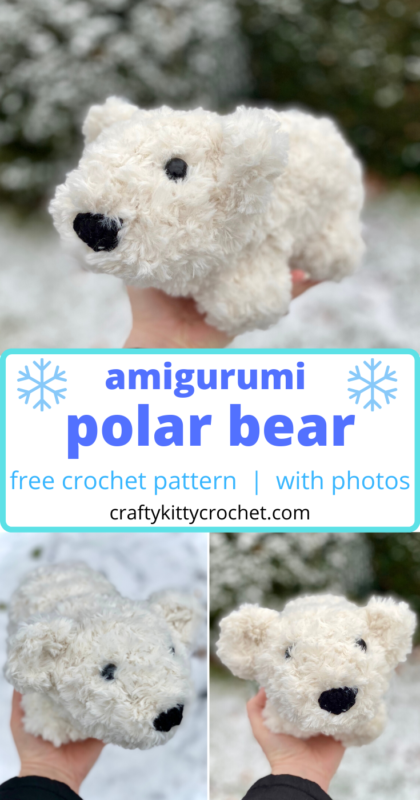
Pin it for later!
This year, the theme of the Exhibit is Endangered Species. Each artist is submitting at least one handmade amigurumi version of a creature that appears on the IUCN Red List of Threatened Species. To learn more about these species, and how you can help, visit their website here!
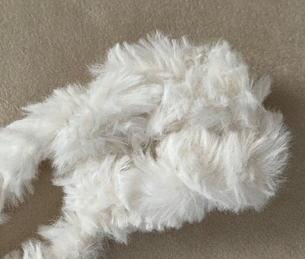
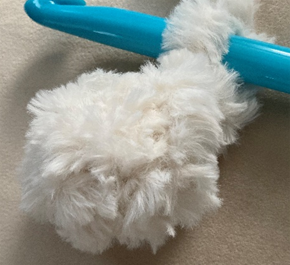
I chose a few animals from the list (stay tuned, you may see another one pop up down the road here on my blog!) and the Polar Bear was one of them. I knew right away that I should use this as an opportunity to use Lion Brand’s new Go For Faux in the perfect Polar Bear shade: “Baked Alaska” (on Amazon HERE!). The yarn is a dream to work with – it’s so fluffy and soft, but it’s also not hard at all to make stitches with. It’s just a giant piece of yarn covered in the floofiest fluff you can imagine – so you use it just like you’d use regular yarn. Plus, it’s absolutely enormous so projects work up FAST! This whole Polar Bear was a 1-2 hour project, tops.
And speaking of how large the yarn is, I thought I’d point out that with very little effort, this Polar Bear works up to a perfect stuffed toy size! I typically lean towards smaller amigurumi pieces, but in this case, I didn’t have to choose between cuddly-toy-size and the amount of time the project would take to finish!
So there you have it – this Polar Bear is not only a super easy and ridiculously adorable crochet project that you can crochet for so many friends and family this holiday season…but it’s also part of a very important initiative to raise awareness for endangered species!
So who’s ready to have a blizzard of fun with this pattern? There’s SNOW way you should miss it! Let’s get started!
Supplies
Size Q / 15 mm crochet hook
Size F-5 / 3.75 mm crochet hook
2 skeins of Lion Brand Go For Faux Thick & Quick in Baked Alaska
Small amount of Lion Brand Vanna’s Choice in Black for Nose
Fiberfill stuffing
1 pair 15 mm safety eyes
Yarn Needle with Large Eye
Abbreviations
Beg = beginning
Ch = chain
Dc = double crochet
Rem = remaining
Rnd(s) = round(s)
Sc = single crochet
Sc2tog = single crochet 2 together
Sl St = slip stitch
St(s) = stitch(es)
Gauge
Exact gauge is not essential to this project.
Size
About 13 inches from head to tail
Notes
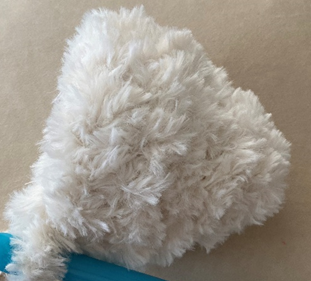
Head/Body are worked up from the front going back; the first few rounds make up the snout, then the head, etc.
Instructions
Head/Body
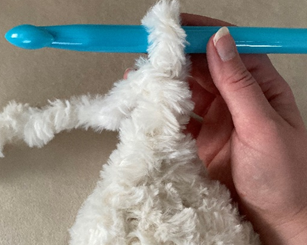
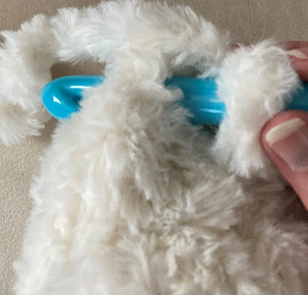
This piece is worked in continuous rnds; do not join. You may wish to use a stitch marker and move it up at the beginning of each new rnd.
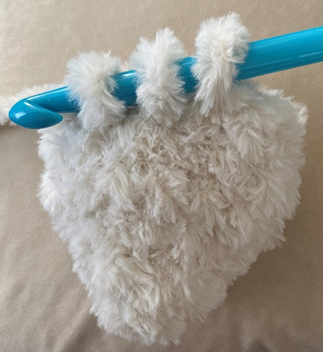
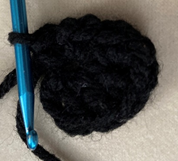
Rnd 1 – Ch 2, 6 sc in 2nd ch from hook. (6 sc)
Rnd 2 – sc in each st around. (6 sc)
Rnd 3 – 2 sc in each st around. (12 sc)
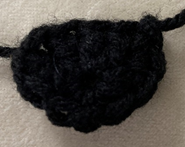
Rnds 4 – 5 – sc in each st around. (12 sc per rnd)

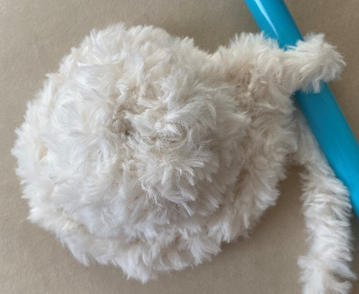
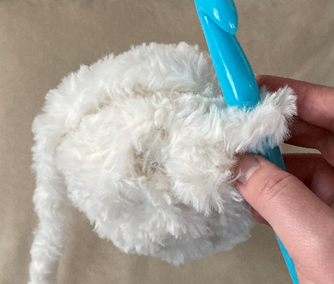
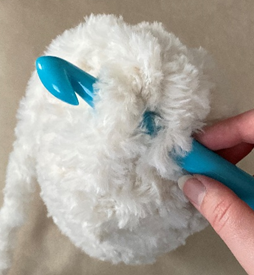
Rnd 6 – sc in next 8 sts. Sc2tog twice. Attach safety eyes on portion of Head above snout. (10 sc)
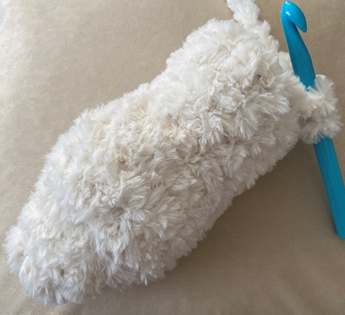
Rnds 7 – 11 – sc in each st around. Stuff piece (10 sc per rnd)
Rnd 12 – sc2tog in each st around. Sc in st across from your hook at end of rnd, ch 2. Sl st back into same st (tail made). Fasten off (5 sc)
Ear (make 2)
Ch 2.
Row 1 – In 2nd ch from hook, make 2 sc. (2 sc)
Fasten off, leaving tail of a few inches for sewing.
Back Leg (make 2)
This piece is worked in continuous rnds; do not join. You may wish to use a stitch marker and move it up at the beginning of each new rnd.
Ch 2.
Rnd 1 – In 2nd ch from hook, make 3 sc. (3 sc)
Rnd 2 – sc in each st around. (3 sc)
Fasten off, leaving tail of a few inches for sewing.
Front Leg (make 2)
This piece is worked in continuous rnds; do not join. You may wish to use a stitch marker and move it up at the beginning of each new rnd.
Ch 2.
Rnd 1 – In 2nd ch from hook, make 3 sc. (3 sc)
Rnds 2 – 3 – sc in each st around. (3 sc per rnd)
Fasten off, leaving tail of a few inches for sewing.
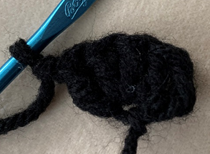
Nose
With Black and F hook, ch 3.
Rnd 1 – 4 dc in 3rd ch from hook. Ch 1 (4 dc)
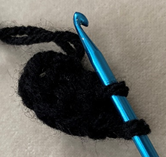
Rnd 2 – Working down the side of the Nose (around posts of dc sts from Rnd 1), sc around first dc post; [sc, ch 1, sc] in first ch from Rnd 1 to make bottom “point” of nose; 2 sc up other side (around dc post); join with sl st to first dc.
Fasten off, leaving long tail for sewing.
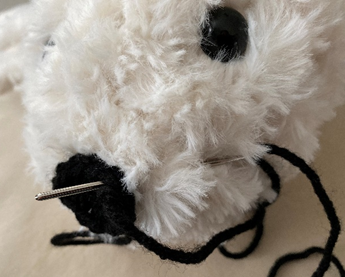
Finishing
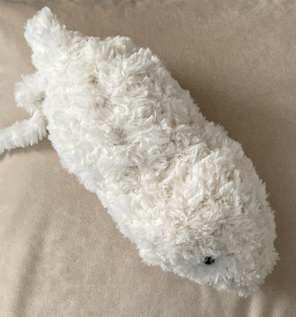
Sew Nose to Head. Stuff and sew Front and Back Legs to bottom of Body. Sew Ears to Head.
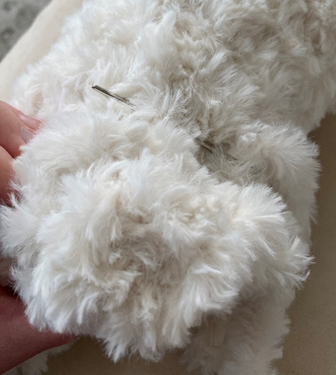
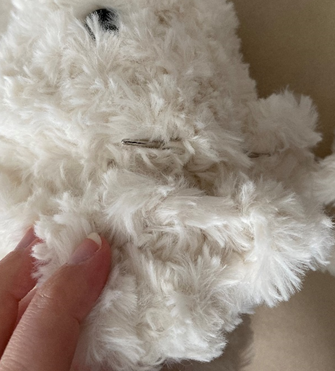
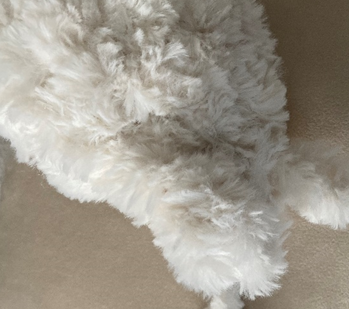
You may wish to use yarn ends from sewing to close any rem gaps in sts; due to large hook/yarn size, there may be significant gaps in areas of Legs (near beg ch-2) and other parts. Weave in ends or tie off knots and hide inside sts.
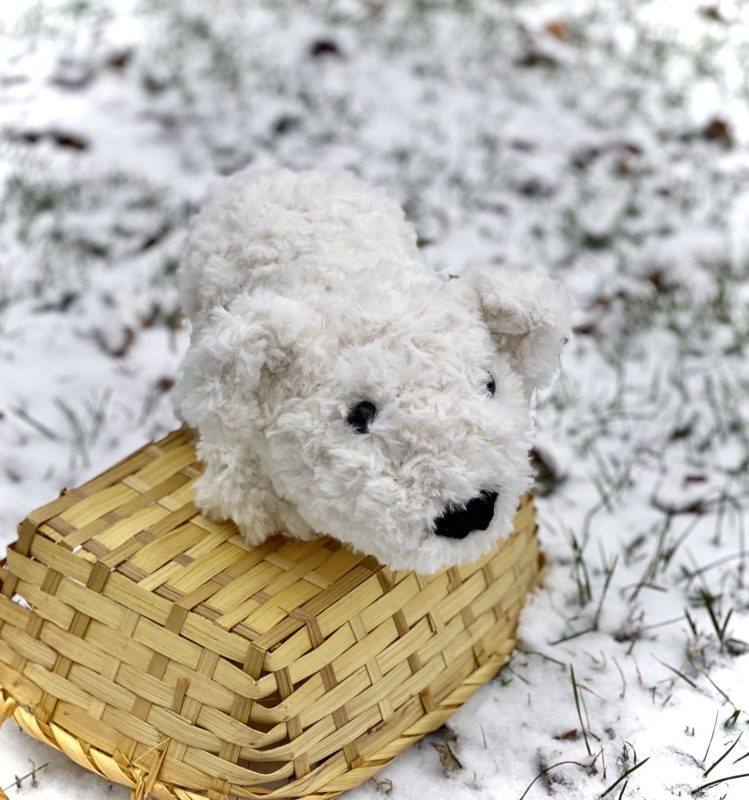
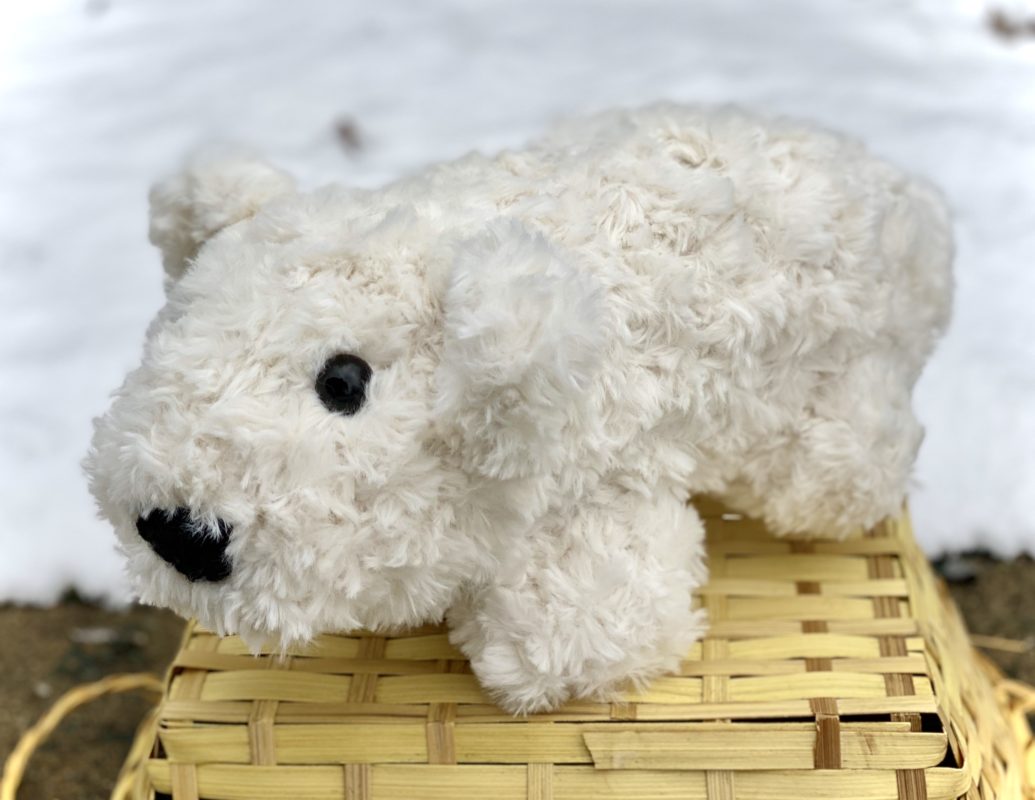
Here is the finished Polar Bear!!!

I hope you enjoyed crocheting this Polar Bear along with me today! If you love fun, free patterns, then please be sure to subscribe to my email list and follow me on social media – I have many more patterns like this one coming soon!
Happy Crocheting!
COPYRIGHT: This pattern is owned by Crafty Kitty Crochet (Melissa Moore). Any reselling or distribution of this pattern is prohibited. Sale of items made using this pattern is welcomed, but I do ask that credit/a link be provided back to my site, craftykittycrochet.com.
Comments (2)
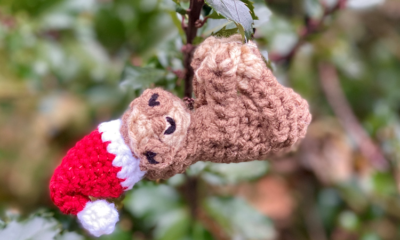
Amigurumi Sea Otter – Crochet Pattern – Crafty Kitty Crochet
December 9, 2019 at 8:23 pm
[…] a Sea Otter? Well, much like my Amigurumi Polar Bear, this little critter was made for the World Amigurumi Exhibition by RESOBOX. The theme of the […]
Cute Amigurumi Polar Bear Free Pattern Ideas – Carolinamontoni.com
November 29, 2022 at 1:31 pm
[…] Get Pattern […]