
12 Weeks of Christmas: Winter Wonderland Wreath Photo Frame Ornament
As we quickly approach the most wonderful time of the year, you may find yourself looking for some fun, fast, and easy DIY holiday projects for gifts and decor. Well look no further – this wreath photo frame ornament works up quickly, looks great on the tree, and is an adorable customizable Christmas gift! What a great gift it would make for anyone on your gift list, but especially if they are celebrating a fun milestone this year, like a wedding, new baby, etc. Or how about the perfect gift for grandparents – a handmade ornament with a family photo inside? The possibilities are endless!
Since the pattern is easy and doesn’t require much yarn, you can make a whole bunch of these little photo frame ornaments just while relaxing on the couch and enjoying your favorite holiday shows and movies! And that also means that you can work them up easily between all the errands you’re running this season. The ornament is fun and stress-free, and looks so pretty when it’s finished!
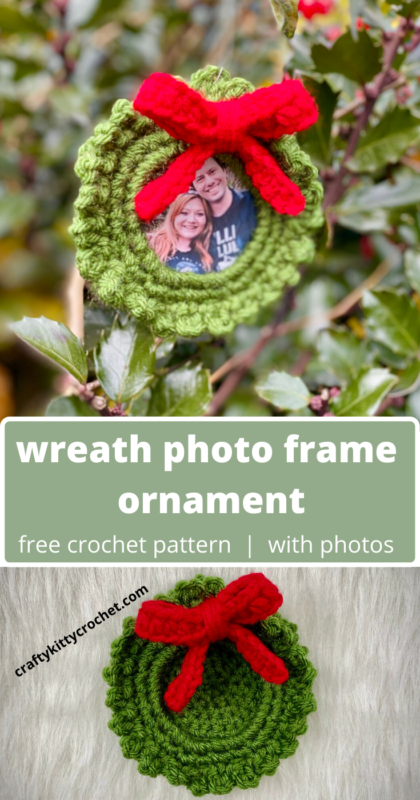
(Don’t forget to pin it for later!)
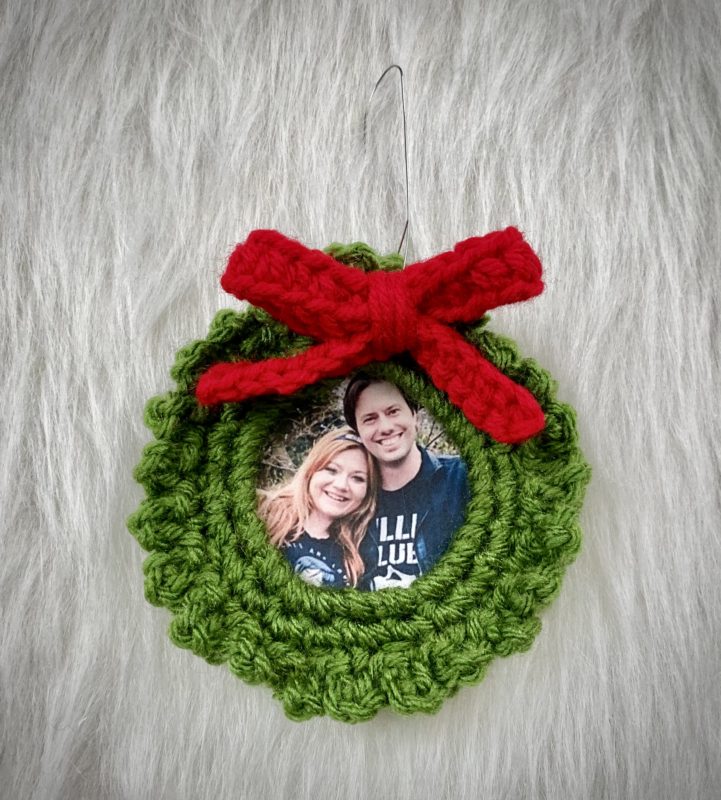
Fun fact: the photo I used in my Wreath Ornament you see here is a picture of my husband and me at the Studio Ghibli museum in Tokyo! You can read more about our trip to Tokyo in my Cherry Blossom Hat Crochet Pattern post HERE!
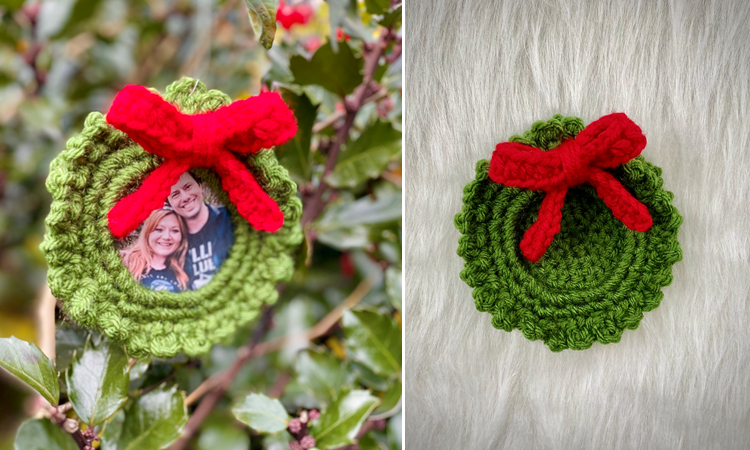
You may be wondering what yarns produced the fun, vibrant colored wreath you see in the photo. Well, good news! It’s one you see a lot here on my blog – Lion Brand Vanna’s Choice! Kelly Green (on Amazon HERE) is a rich, medium shade of green; it’s a great evergreen color without being too dark. Scarlet (on Amazon HERE
) is a deep, holly berry red that is perfect for making holiday-themed bows! Together they make a cute looking traditional wreath with ease.
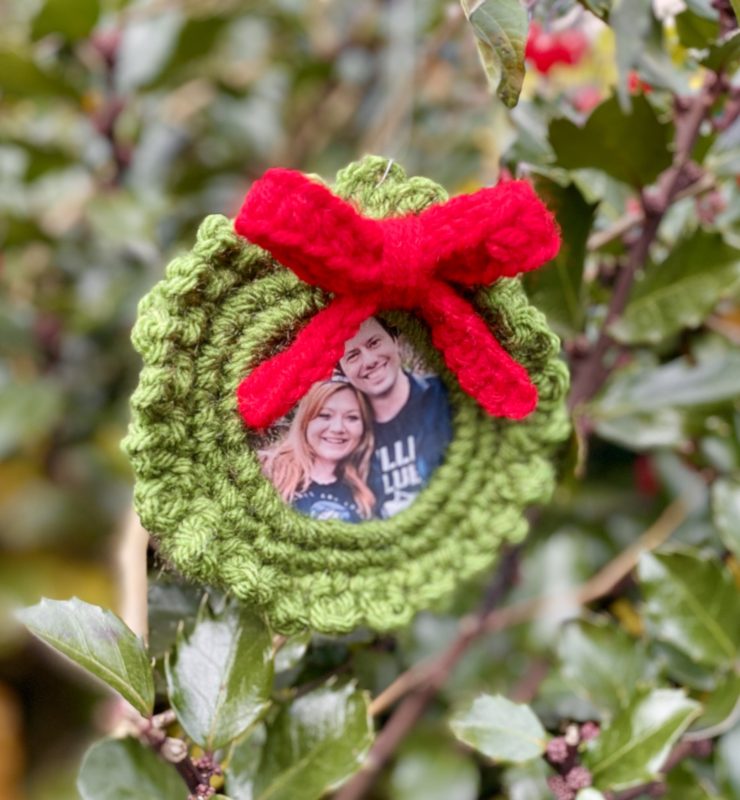
In addition to being great gift ideas, these ornaments are perfect for your very own tree, too! What better way to preserve fun memories during the holiday season than to decorate your tree with them? And with this pattern, they’re framed in the most festive way possible!
So who’s ready to spread some crocheted Christmas cheer? I know I am – let’s get started!
Supplies
Size D-3 / 3.25 mm crochet hook
1 skein of Lion Brand Vanna’s Choice in:
- Kelly Green
- Scarlet
Yarn Needle
Scissors
Metal Ornament Hook
Abbreviations
*= indicates beginning/end of a section to be repeated
Ch = chain
Hdc = half double crochet
Sc = single crochet
Sl St = slip stitch
St(s) = stitch(es)
Rep = repeat
Rnd(s) = round(s)
Gauge
Exact gauge is not essential to this project.
Size
About 12 inch circumference (photo frame: about 5.5 inch circumference)
Instructions
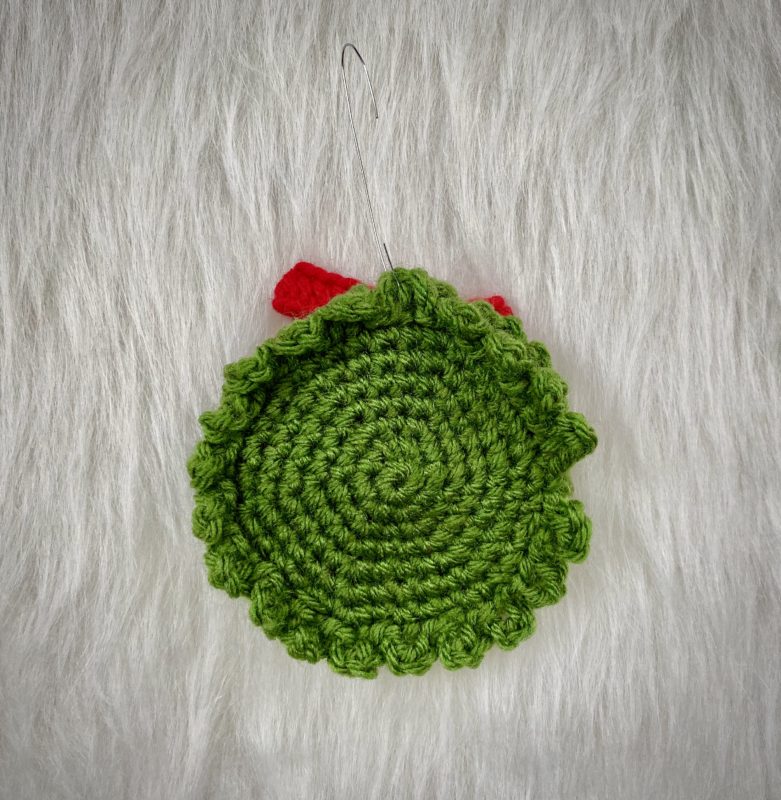
Wreath Front
With Kelly Green, ch 20. Join with sl st to first ch, being careful not to twist piece.
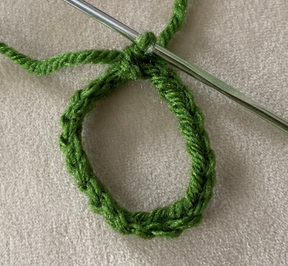
Rnd 1 – ch 1, 25 sc around entire ring made from beg ch. (25 sc)
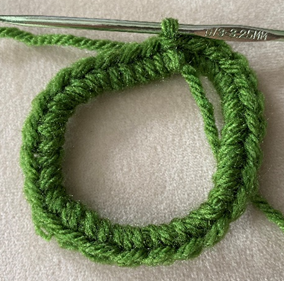
Rnd 2 – ch 1, 2 sc in each st around. (50 sc)

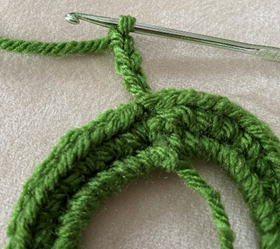
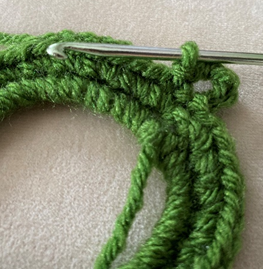
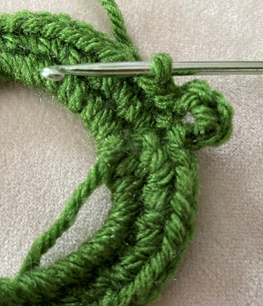
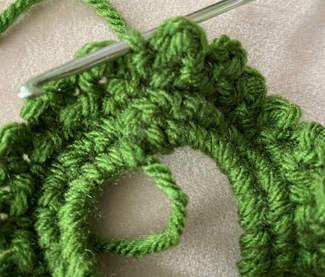
Rnd 3 – *ch 4, sl st in next st, sl st in next st. (branch made).* Rep from * to * 23 more times. Ch 4, sl st in next st. (Piece will appear slightly curled; this can be helped by stretching piece, and it will also be resolved by sewing to flat Wreath Back during Finishing.) (25 branches)
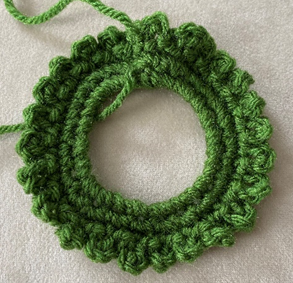
Fasten off, weave in all ends.
Wreath Back
This piece is worked in continuous rnds; do not join. You may wish to use a stitch marker and move it up at the beginning of each new rnd.
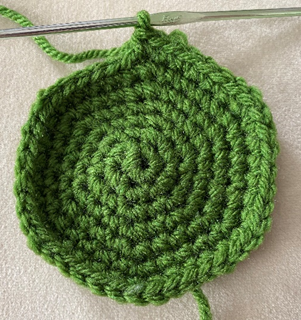
Rnd 1 – With Kelly Green, make a magic ring. 6 sc in ring (6 sc)
Rnd 2 – 2 sc in each st around. (12 sc)
Rnd 3 – 2 sc in next st, sc in next st; rep around (18 sc)
Rnd 4 – 2 sc in next st, sc in next 2 sts; rep around (24 sc)
Rnd 5 – 2 sc in next st, sc in next 3 sts; rep around (30 sc)
Rnd 6 – 2 sc in next st, sc in next 4 sts; rep around (36 sc)
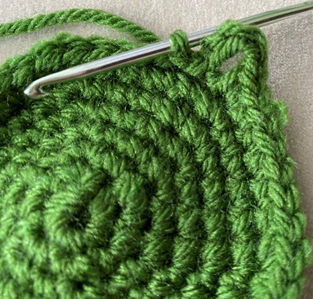
Rnd 7 – 2 sc in next st, sc in next 5 sts; rep around (42 sc)
Rnd 8 – *ch 4, sl st in next st, sl st in next st (branch made).* Rep from * to * 20 more times. (21 branches)
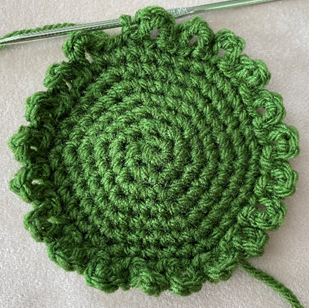
Fasten off, leaving long tail for sewing.
Bow Top
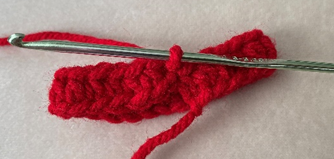
With Scarlet, ch 26.
Row 1 – hdc in 2nd ch from hook, and in each st across. Join with sl st to first hdc. (25 hdc)
Fasten off, weave in ends.
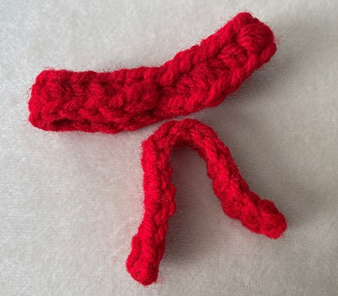
Bow Bottom
With Scarlet, ch 16.
Row 1 – sc in 2nd ch from hook, and in each st across.
Fasten off, weave in ends.
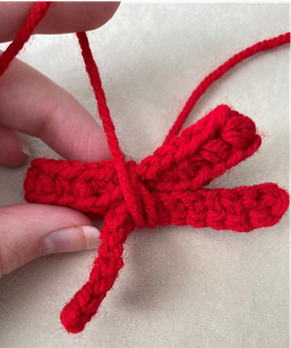
Finishing
Cut a long strip of Scarlet and use it to wrap around center of Bow Top and Bottom. Tie off on back of Bow. Cut one end of tie, but leave the other for sewing to Wreath Front.
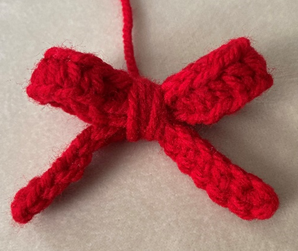
Sew Bow to Wreath Front.
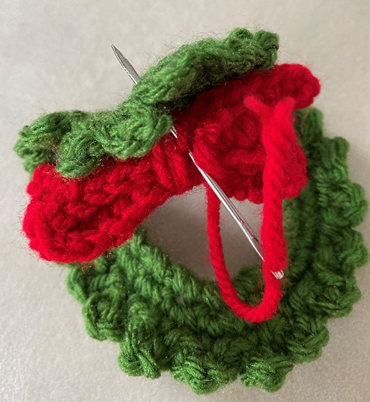
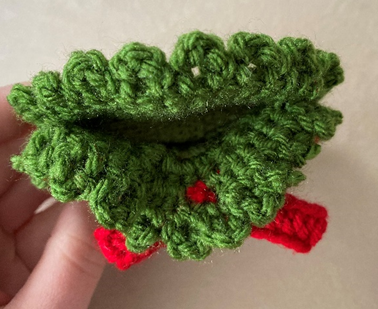
Using long tail left over from Wreath Back, with wrong sides facing together, sew Wreath Front and Wreath Back together through Rnd 1 of Wreath Front and Rnd 7 of Wreath Back, leaving a small space at top for inserting photo.
Weave in all ends. Attach Ornament Hook through top branches of Wreath Front and Back for hanging, and for sealing top gap closed once photo is inserted.

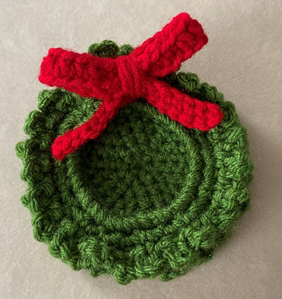
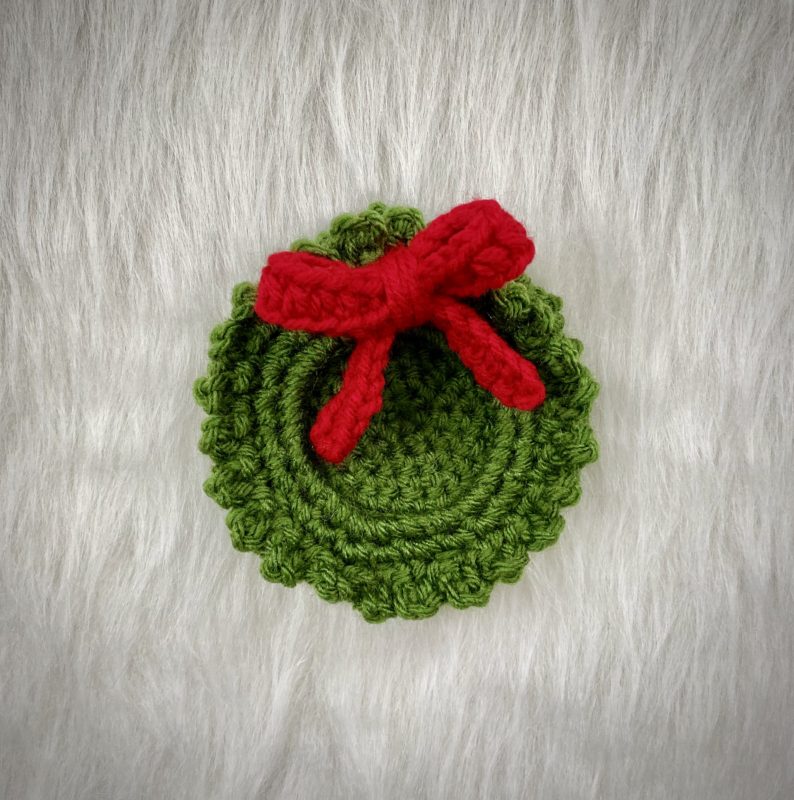
Here is the finished Wreath Ornament!
I hope you enjoyed crocheting this ornament along with me! If you love fun, fast, and free patterns like this one, please be sure to subscribe to my email list and follow me on social media. I have lots more patterns like this one coming soon to my blog!
Happy Crocheting!
COPYRIGHT: This pattern is owned by Crafty Kitty Crochet (Melissa Moore). Any reselling or distribution of this pattern is prohibited. Sale of items made using this pattern is welcomed, but I do ask that credit/a link be provided back to my site, craftykittycrochet.com.
Comments (4)
Pamela J Custer
November 14, 2021 at 3:19 pm
Thank you for this quick and easy pattern. Starting today I am going to make a few to hand out to neighbors. Then with your permission and putting your site craftykittycrochet.com on the card I would like to start selling. This is the perfect area for these kinds of gifts. We have all sorts of festivals and the like. I will be able to help you get your website to people in a tri-state community. Thanks again. Pam. My website is not active yet, but I did add it for you.
Melissa
November 14, 2021 at 3:23 pm
Hi Pam!! I’m so happy to hear this! Glad you love the pattern and you absolutely have my blessing to sell as many as you’d like (and I hope you sell tons!!!)! Thanks for asking! I’m sure your neighbors and all your customers will cherish them. Also that’s awesome that you’re putting my site on the card, I really appreciate that! Your area sounds awesome, love the idea of so many festivals!!! I truly appreciate you being so supportive of my designs and again, hope you sell tons of your wreaths!!! I’ll bookmark your site so I can keep up with all the cool stuff you’re making once it’s live 🙂 Thanks again!!! ~ Melissa
barb
December 13, 2024 at 1:19 pm
can you send me a printable version please
Melissa
December 28, 2024 at 5:30 pm
Hi Barb, you can find printable versions of my patterns on my Etsy store! craftykittycrochet.etsy.com