

Tokyo Lights Backpack Crochet Pattern
Pin it for later!
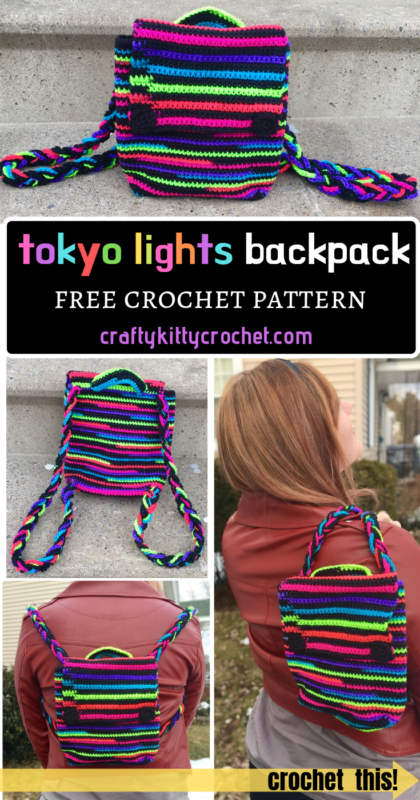
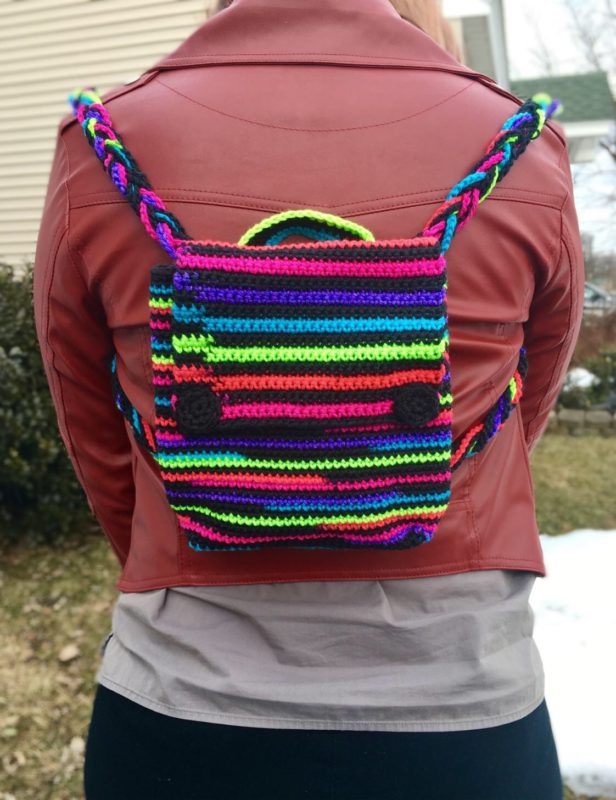
This backpack was made for traveling in style! It’s easy to make and beginner friendly, and it’s cute and functional for school, work, and daily use! Customize your backpack by using multi-colored yarn or a fashionable solid color of your choice. This is an adorable and fun DIY purse / handbag alternative for kids and adults alike!
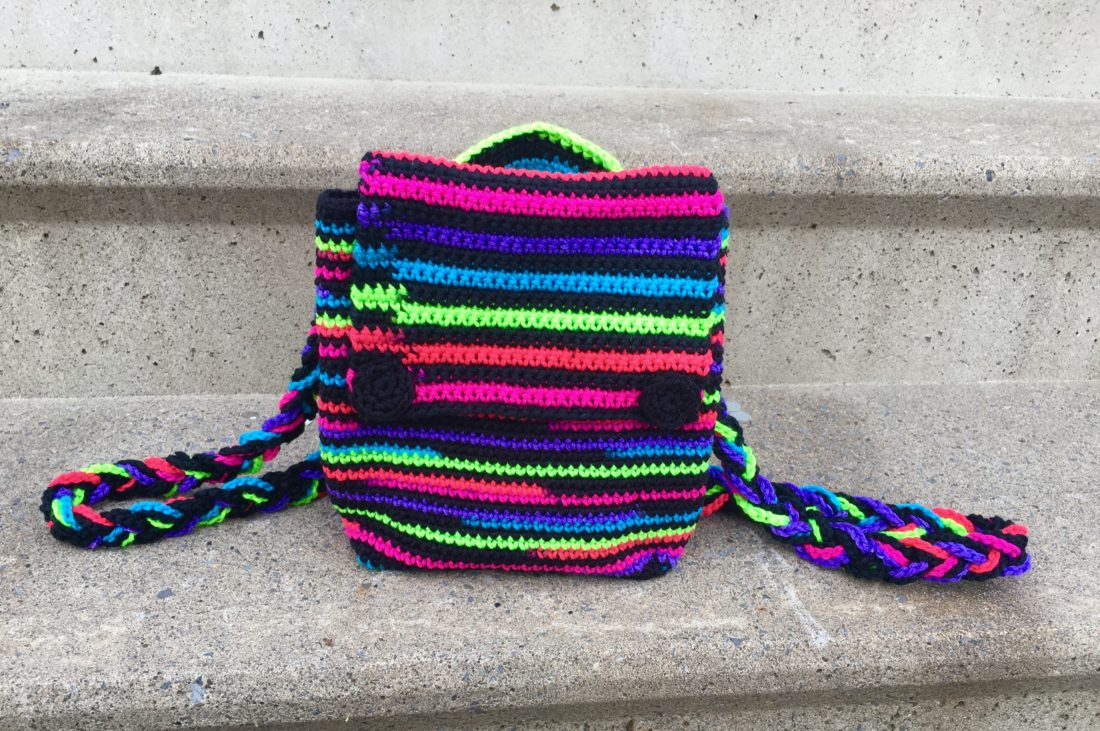
Tokyo Lights Backpack
The backpack is fun, easy, and fairly quick to work up. It only uses the chain and single crochet stitches, making it a very beginner-friendly project! The tight stitching produces a very sturdy fabric, and the braided straps don’t stretch as easily as crocheted ones do. (This way, you don’t have to worry that your straps will be twice as long as they should be after the backpack has been in use for a while!) The pattern even includes instructions for optional pockets that can be made and sewn inside the backpack, so that you can keep your belongings safely organized while adventuring to wherever your journey may take you – Tokyo, or anywhere else!
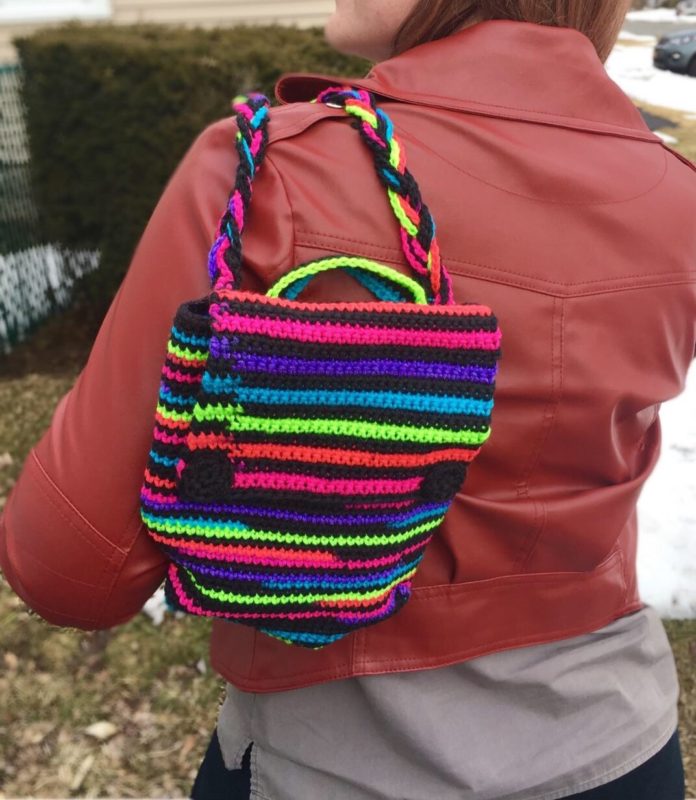
On top of that, this backpack has some very special meaning behind it – it’s specifically designed to look like the neon lights that shine in the city of Tokyo, Japan – a city I will be visiting this spring! Can you imagine how excited an anime / manga / J-Pop / tokusatsu / Hibachi / sushi / ramen nut like myself is to go visit Japan?! In case you can’t, consider this backpack my way of channeling all of that excitement into one project! Not only was it inspired by the buildings in Tokyo, but I also plan on carrying this very backpack around with me while touring all of the amazing spots I’m visiting!
To capture the look of the bright lights this backpack is based on, I chose Red Heart Super Saver in Neon Stripes. Not only is the yarn very aptly named for a project like this, but the yarn has a great low-pilling texture and medium weight that works really well for this backpack. To top it off, the neon colored stripes throughout are VERY bright – almost to the point that you’d think they would glow in the dark! (They don’t, but they’re still pretty bright!) Find this awesome yarn on Amazon HERE!
Ready to take off with this project? Then let’s get started!
Supplies
E-4 / 3.5 mm crochet hook
2 skeins of Red Heart Super Saver in Neon Stripes
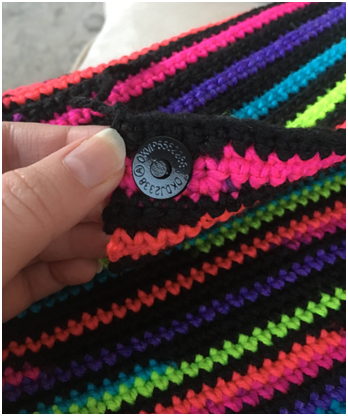
Magnetic purse snaps by Everything Mary – these purse snaps were so easy to install and they work PERFECTLY! Find them on Amazon HERE!
Yarn needle
Scissors
Abbreviations
*= indicates the beginning / end of a section to be repeated
Ch = chain
Sc = single crochet
Rep – repeat
Rnd = round
Gauge
Exact gauge is not essential to this project.
Size
Approximately 8 inches wide, 9 inches tall, and 2.5 inches deep
Instructions
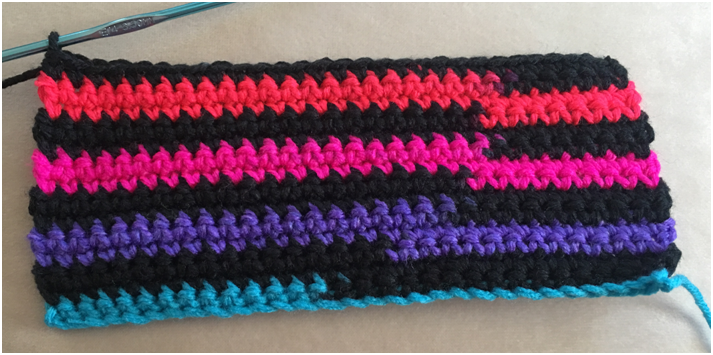
Bottom of backpack
Ch 30.
Row 1 – Sc in each ch across. Ch 1, turn (29 sc)
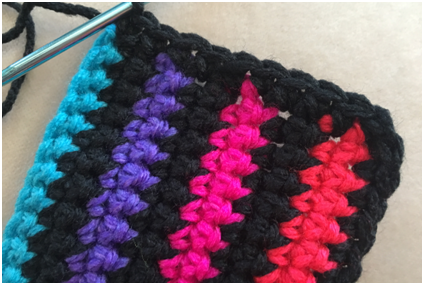
Rows 2 – 14 Sc in each st across. Ch 1, turn. Do not fasten off (29 sc per row)
Body of backpack
(This section is worked in continuous rnds; do not join. You may wish to use a stitch marker and move it up at the beginning of each rnd.)
Rnd 1 – Working around bottom of backpack, sc in each st around – 10 sc down first side, 29 across bottom edge, 10 up other side, and 29 across top edge (78 sc)
Rnds 2 – 40 – Sc in each st around (78 sc per rnd)
Fasten off.

Flap
Ch 31.
Row 1 – Sc in each ch across. Ch 1, turn (30 sc)
Rows 2 – 30 – Sc in each st across. Ch 1, turn. Do not ch 1 at end of row 30. (30 sc per row)
Fasten off, leaving long tail for sewing.
Handle
Ch 21.
Row 1 – Sc in each ch across. Ch 1, turn (20 sc)
Rows 2 – 5 – Sc in each st across. Ch 1, turn. Do not Ch 1 at end of Row 5. (20 sc per row)
Fasten off, leaving a long tail for sewing.
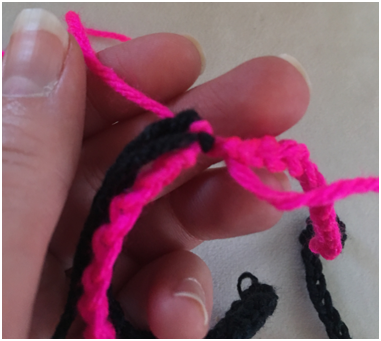
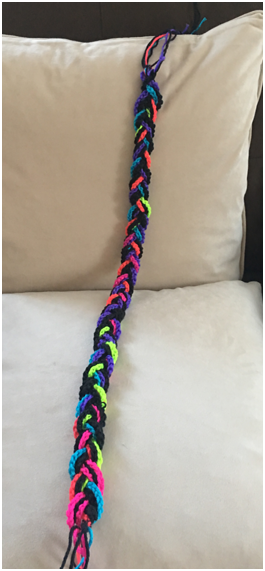
Strap (make 2)
Note: So that ends are long enough to sew to backpack later, leave very long tail when making slip knot to begin chaining.
*Ch 130. Fasten off, leaving long tail for sewing.* Rep from * to * 8 more times.
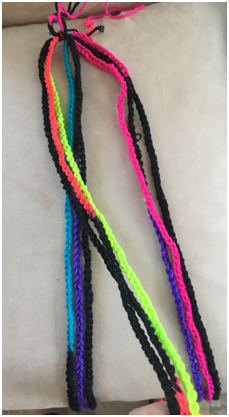
Assembling strap
Tie three chains together at the ends to make one section of strap. Tie three sections together and braid together by bringing left section to middle, then right section to middle, and repeating this process. Tie sections all together at end the same way you did at the beginning before braiding. They may not all be even, but this won’t show once all sections are tied together.
Pocket (optional – make 1 or 2)
Ch 21.
Row 1 – in 2nd ch from hook, sc across. Ch 1, turn (20 sc)
Rows 2 – 26 – sc in each st across, ch 1, turn. Do not ch 1 at end of Row 26. (26 sc per row)
Fasten off, leaving long tail for sewing.
Snap Cover (make 2)
This is worked in continuous rnds; do not join. You may wish to use a stitch marker and move it up at the beginning of each rnd.
Rnd 1 – make a magic ring, 6 sc in ring. (6 sc)
Rnd 2 – 2 sc in each st around (12 sc)
Fasten off, leaving long tail for sewing.
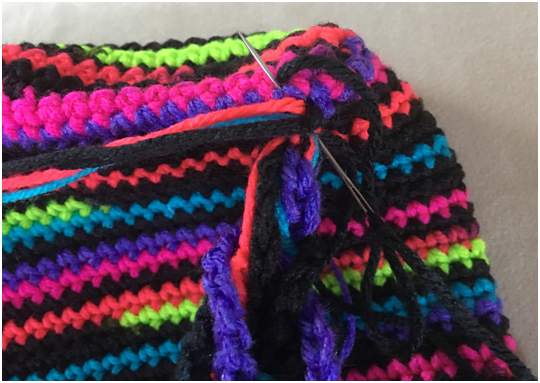
Assembly
Sew Flap to top of Backpack. Sew Handle along seam of Flap and Backpack in center.


Attaching Straps
Sew one end to top of backpack, and other end to bottom of backpack. Carry ends inside of backpack and weave in (if they are not long enough to weave in, tie secure knots and trim a small distance from knot).
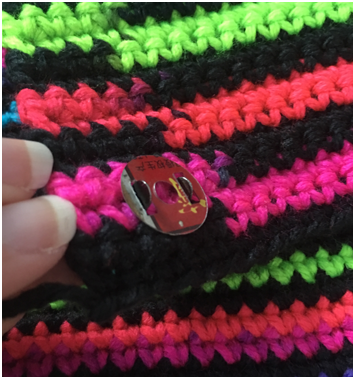
Purse Snaps
Attach snap halves to bottoms of flap on each side. Place receiving clasp halves on backpack, being careful to line them up with where the flap will be placed. Sew Snap Covers over snap halves on Flap.
If Pockets were made, turn backpack inside out and sew in the center of one side (or both sides if two pockets were made).
Weave in all ends.
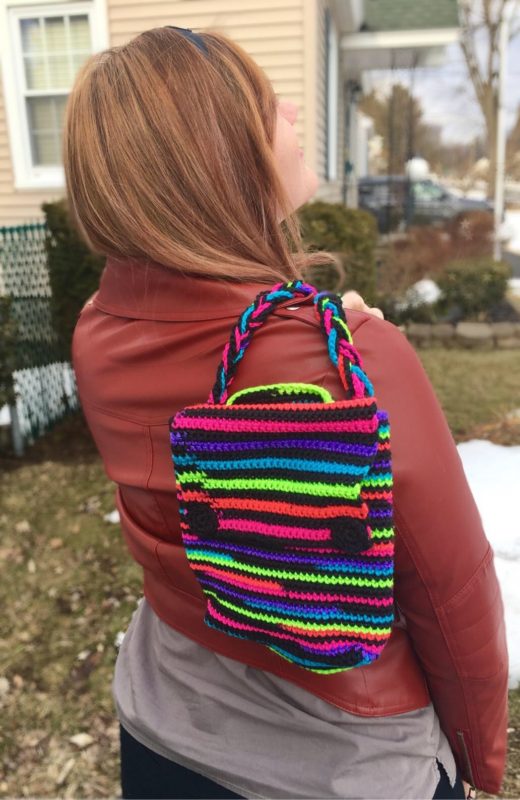
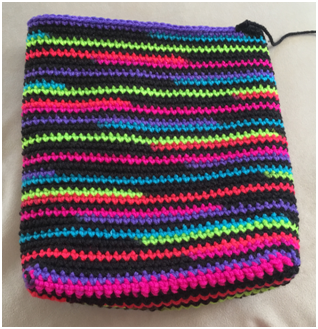
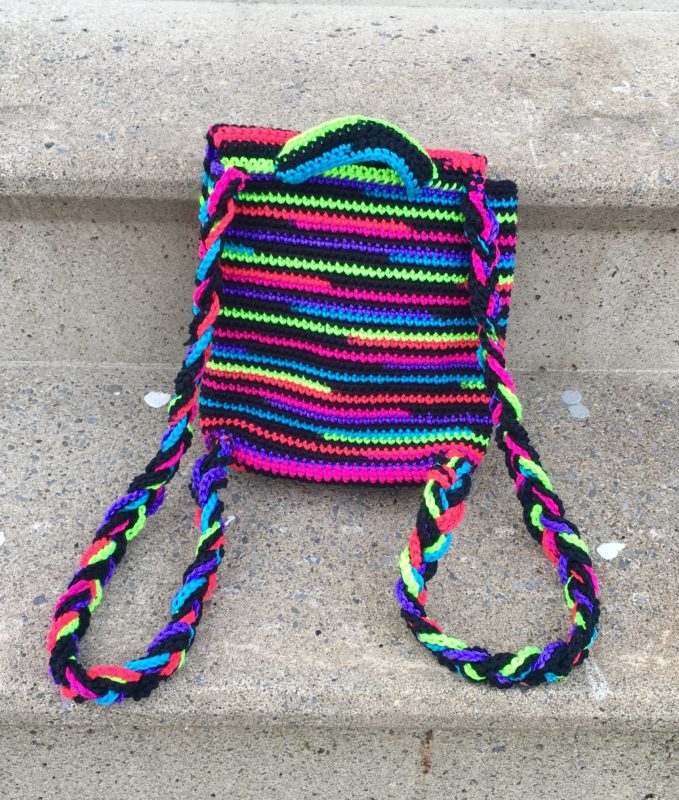
Here is the finished backpack!
Thank you so much for crocheting this backpack along with me! I’m excited to share my adventures in Tokyo with all of you once I get back – and you can bet that I’ll be looking for some yarn in Tokyo while I’m there!
If you love fun patterns like I do, please be sure to follow me on social media and subscribe to my email list so that you can keep up with all of my crochet craziness:
Subscribe to my newsletter to find out about future FREE crochet patterns!
COPYRIGHT:
This pattern is owned by Crafty Kitty Crochet (Melissa Moore). Any reselling or distribution of this pattern is prohibited. Sale of items made using this pattern is welcomed, but I do ask that credit/a link be
provided back to my site, craftykittycrochet.com.
Comments (1)
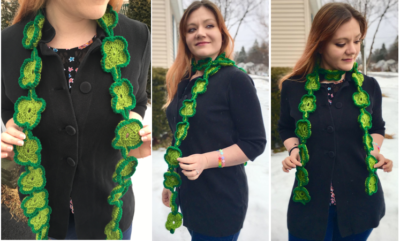
Cherry Blossom Scarf Crochet Pattern – Crafty Kitty Crochet
March 24, 2019 at 8:01 am
[…] about it and see the backpack I’m taking there in my “Tokyo Lights Backpack” post HERE!) I know, I know – how can it be my favorite flower/tree when I’ve never even seen one […]