
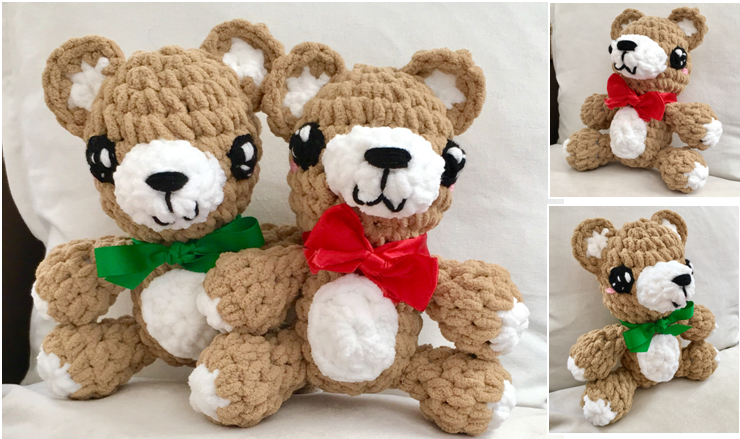
Kawaii Teddy Bear Crochet Pattern
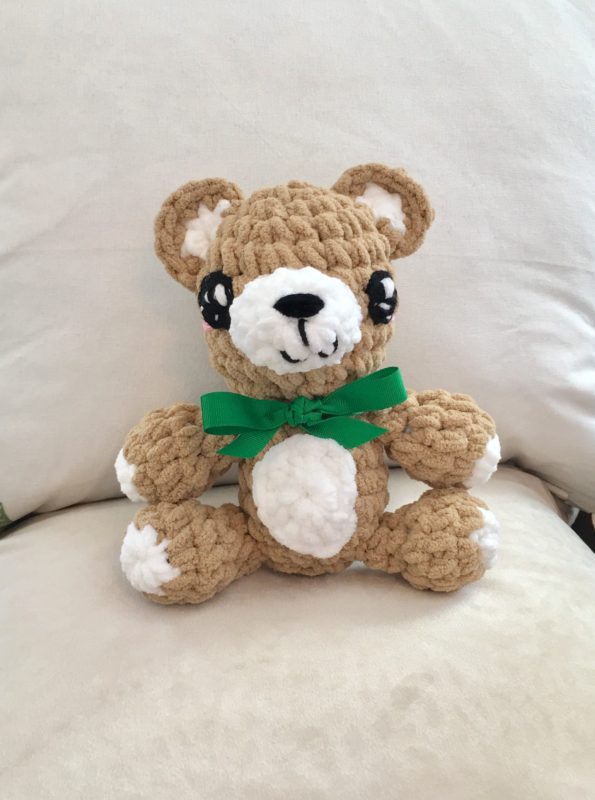
I can “bear”-ly stand how cute this little amigurumi teddy bear is! As you probably already know, amigurumi designs are some of my absolute favorite things to make (find more of my amigurumi patterns HERE!), and I’m always looking for ways to make them unique. This teddy bear has a classic look, but with a twist – the eyes are made to be extra sparkly and kawaii! And since this pattern calls for the incredibly soft and luscious Bernat Blanket yarn, this bear is extra snuggly, too!

I’ve always been a big fan of quick projects that still come out beautifully, which is something I considered a lot while designing this pattern. Since the yarn and hook that this pattern calls for are large, this little cutie works up very quickly and is a decent size for a stuffed toy. What a great gift this would make for kids of all ages, including as a “baby’s first” / baby shower gift! I think this bear could also easily be personalized in a beautiful way by adding the new baby’s initials somewhere. How about embroidering initials or a name onto one of my Heart Appliques (find the pattern HERE!) and sewing it on to the bear?! What an adorable and heartfelt gift that would be!
Of course, these bears aren’t just for kids and babies – they’d be super cute as a Valentine’s surprise for someone you love! (Again, how about sewing some of these cute little hearts onto this bear?!)
Looking for the ad-free PDF copy of this pattern? Find it in my shop HERE!
The Bernat Blanket yarn used for this project is so incredibly soft – if you’ve ever worked with it, then you know how uniquely textured it is! If you haven’t, or are looking to replenish your stash, you can find some on Amazon here!
Who’s ready to make a new little amigurumi friend? I know I am! Let’s do this!
Supplies
N/9 mm crochet hook
H/8 5.00 mm crochet hook
Bernat Blanket yarn in Sand
Bernat Baby Blanket yarn in White
Red Heart Super Saver in
- White
- Black
Red Heart Soft Baby Steps in Strawberry
Approx. 2-3 yards of 5/8” or 7/8” ribbon for bow (optional)
Scissors
Yarn Needle
Fiberfill stuffing
Abbreviations
Ch = chain
Rem = remaining
Rep = repeat
Rnd = round
Sc = single crochet
Sc2tog = single crochet 2 together
St = stitch
Gauge
Exact gauge is not essential to this project.
Size
About 8” tall
Instructions
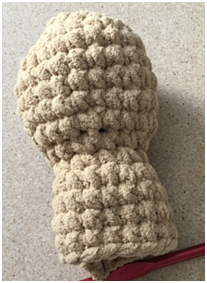
Head & Body
(Piece is worked from the top down – head is made first, then body.)
(This piece is worked in continuous rnds – do not join. You may wish to use a stitch marker and move it up at the start of each new rnd.)
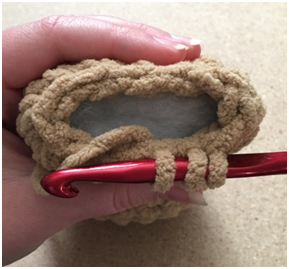
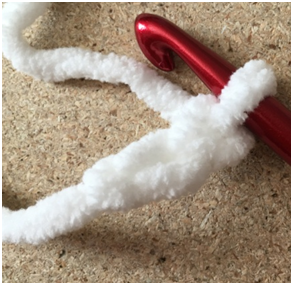
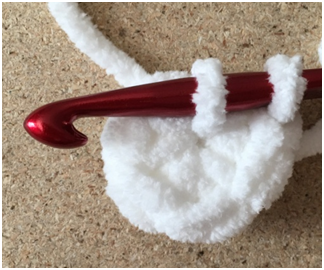
Rnd 1 – With Sand, Ch 2. In first ch, make 6 sc. (6 sc)
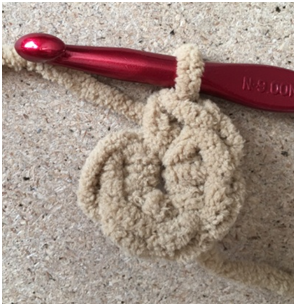
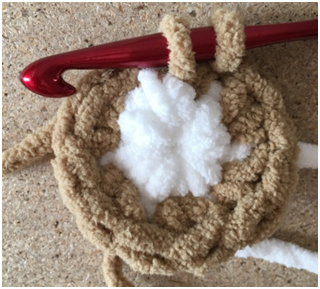
Rnd 2 – 2 sc in each st around. (12 sc)
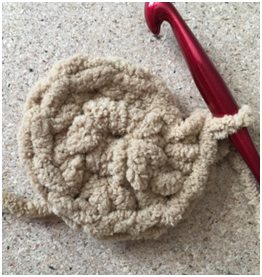
Rnd 3 – 2 sc in first st, sc in next – rep around (18 sc)
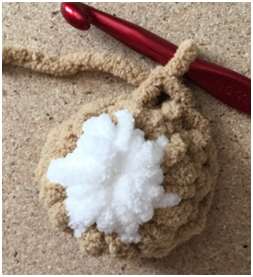
Rnd 4 – 2 sc in first st, sc in next 2 sts – rep around (24 sc)
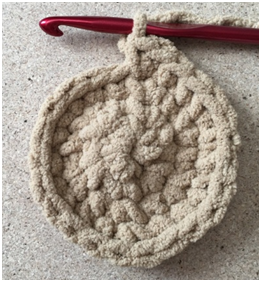
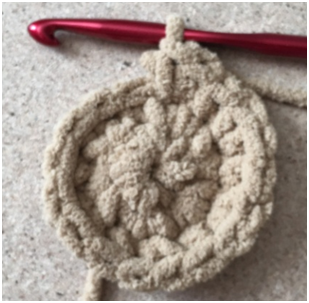
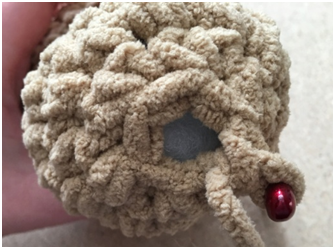
Rnds 5 – 8 – sc around . Stuff Head (24 sc per rnd)
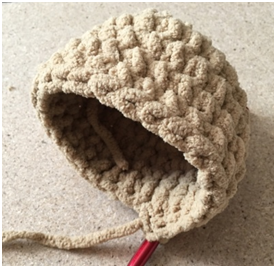
Rnd 9 – sc2tog over next 2 sts, sc in next 2 sts – rep around (18 sc)
Rnd 10 – sc2tog over next 2 sts, sc in next st – rep around (12 sc)
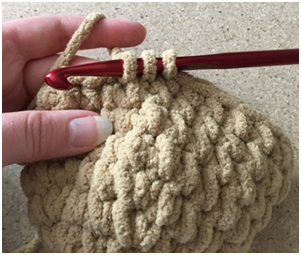
Rnd 11 – 2 sc in next st, sc in next – rep around (18 sc)
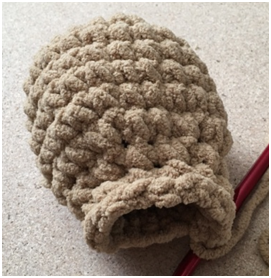
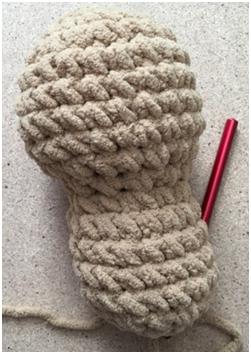
Rnds 12 – 15 – Sc around. Stuff Body (18 sc per rnd)
Rnd 13 – sc2tog over next 2 sts, sc in next st – rep around. Slightly squeeze piece together as you decrease; this helps prevent large gaps. (12 sc)
Rnd 14 – sc2tog over next 2 sts – rep around (6 sc)
Fasten off, leaving a tail for sewing rem hole closed.
Arm/Leg (make 4)
(This piece is worked in continuous rnds – do not join. You may wish to use a stitch marker and move it up at the start of each new rnd.)
Rnd 1 – With White, Ch 2. In first ch, make 6 sc. Switch to Sand in last st (6 sc)
Rnd 2 – 2 sc in each st around. (12 sc)
Rnd 3 – Sc around (12 sc)
Rnd 4 – sc2tog over next 2 sts – rep around (6 sc)

Rnd 5 – 6 – Sc around (6 sc per rnd)
Fasten off, leaving a tail for sewing.
Ear (make 2)
With White, Ch 2.
Row 1 – 4 Sc in first ch, switch to Sand in last st. Ch 1, turn (4 sc)
Row 2 – 2 sc in each st (8 sc)
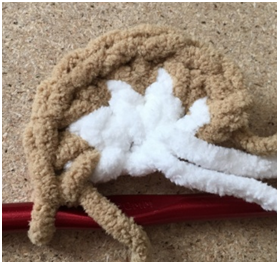
Fasten off, leaving a long tail for sewing. Weave in all other ends.
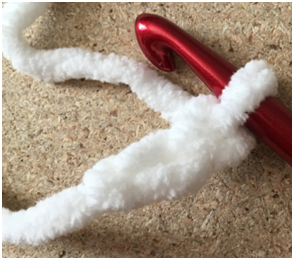
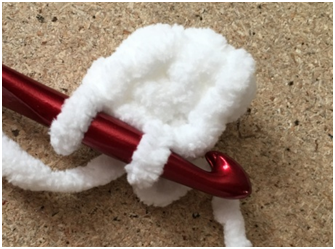
Tail
With Sand, Ch 2.
Row 1 – 4 sc in first ch.
Fasten off, leaving a long tail for sewing. Weave in all other ends.
Snout
(This piece is worked in continuous rnds – do not join. You may wish to use a stitch marker and move it up at the start of each new rnd.)
With White, Ch 2.
Rnd 1 – 6 sc in first ch (6 sc)
Rnd 2 – 2 sc in each st around (12 sc)
Rnd 3 – Sc around (12 sc)
Fasten off, leaving a long tail for sewing. Weave in all other ends.
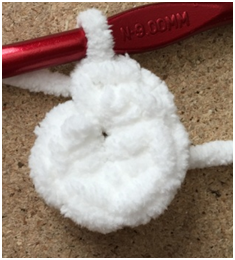
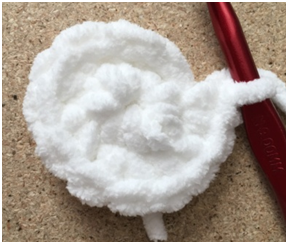
Belly
(This piece is worked in continuous rnds – do not join. You may wish to use a stitch marker and move it up at the start of each new rnd.)
With white, Ch 2.
Rnd 1 – 6 sc in first ch (6 sc)
Rnd 2 – 2 sc in each st around (12 sc)
Fasten off, leaving a long tail for sewing. Weave in all other ends.
Eye (make 2)
(This piece is worked in continuous rnds – do not join. You may wish to use a stitch marker and move it up at the start of each new rnd.)
Rnd 1 – With Black and smaller hook, make a magic ring. 4 sc in ring (4 sc)
Rnd 2 – 2 sc in each st around (8 sc)
Fasten off, leaving a long tail for sewing. Weave in all other ends.
Eye sparkle
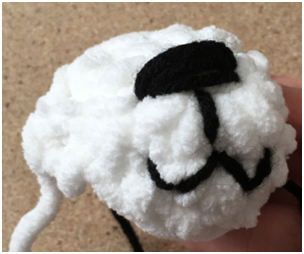
With White Super Saver threaded on needle, sew a vertical line several times in top corner of Eye to make a thick white sparkle (for Left Eye, make thick sparkle in right top corner of Eye; for Right Eye, make thick sparkle in top left corner of Eye). See photo below. Make a few smaller horizontal lines towards the bottom of Eye, and one smaller vertical line on side of Eye. Tie off yarn ends on back of Eye.
Finishing
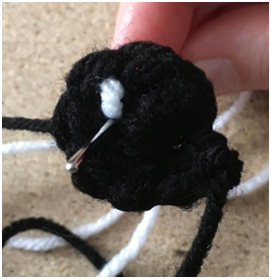
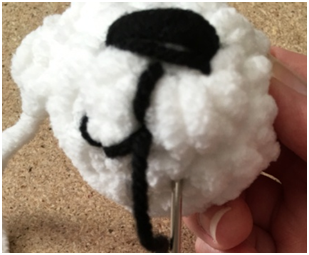
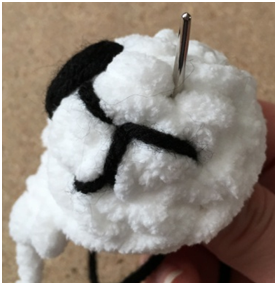
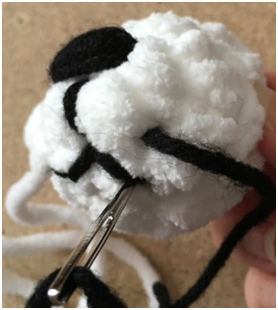
With Black Super Saver threaded on needle, sew Nose onto Snout by making a large horizontal line several times in center of Snout. Below, make a small vertical line, with “v” shapes on either side of line, for Mouth.
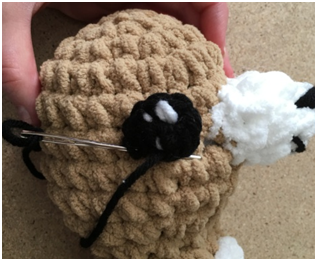
Sew Snout to center of Head, and sew Eyes on either side of Snout.
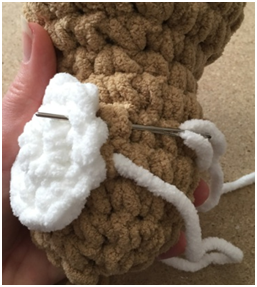
Sew Ears to top of Head, lining them up with Eyes. Sew Belly to center of Body.

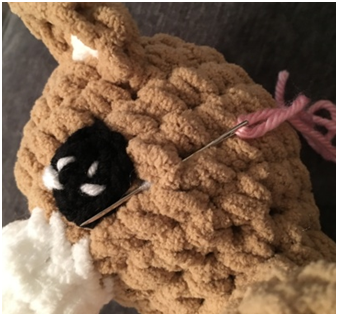
Stuff Arms and Legs and sew to Body. With Pink yarn, sew small horizontal lines on either side of the bottoms of Eyes for Blush.
Weave in all ends (or tie a knot and hide knot inside sts). Use Ribbon to tie a bow around neck (optional).
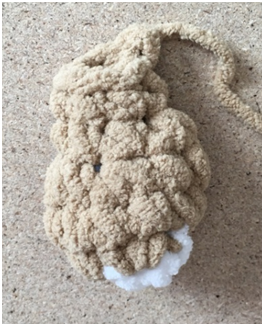
Here is the finished bear!

Thanks so much for crocheting this kawaii little bear with me! I have lots more fun patterns, including amigurumi, coming soon to my blog – so please be sure to follow me on social media and subscribe to my email list to stay up to date!
COPYRIGHT: This pattern is owned by Crafty Kitty Crochet (Melissa Moore). Any reselling or distribution of this pattern is prohibited. Sale of items made using this pattern is welcomed, but I do ask that credit/a link be provided back to my site, craftykittycrochet.com.
Comments (10)
Sarah
January 25, 2019 at 2:49 pm
These are adorable! The blanket yarn would make them so soft and squishy! Thank you!
Melissa
January 25, 2019 at 10:36 pm
Thank you so much!!!! I LOVE the blanket yarn, they are so snuggly because of it! Thanks for your kind words!!
Stephanie
January 25, 2019 at 4:46 pm
These are just darling, thank you for sharing!!
Melissa
January 25, 2019 at 10:36 pm
Thank YOU!!! I’m so glad you like them!!!!!
Olena
January 25, 2019 at 11:54 pm
They are so cute! I like a lot of helpful pictures in your tutorial!
Melissa
January 26, 2019 at 3:25 pm
Thank you so much, Olena!!! I’m so glad you like the bears and my photos!!! ^_^
Rose
January 27, 2019 at 4:18 pm
What a super cute and fast kitty. I like when amigurumi is quick to make.
Melissa
January 27, 2019 at 4:33 pm
Why thank you, Rose! 🙂 Me too – this Blanket yarn makes the little bear work up sooo fast!! I’m so glad you like it!!
cheryl mowbray
November 24, 2019 at 2:20 am
I would like to thank you for the teddy bear pattern
Melissa
November 24, 2019 at 6:45 pm
You’re so welcome Cheryl, thank you for letting me know! ^_^