Crochet in the Back Ridges of a Chain: Make a Flawless Looking Foundation Row! (Photo Tutorial)
Whether you’re new to crochet or a seasoned crocheter, we can all agree that there’s always fun tips and tricks to make your crocheting look even better and more polished! Crocheting is like life: there’s always something new to learn. Even if you have one way of doing things, it can be fun to try another way and experience a different result. That’s how I felt when I found out about this easy trick for making a flawless looking foundation row!
I discovered this method a few years ago while teaching crochet. It’s easy to do and it creates a nicer looking edge to the bottom of your work than crocheting in between the front of the chain stitches! The photo tutorial shows you how to do this using the single crochet stitch, but you could do it with any stitch that you’re crocheting back and forth with in a row – double crochet, triple crochet, and so on! The principle is the same.
So what is method all about, anyway? Here’s what it is in a nutshell. You know those little bumps on the back of your chain stitches? When making your foundation (first) row, you work your stitches into those bumps. The result is that the front of the chain stitches now make up the bottom edge of your work. Since they look similar to the tops of other crochet stitches – the single crochet, double crochet, and so forth – it makes the bottom edge of your work match the top edge nicely.
But enough of me trying to explain this concept – let me show you!
Psst! This gorgeous yarn you see in the tutorial photos below is one of my favorite chunky yarns to work with, Lion Brand Hometown USA in Los Angeles Tan. You may remember that Hometown USA is the lovely yarn I used to make my Caylin Scarf, too!
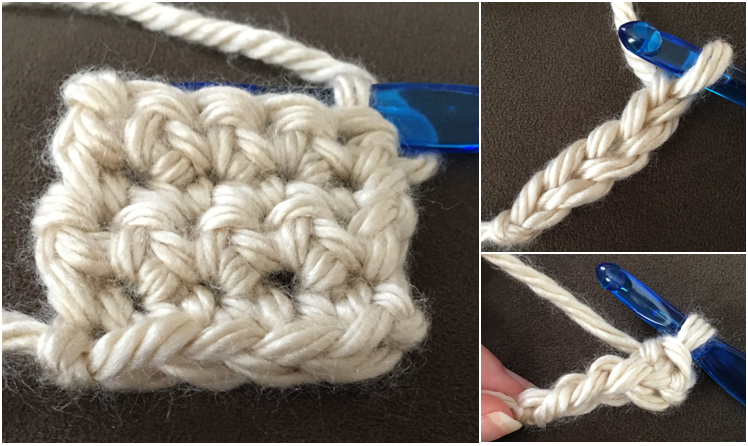
First, let’s start with how I was making my foundation row. I used to do it like this:
Make a chain:
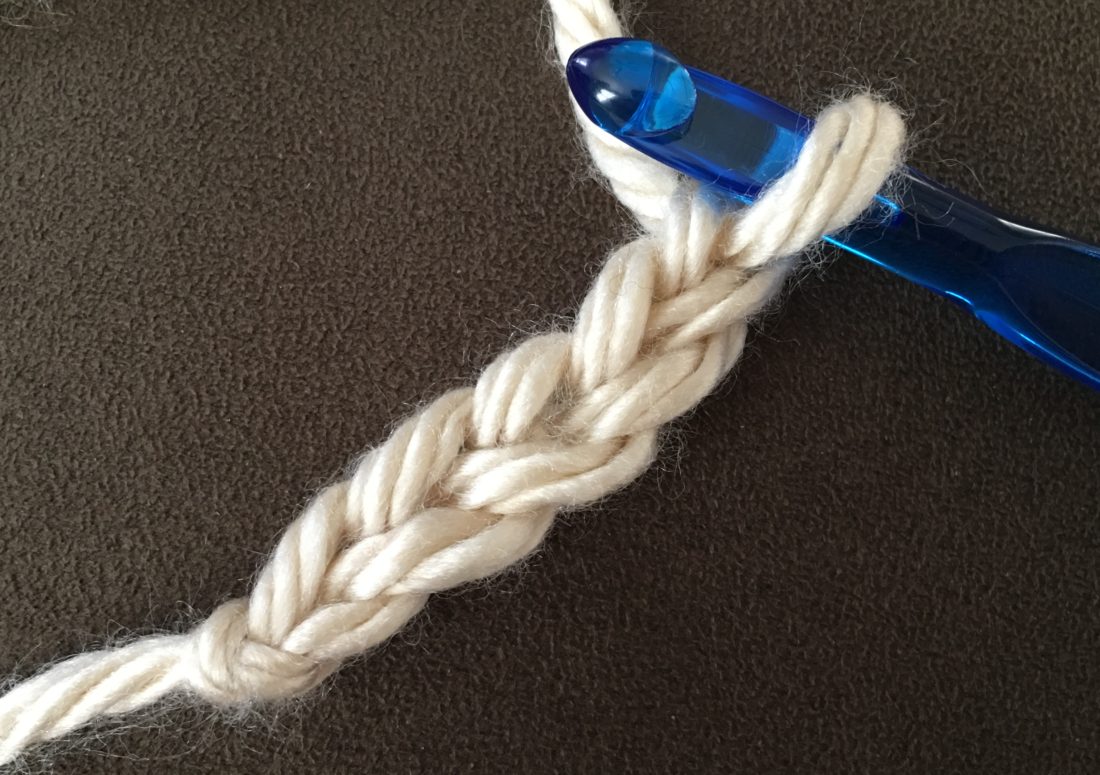
Insert hook into 2nd chain from hook for single crochet – I was inserting the hook into the front of the chain, between the two little pieces that make up what looks like a link on a chain.
Then I worked my stitch normally. In this case, it’s the single crochet stitch:
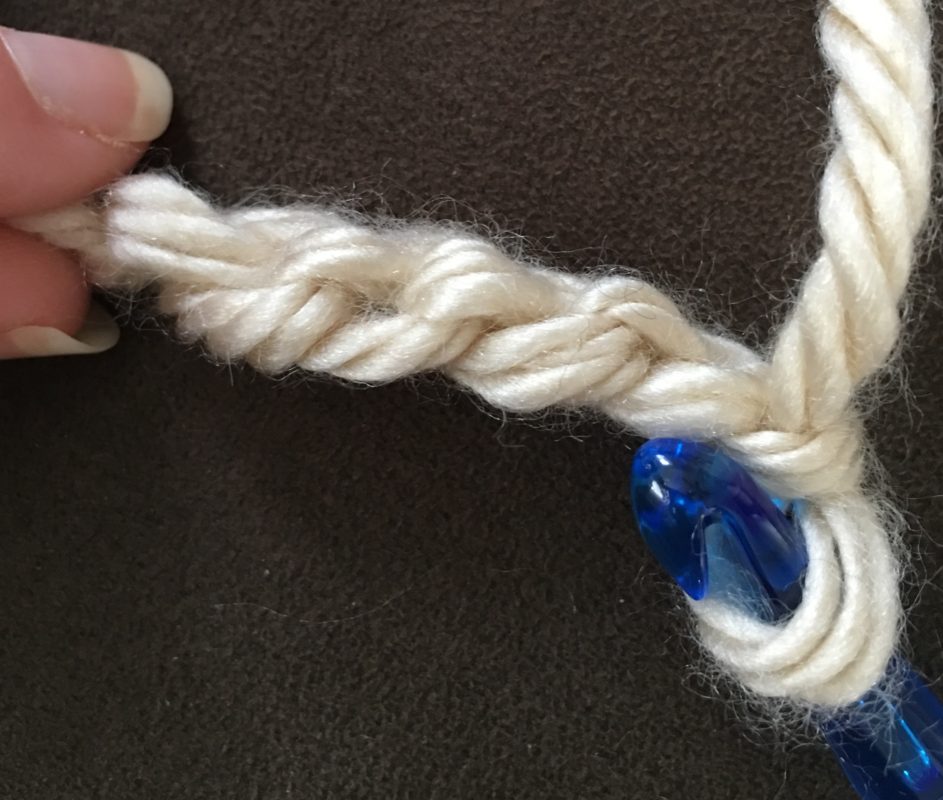
This was the resulting look – as you can see, my bottom edge is made up of the other halves of the front of the chain stitches.
It’s not that this is necessarily the wrong way to do it. In fact, I still teach people to make their foundation row this way when they’re first learning to crochet, because that front of the chain is generally a bit easier to locate for beginners.
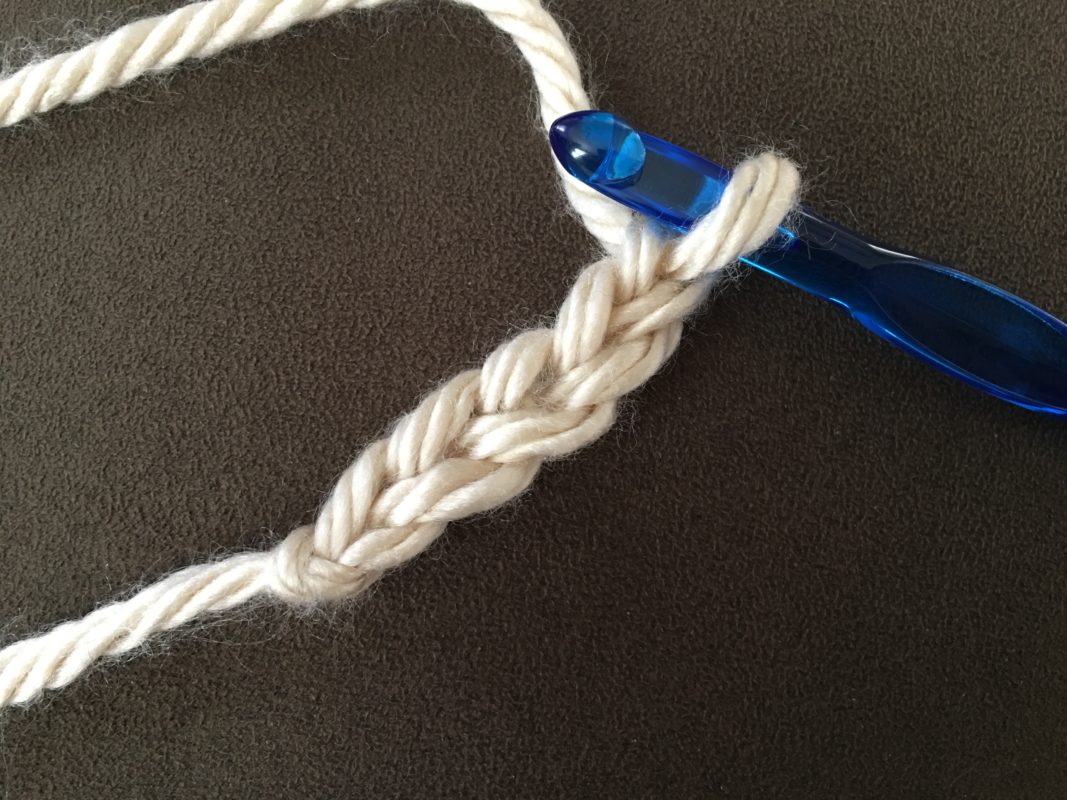
But here’s the NEW way I do it – the back ridge method!
Chain….
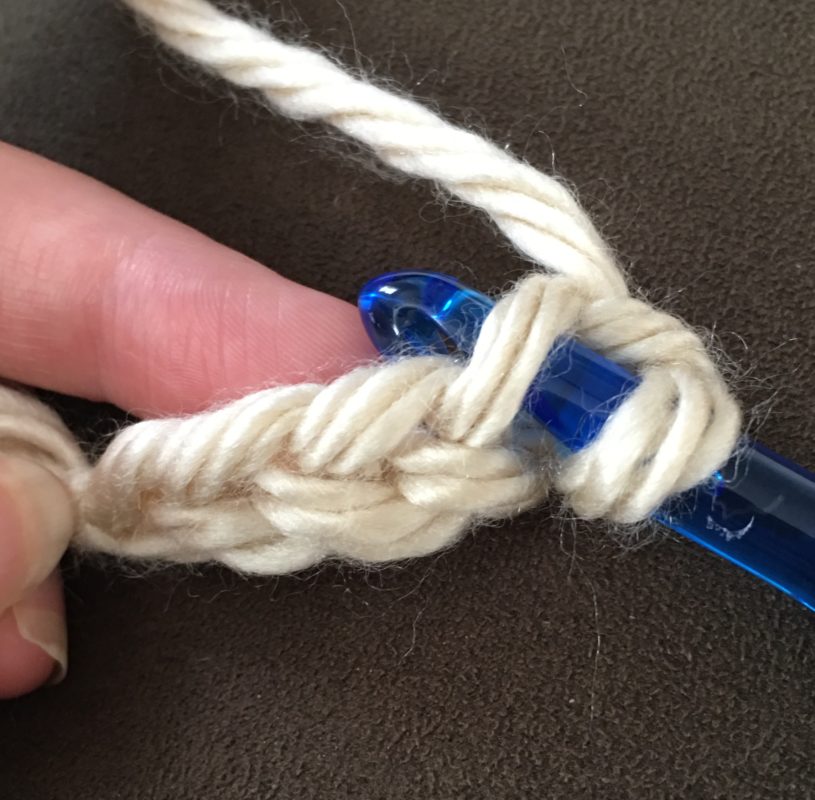
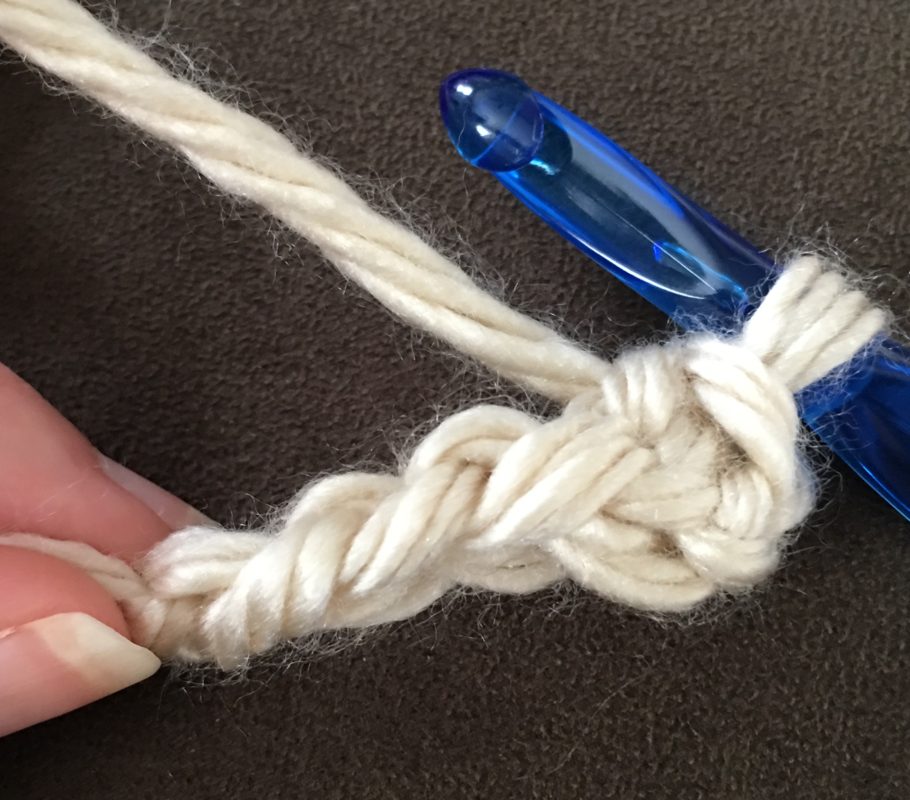
Then, turn your chain over to find these back ridges:
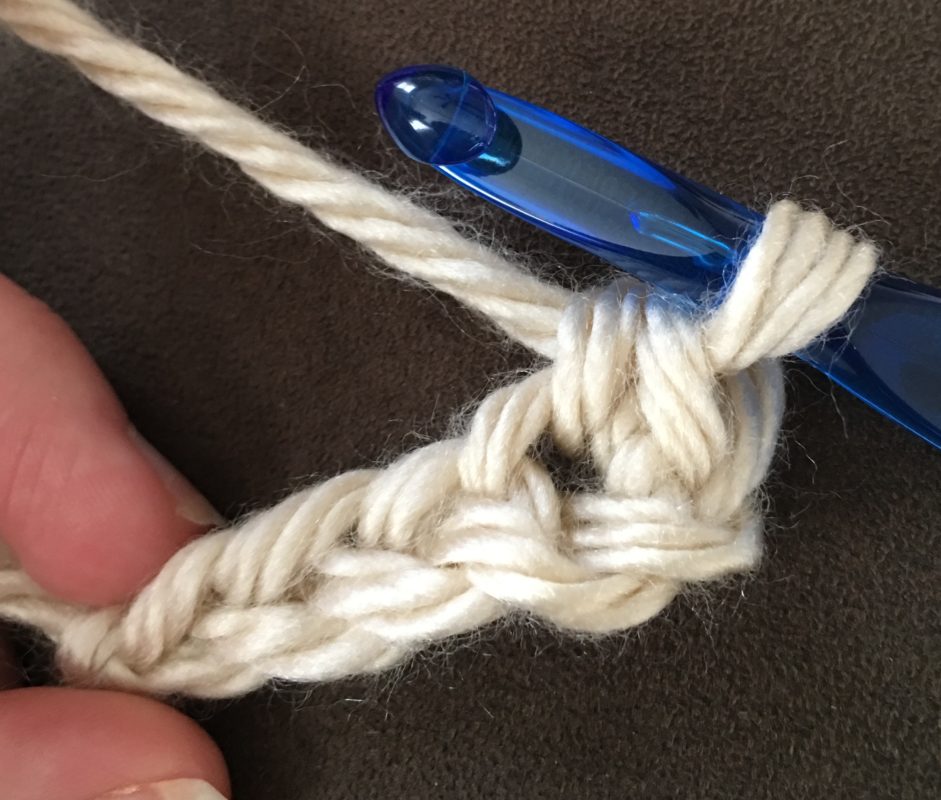
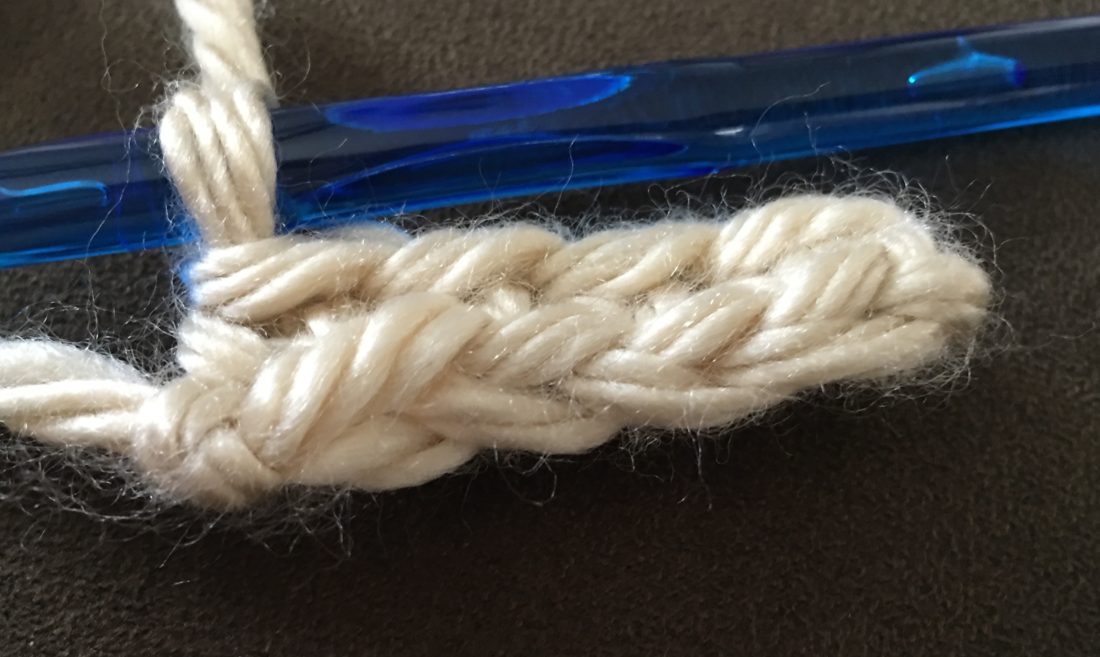
See those back ridges / bumps? Okay, now insert your hook into one (you should be inserting into the back bump of the 2nd chain from hook, if you’re using the single crochet stitch):

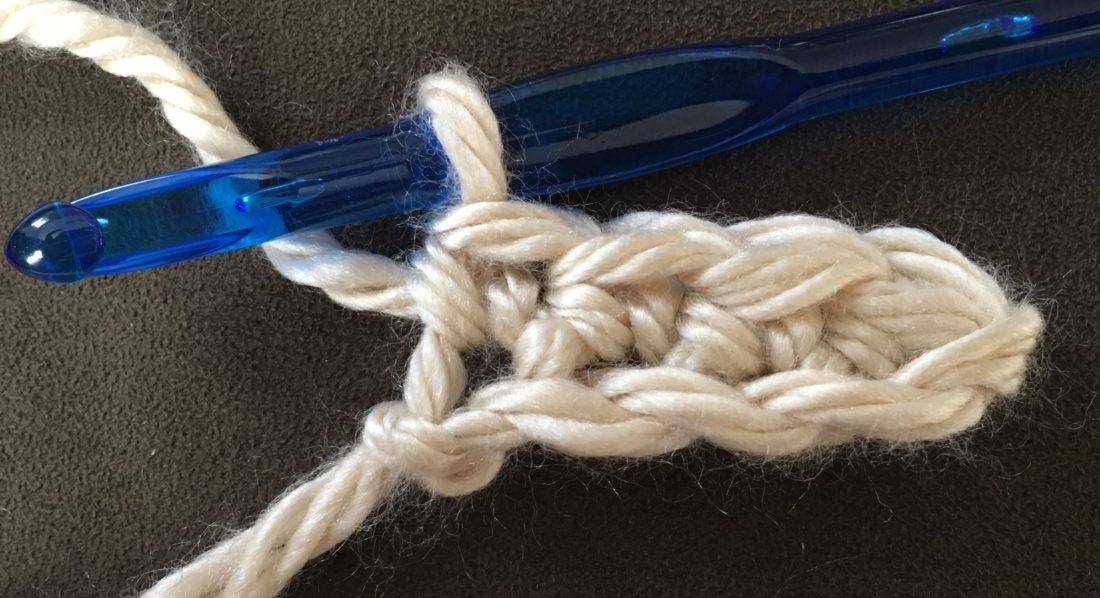
Then complete your stitch normally (single crochet is shown here):
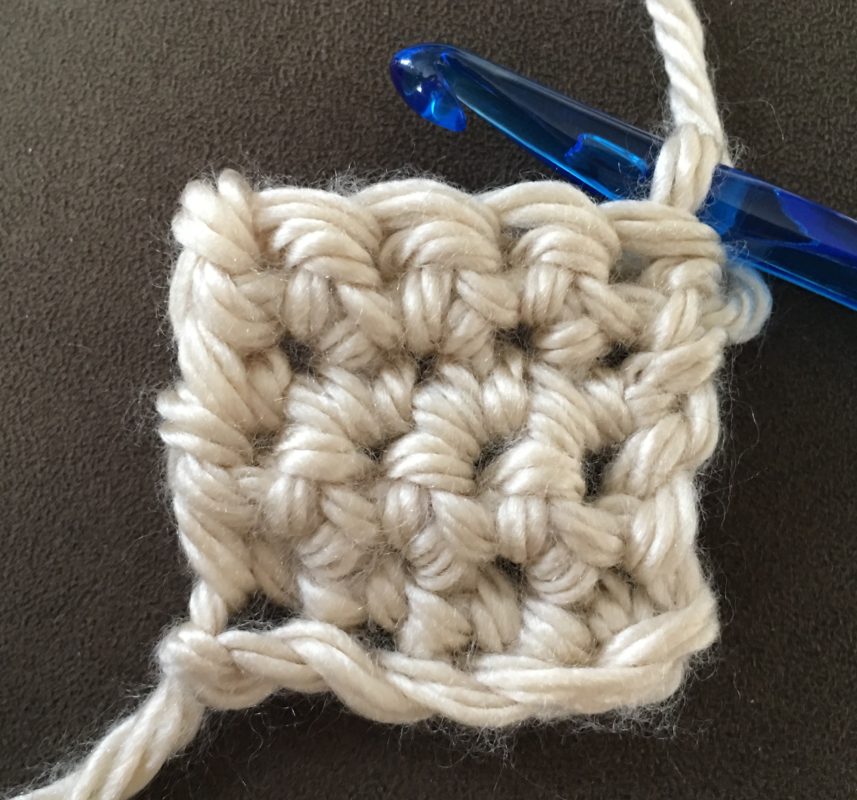
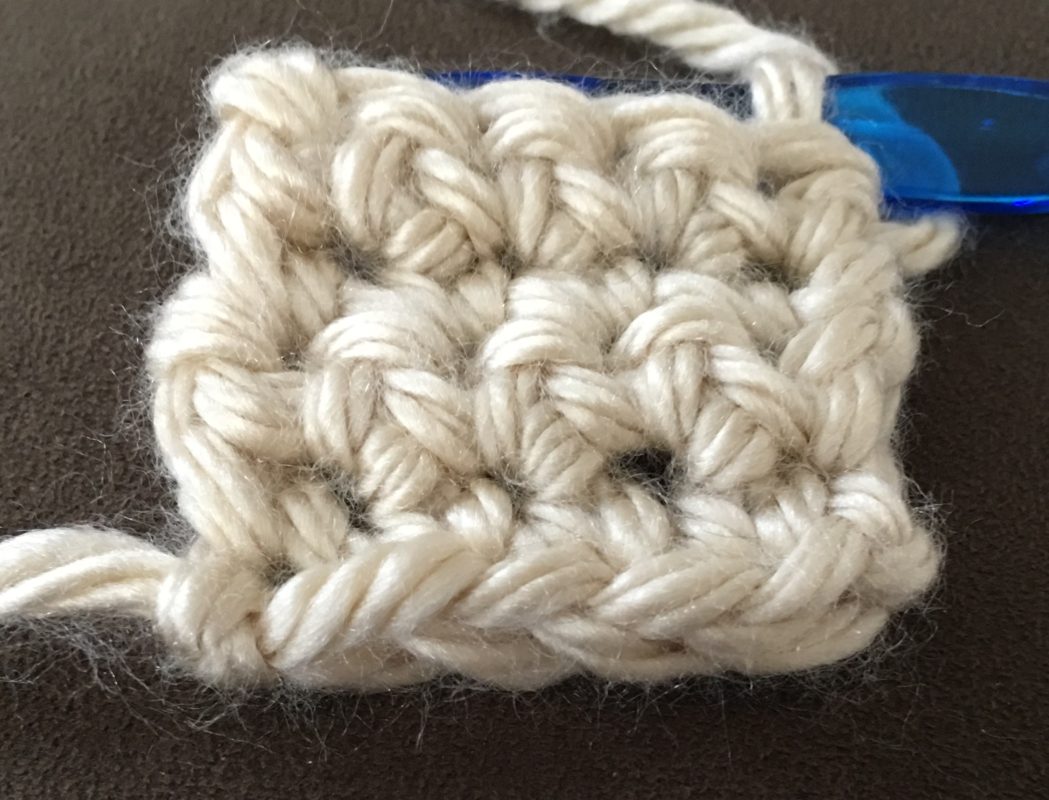
Here’s the result:
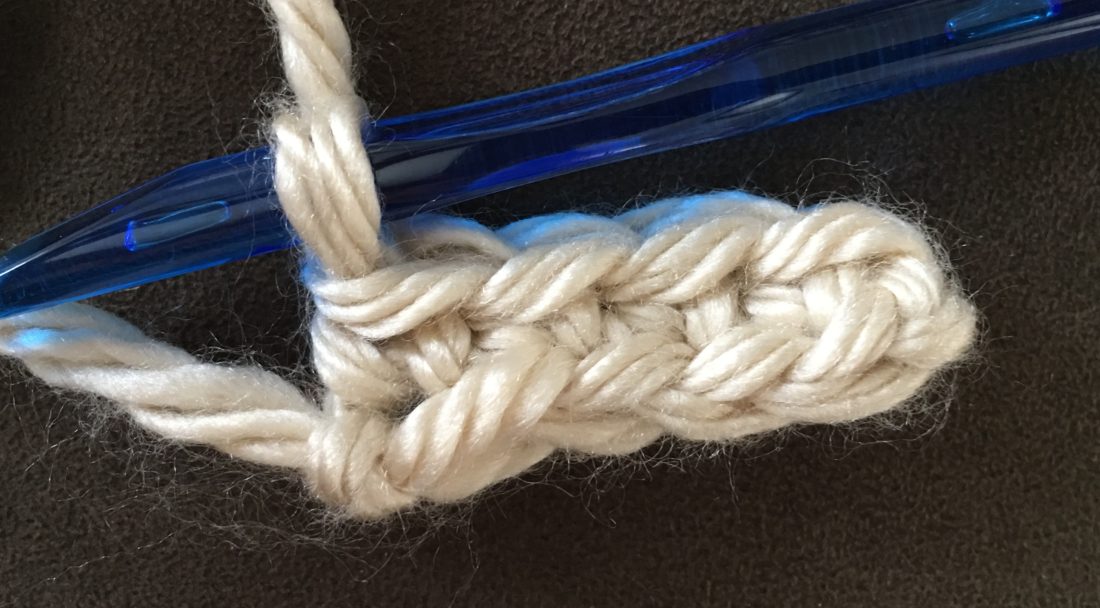
See how the bottom edge of your work now has a nice edge that matches the top edge of your work? That’s from working in the back ridge of the chains!

Little adjustments like these can make all the difference in how polished your finished work looks! And in this case, it’s an easy adjustment to make to just crochet into the back of your work instead of the front.
I hope you’ve enjoyed this photo tutorial! Looking for more crochet tips, tricks, and tutorials? You can find them in my other posts here! Also, please be sure to keep up with my posts by subscribing to my email list and following me on social media. I plan on adding more tutorials, as well as free patterns, really soon!
Happy Crocheting!