
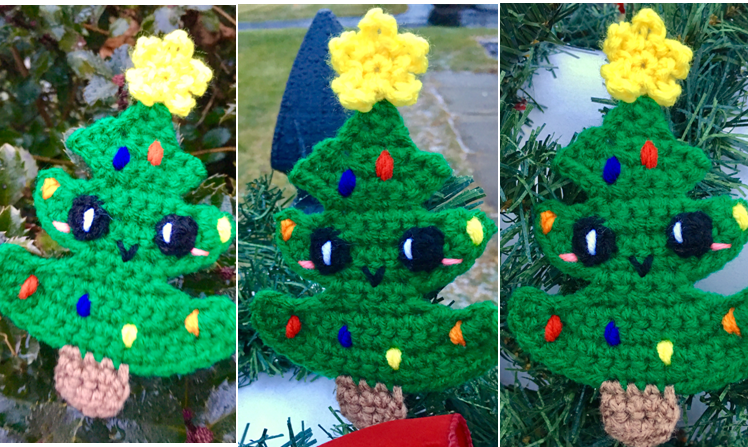
Kawaii Christmas Tree Applique / Ornament
This festive and cute Christmas Tree is the perfect accent to any holiday! How cute would this be as an ornament, part of gift wrapping, or even on your very own DIY ugly sweater? The possibilities are endless! And great news – this little tree works up extremely quickly! So if you’re like me and you have a ton of last-minute items on your to-do list for the holidays, then no problem! You can still make a whole bunch of these little evergreen cuties in one sitting while watching your favorite Christmas movie!
This was one of the appliques I made for a friend’s ugly Christmas sweater (learn how to make your own using fun crocheted appliques like this one HERE!). She wanted even more appliques on hers than my Peppermints, Gingerbread Boy, Gingerbread Girl, and String Lights, so I wanted to make another applique that was a recognizable symbol of Christmas, but different enough from the others to really stand out. I immediately thought of a tree, but still wanted it even more unique! That’s why I added the kawaii face. And I think the little face is what I like most about it!
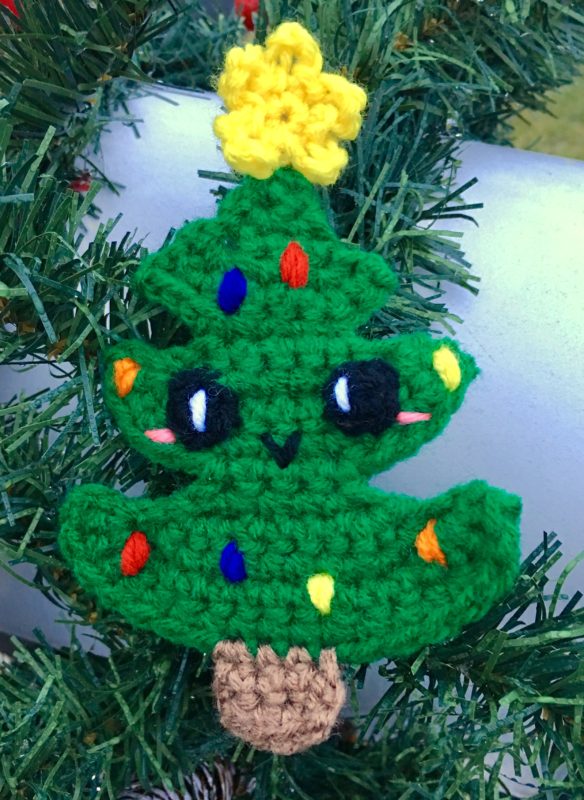
I fell in love with a particular color way of Red Heart Super Saver this holiday season – Paddy Green! It’s a gorgeous deep green, but not so dark that it’s forest green.
Ready to trim this cute little tree? Let’s get started!
Supplies
G/6 4.00 mm crochet hook (move hook size up/down to make Tree larger/smaller)
Scissors
Yarn Needle
Red Heart Super Saver Yarn in:
- Paddy Green
- Cherry Red
- Pumpkin
- Royal
- Bright Yellow
- Black
- White
Red Heart Soft Baby Steps in Strawberry
Abbreviations
* = indicates a section that will be repeated
Ch = chain
Rem = remaining
Rep = repeat
Rnd = round
Sc = single crochet
Sl st = slip stitch
St = stitch
Gauge
Exact gauge is not essential to this project.
Size
About 6” in length
Instructions
Tree
With Green, Ch 2.
Row 1 – Sc across. Ch 1, turn (2 sc)
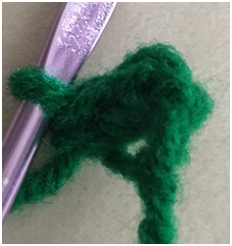
Row 2 – 2 sc in first st, 2 sc in last st. Ch 1, turn (4 sc)
Row 3 – Sc in each st across. Ch 1, turn (4 sc)
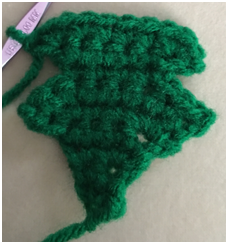
Row 4 – 3 sc in first st, sc in next 2 sts, 3 sc in last st Ch 1, turn (8 sc)
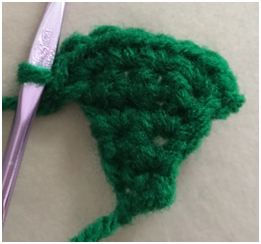
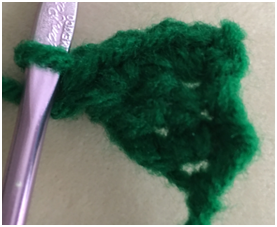
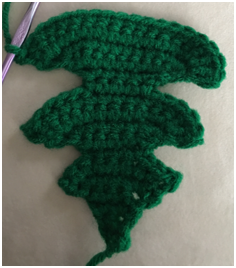
Row 5 – Sc in each st across. Ch 1, turn (8 sc)
Row 6 – Sl st in next 3 sts, ch 1. Sc in same st and in next 3 sts; leave rem sts unworked. Ch 1, turn (4 sc)
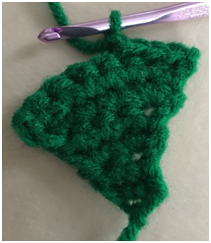
Row 7 – 2 sc in first st, sc in next 2 sts, 2 sc in last st. Ch 1, turn (6 sc)
Row 8 – 3 sc in first st, sc in next 4 sts, 3 sc in last st. Ch 1, turn (10 sc)
Row 9 – 3 sc in first st, sc in next 8 sts, 3 sc in last st. Ch 1, turn (14 sc)
Row 10 – Sc in each st across. Ch 1, turn (14 sc)
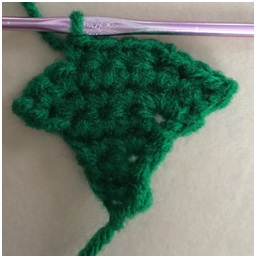
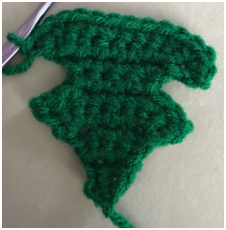
Row 11 – Sl st in first 6 sts, ch 1, sc in same st and in next 3 sts, leave rem sts unworked. Ch 1, turn (4 sc)
Row 12 – 2 sc in first st, sc in next 2 sts, 2 sc in last st. Ch 1, turn (6 sc)
Row 13 – 3 sc in first st, sc in next 4 sts, 3 sc in last st. Ch 1, turn (10 sc)
Row 14 – 3 sc in first st, sc in next 8 sts, 3 sc in last st. Ch 1, turn (14 sc)
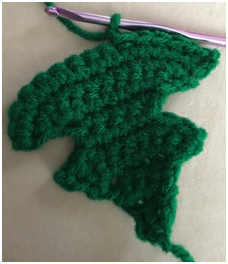
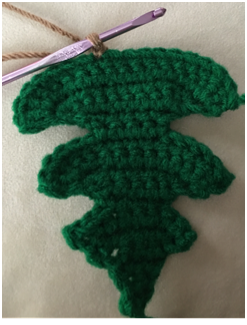
Row 15 – 3 sc in first st, sc in next 12 sts, 3 sc in last st. Ch 1, turn (18 sc)
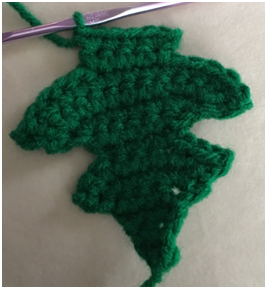
Row 16 – Sc in each st across. Fasten off (18 sc)
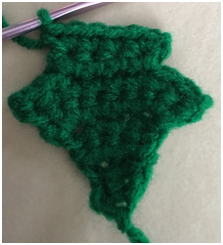
Stem
Row 1 – Attach brown in 8th st of Row 16. Ch 1, sc in same st and in next 3 sts. Ch 1, turn (4 sc)
Row 2 – Sc in each st across. Ch 1, turn (4 sc)
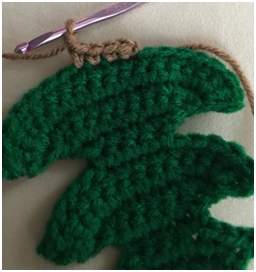
Row 3 – Rep Row 2; do not ch 1 at the end of row. Fasten off.
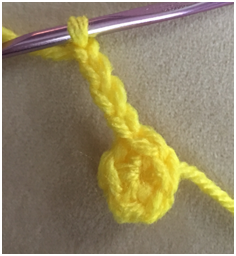
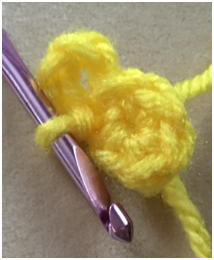
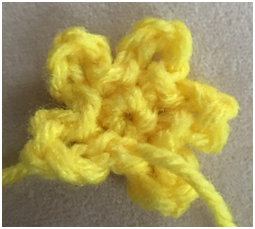
Star
Rnd 1 – Make a magic ring, 5 sc in ring. Join with sl st to first sc. (5 sc)
Rnd 2 – *Ch 4, sl st back into same st. Sl st in next st.* Rep from * to * 4 more times. Fasten off, leaving long tail for sewing to tree.
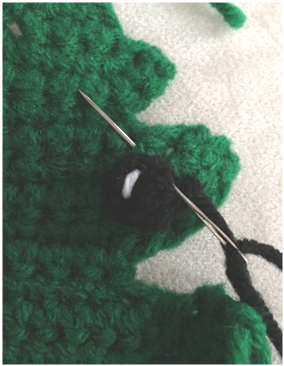
Eye (make 2)
Make a magic ring. 4 sc in ring. Join with sl st to first sc. Fasten off, leaving a long tail for sewing (4 sc)
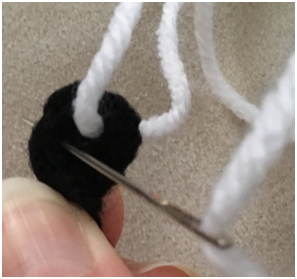
Eye Sparkle
With White yarn, use yarn needle to sew a small vertical line near edge of each Eye. Fasten off, tie off ends on back of Eye.
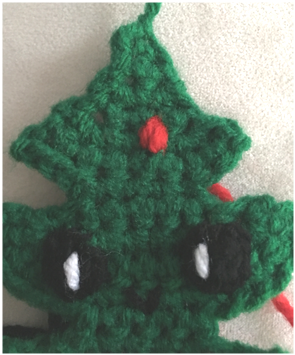
Finishing
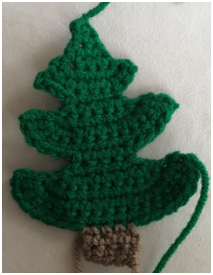
Sew Eyes on second tier of tree. With yarn needle and choice of Cherry Red, Pumpkin, Royal, and Bright Yellow, sew ornaments on throughout the Tree by sewing several small vertical lines into the same sts. Tie off ends on back of Tree. Sew Star to top of Tree. With yarn needle and Strawberry, sew a small horizontal line near outer edge of each Eye for Blush. Tie off ends on back of Tree. Weave in all other ends.
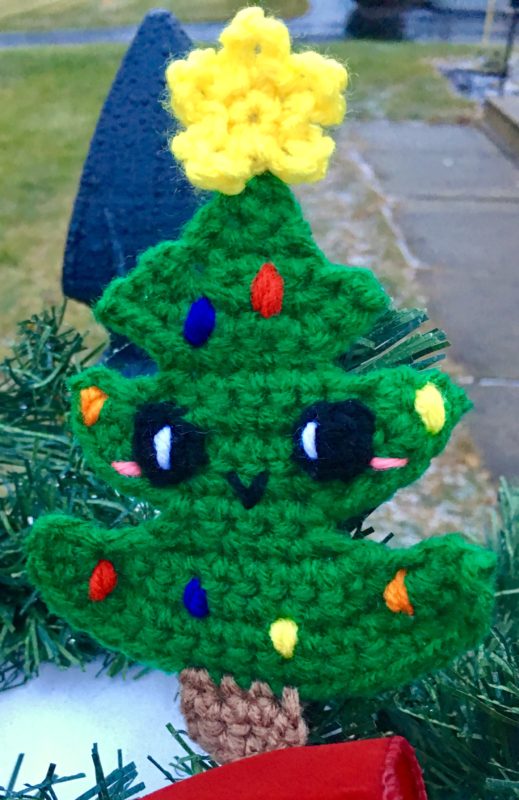
Here is the finished tree!
I hope you had a great time crocheting this tree along with me! I have even more fun patterns coming soon – please subscribe to my email list and follow me on social media to keep up with all the crochet goodness that’s coming soon to my blog!
COPYRIGHT: This pattern is owned by Crafty Kitty Crochet (Melissa Moore). Any reselling or distribution of this pattern is prohibited. Sale of items made using this pattern is welcomed, but I do ask that credit/a link be provided back to my site, craftykittycrochet.com.
Comments (1)
kawaii style clothing stores
November 16, 2023 at 11:26 am
Hey there! Would you mind if I share your blog with my zynga group?
There’s a lot of folks that I think would really appreciate your content.
Please let me know. Thanks