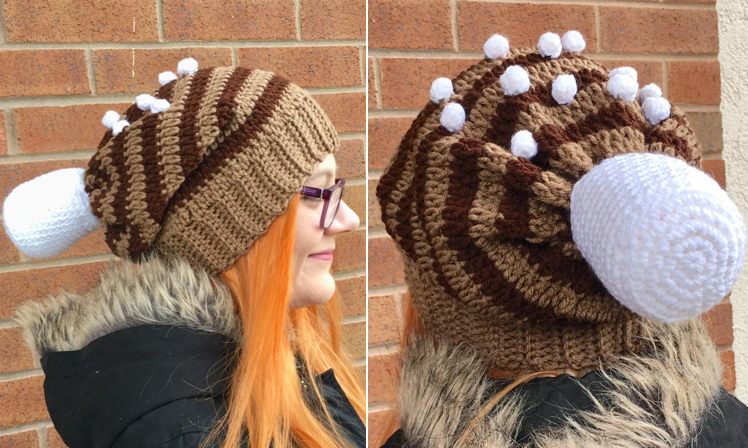
Hot Cocoa Slouchy Hat Crochet Pattern
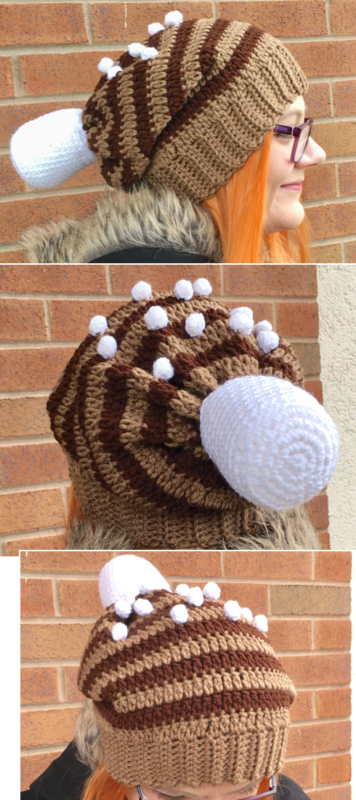
It doesn’t get much better than cozying up with a nice cup of hot cocoa on a cold winter day! If you’re a fan of this yummy drink during the holiday season – or during any season, for that matter – then you will love this cute, kooky, and cozy Hot Cocoa slouchy hat! It captures everything fun about hot cocoa without the sugar or calories – from the chocolate swirls to the marshmallows!
Speaking of marshmallows, I went back and forth on how to decorate this hat. I knew I wanted to add the mini marshmallows, but also really wanted to do something special on the top of the hat where the pom pom would normally be. I made a jumbo marshmallow and hoped for the best – and in the end, I’m really happy with the results! Everyone who has seen me model the hat so far has even insisted that the big marshmallow on the end is what really makes the hat! The best part about it is that the pattern calls for the marshmallow to be stuffed with yarn instead of stuffing, which means you can still run it through the washer and dryer (my experience has been that putting something crocheted that’s stuffed with stuffing in the washer/dryer doesn’t always end well!).
Looking for an ad-free PDF copy of this pattern? Find one in my shop HERE!
Both the hat and marshmallows work up fairly quickly, making this a fun, easy, and quick holiday gift idea! The hat is not only easy to make, but it’s also durable. I only used three different colors of yarn for this project, and I’m really happy with the colors I went with! I chose some stash staples of mine, Red Heart Super Saver in Cafe Latte (light brown), Coffee (dark brown)
, and White (for the marshmallows)
. You could make a few of these hats just using one skein each of these yarns!
I also included adjustments in the pattern so that you can make this in a Kids size! Now everyone on your gift list – regardless of age – can have a handmade Hot Cocoa Hat this holiday season!
Ready to crochet this deliciously comfy hat? Let’s get started!
Supplies
H/8 5.00 mm crochet hook
F/5 3.75 mm crochet hook
Red Heart Super Saver yarn in
– Cafe Latte
– Coffee
– White
Yarn needle
Scissors
Abbreviations
() = indicates a stitch count change for child’s size
beg = beginning
BLO = back loop only
ch = chain
rem = remaining
rep = repeat
rnd = round
sc2tog = single crochet two together
sc = single crochet
sl st = slip stitch
st(s) = stitch(es)
tr – triple crochet
Gauge
9 sc = 2 in (5 cm) and 6 rows of sc rib (when VERY stretched) = 1.75 in (4.5 cm)
Size
Adult size: about 21” circumference, 11” length
Child size: about 20” circumference, 10” length
Special stitches used
Triple Crochet: Yarn over hook, insert hook into next st, pull up a loop. Yarn over, pull through one loop. Yarn over, pull through two loops. Yarn over, pull through last two loops.
Notes
This pattern calls for changing colors each row on the body of the hat. Pattern includes instructions on how to carry both colors at the beginning of each round, to help avoid extra yarn ends to weave in.
Instructions
Hat
Items in parentheses () indicate a stitch count change for child’s size
Cuff
With Cafe Latte and H hook, Ch 10.
Row 1 – Sc in each ch across. Ch 1, turn [9 sc]
Row 2 – in BLO, sc across. Ch 1, turn [9 sc]

Rep Row 2 until entire piece measures 21″ (20″) when VERY stretched. Do not ch 1 on last row [9 sc per row]
Fold cuff in half, with right sides facing each other, and sl st edges together working in BLO. Do not fasten off. Turn cuff right side out.

Body of hat
Working now on side of the cuff:
Rnd 1 – Ch 3, evenly tr 72 (68) around entire cuff. In last st, change to Coffee. Join with sl st to first tr of rnd [72 (68) tr]
Rnd 2 – Carry both colors and Ch 3. With Coffee only, tr in each st around. In last st, change to Café Latte. Join with sl st to first tr of rnd. [72 (68) tr]


Rnd 3 – Carry both colors and Ch 3. With Café Latte only, tr in each st around. In last st, change to Coffee. Join with sl st to first tr of rnd. [72 (68) tr]
Rep Rnds 2 & 3 until entire hat measures 11″ (10″) in length – about 14 (12) total rnds
Closing the hat
Gather sts at top edge of hat on yarn needle. Continue around the hat and pull closed [sixth photo shows hat cinched completely]. Carry yarn end inside of hat and weave in end.

Mini Marshmallow (make 12)
(This piece is worked in continuous rnds – do not join. You may wish to use a stitch marker and move it up at the start of each new rnd.)
Rnd 1 – With White and F hook, make a magic ring; 5 sc in ring. [5
sc]
Rnd 2 – In BLO, sc around. Stuff with beg yarn end [5 sc]
Rnd 3 – Through both loops, sc in next st. In BLO, Sc2tog twice. [3 sc]

Fasten off, leaving a long tail for sewing. Use yarn needle to close gap. Photo below shows finished marshmallow.

Large Marshmallow (make 2)
(This piece is worked in continuous rnds – do not join. You may wish to use a stitch marker and move it up at the start of each new rnd.)
Rnd 1 – With White yarn and H hook, make a magic ring. 6 sc in ring [6 sc]
Rnd 2 – 2 sc in each st around [12 sc]
Rnd 3 – 2 sc in next st, sc in next st; rep around [18 sc]
Rnd 4 – 2 sc in next st, sc in next 2 sts; rep around [24 sc]
Rnd 5 – 2 sc in next st, sc in next 3 sts; rep around [30 sc]
Rnd 6 – In BLO, sc in each st around. [30 sc]

Rnds 7 – 17 – Working through both loops, sc in each st around. Stuff with white yarn. [30 sc per rnd]
Rnd 18 – In BLO, sc2tog over next 2 sts, sc in next 3; rep around. Finish stuffing. [24 sc]

Rnd 19 – Working through both loops, sc2tog over next 2 sts, sc in next 2; rep around [18 sc]
Rnd 20 – Sc2tog over next 2 sts, sc in next st; rep around [12 sc]
Rnd 21 – Sc2tog in each st around. [6 sc]
Rnd 22 – Sc2tog over next 2 sts. Leave rem sts unworked. Fasten off and leave a long tail for sewing; close rem gap with yarn needle and leave a tail for sewing to hat.
Finishing
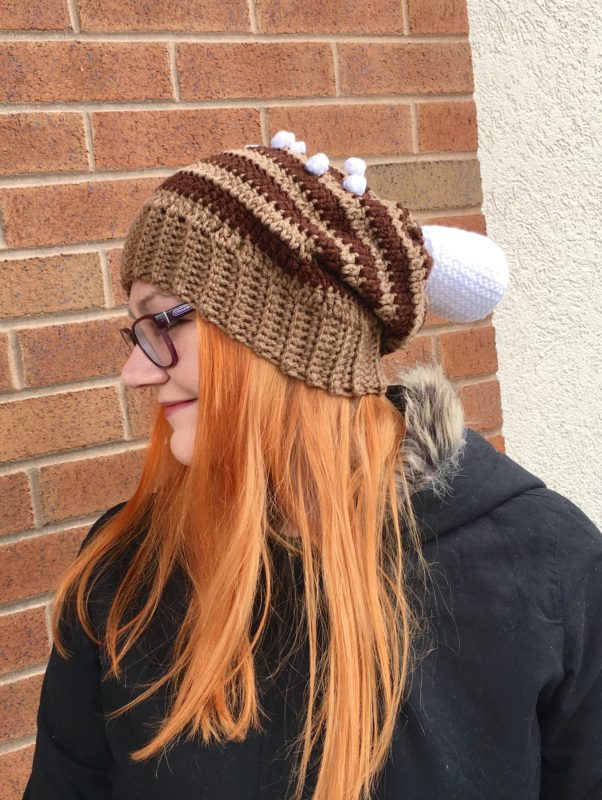
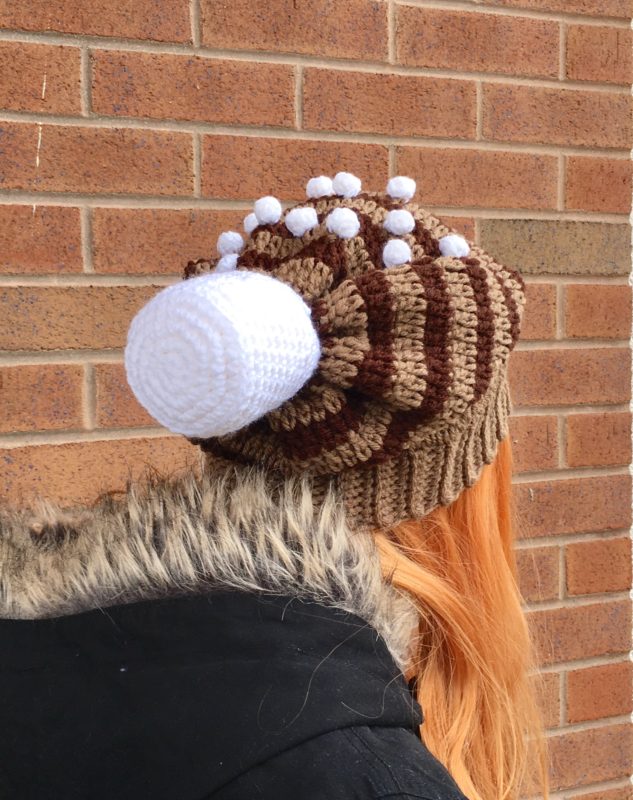
Arrange Mini Marshmallows as desired and sew to Hat. (Hat shown in this pattern had most of the mini marshmallows placed towards the tip of the hat.) Weave in ends from mini marshmallows on marshmallows themselves in order to avoid White yarn showing through on Hat. Sew Large Marshmallow to tip of Hat, where it is cinched closed. Weave in ends.

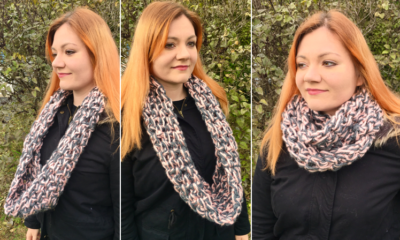
Here is the finished hat – photos are courtesy of my good friend, who did a great job snapping these pics! (Fun fact: this is the same friend that my Caylin Scarf pattern is named after! To learn more about the scarf and see the free pattern, click here!)
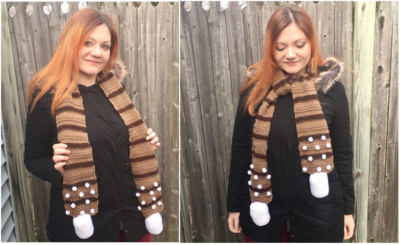
Thanks for crocheting this hat with me! Stay tuned for THE MATCHING SCARF PATTERN COMING SOON! That’s right, you can have a matching hot cocoa set!!!! Please follow me on social media/subscribe to my email list to get updates on this and many other fun patterns!
COPYRIGHT: This pattern is owned by Crafty KittyCrochet (Melissa Moore). Any reselling or distribution of this pattern isprohibited. Sale of items made using this pattern is welcomed, but I do askthat credit/a link be provided back to my site, craftykittycrochet.com.


Comments (2)
Ninja Throwing Star Scarf Crochet Pattern – Crafty Kitty Crochet
February 17, 2019 at 10:19 pm
[…] bit extra when it comes to my crochet designs. I can’t just make a hat, it needs to be a Hot Cocoa Hat or a Mermaid Hat! Well, this pattern is no different. When trying to come up with ideas for novel […]
Hot Cocoa Scarf Crochet Pattern – Crafty Kitty Crochet
April 18, 2020 at 4:35 pm
[…] cocoa all winter long in this comfy and cute Hot Cocoa Scarf! Made to be the companion of my Hot Cocoa Slouchy Hat, the scarf works up quickly and features the same cute mini and jumbo marshmallows that made the hat […]