
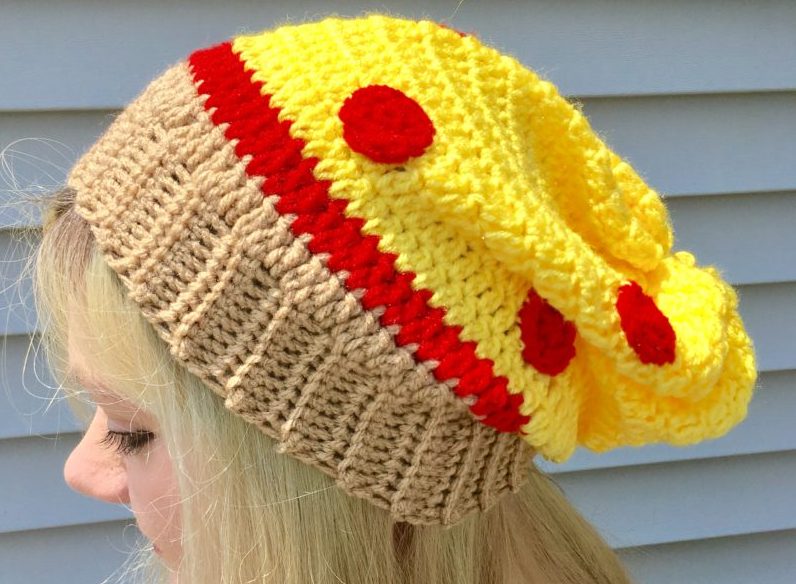
Pizza Slouchy Hat Crochet Pattern
What can I even say about pizza? It’s not just my favorite food; it may very well be my favorite thing, in general, on this planet. Go ahead, jot down the first things that come to mind when you say the word pizza – probably cheese, toppings, parties, Italian food, wings, and just all-around fun, right? If pizza weren’t so amazing, then how come it’s the official favorite food of the Ninja Turtles? It’s just the best thing ever, period.
So I’ve decided to express my lifelong love affair with this exquisite dish in the form of a crochet pattern – and not just any crochet pattern, but a slouchy hat pattern! This way, even when I’m not actually consuming pizza, it’s always with me. This particular pattern shows you how to make a pepperoni pizza hat, but if there’s enough demand, who knows – maybe I’ll release an “extra toppings” addendum pattern at some point, too!
Ready to get this pizza party started? Great! Me too!
(To purchase an ad-free PDF copy of this pattern in my shop, click here!)
Supplies:
Size H/8 (5.0 MM) Crochet Hook
Yarn Needle
Scissors
Red Heart With Love Yarn in Tan
Red Super Saver in Cherry Red
Red Heart Super Saver in Bright Yellow
Abbreviations:
* = Indicates the beginning of a section that will be repeated
Beg = beginning
BLO = back loop only
Ch = chain
Con’t. = continued
FLO = front loop only
Rep = repeat
Rnd = round
Sc = single crochet
Sl st = slip stitch
St(s) = stitch(es)
Tr = triple crochet
Size:
About 20-21” circumference around cuff; 11” total length
Gauge:
9 sc = 2 in (5 cm) and 6 rows of sc rib (when VERY stretched) = 1.75 in (4.5 cm)
Cuff
With Tan, Ch 10.
Row 1 – Sc in each ch across (9 sc). Ch 1, turn.
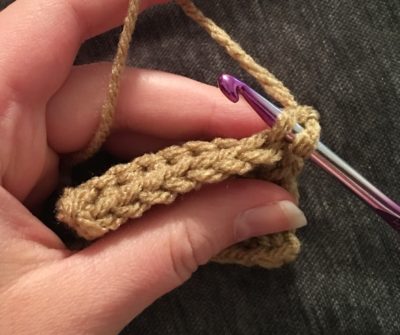
Row 2 – Working in BLO, sc across (9 sc). Ch 1, turn.
Rep Row 2 until piece measures about 21″ when VERY stretched (or about 15-16” when unstretched – about 53 rows). (See photo below for more about working in BLO.)
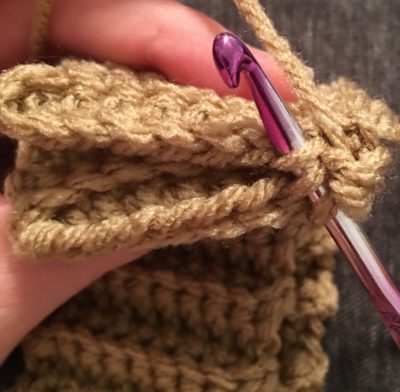
Joining cuff
With right sides facing together, fold cuff and sl st two sides together, working in FLO. Do not fasten off. (9 sl st) (See photo below for more about joining cuff.)
Turn right side out, ch 3.
Body of hat
Rnd 1 – Tr 72 sts evenly across cuff cuff (it helps to tr 1 in each row of sc rib below, but add an extra tr about every 7-10 sts). and change to Red in last st. Join with sl st to top of ch 3. (72 tr)
Rnd 2 – Ch 3, tr in each st around and change to Yellow in last st. Join with sl st to top of ch 3. (72 tr)
Rnd 3 – Ch 3, tr in each st around. Join with sl st to top of ch 3. (72 tr)
Rnds 4-14 (or until total hat length is 11 inches) – Rep Rnd 3. Do not ch 3 at the end of last rnd.
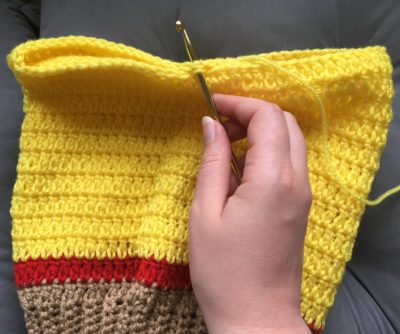
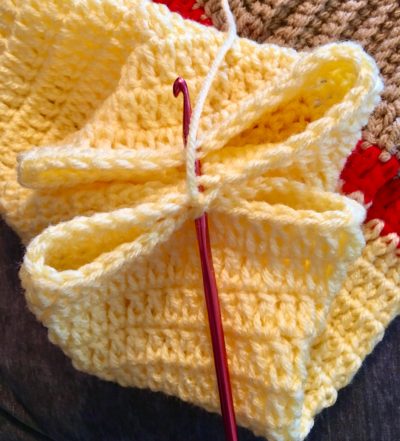
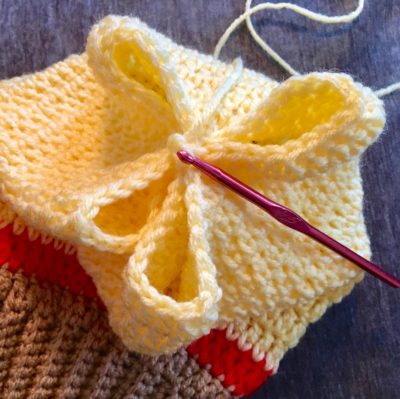
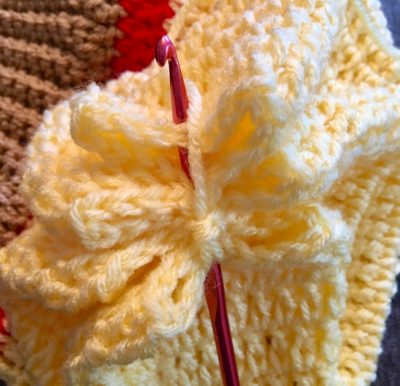
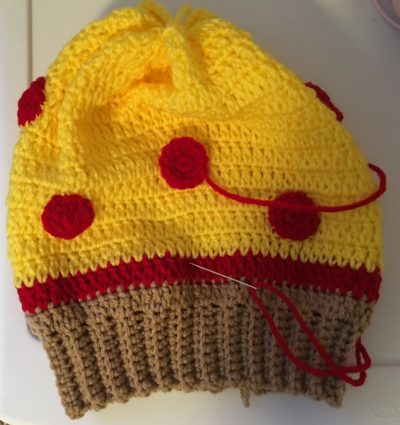
Closing the hat
Fold body of hat together and sc two sides together (first and second photos below).
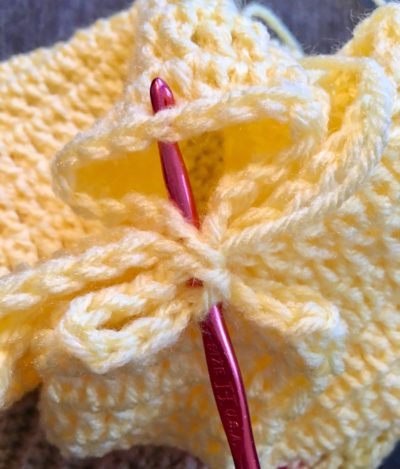
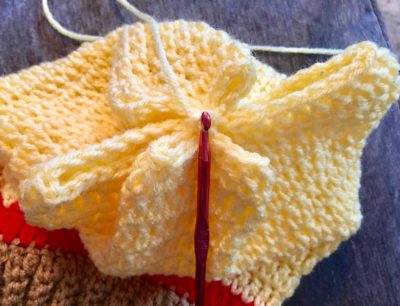
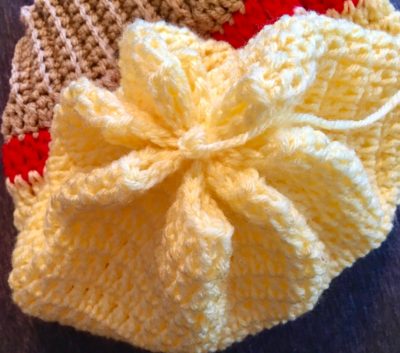
Fold in the other direction, closing two large gaps left after first side has been closed (see third and fourth photos below).


The result of the above four photos will look like this:
Close the remaining gaps even further by repeating the above two steps (see photos below).
Weave in all ends.
Pepperoni (make 8 – or more/less depending on how many pepperoni you want on your hat)
(Work in continuous rounds – do not join)
Rnd 1 – With Red, make a magic ring. 6 sc in ring (6 sc)
Rnd 2 – 2 sc in each st around (12 sc)
Fasten off, leaving a long tail for sewing.
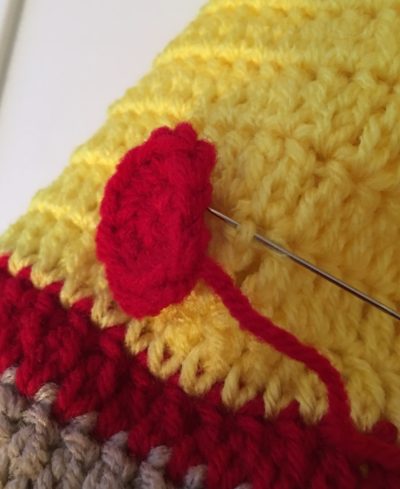
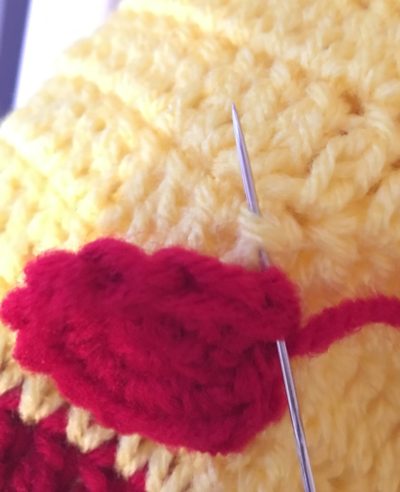
Finishing
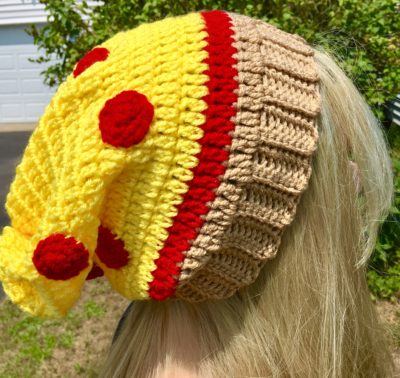
Weave in tails from beg magic rings of pepperonis. With long tail, sew each pepperoni to parts of the stitches of the hat – in other words, don’t sew through the entire piece so that your red yarn shows through on the inside of the hat (see first two photos below). I sewed them in a “triangle” pattern (see third photo), sewing three on both front and back of hat; the remaining pepperonis are sewn in between the “triangles”, on the sides (see fourth photo). But feel free to get creative and sew them on in any order you like!

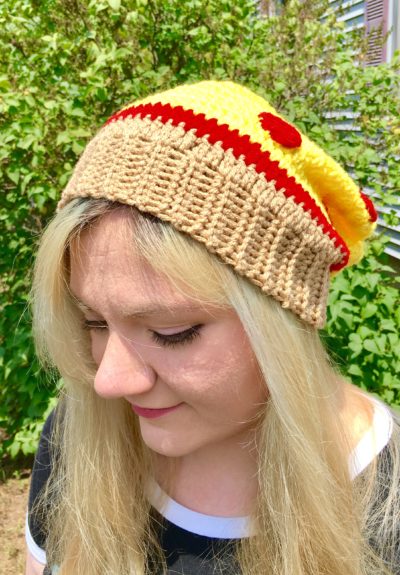
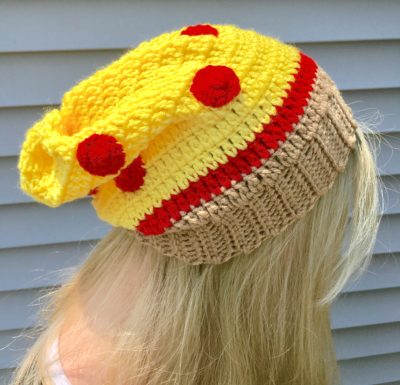
Here is the finished hat!
COPYRIGHT:
This pattern is owned by Crafty Kitty Crochet (Melissa Moore). Any reselling or distribution of this pattern is prohibited. Sale of items made using this pattern is welcomed, but I do ask that credit/a link be provided back to my site, craftykittycrochet.com.
Comments (14)
12 Crochet Slouchy Hat Pattern – Stitch11
February 8, 2019 at 4:01 pm
[…] Via Crafty Kitty Crochet […]
Pizza Hooded Blanket – Crochet Pattern – Crafty Kitty Crochet
October 14, 2019 at 6:36 pm
[…] may remember other pizza patterns of mine such as the Pizza Slouchy Hat and the Everything Pizza Toppings that you can add to that hat. It should come as no surprise that […]
12 Weeks of Christmas: Yuletide Toast – Crafty Kitty Crochet
October 25, 2019 at 6:27 pm
[…] not too dark brown, either. It also happens to be the same color I used for the crust/cuff in my Pizza Slouchy Hat – go figure! I guess it’s a great carbohydrate […]
12 Weeks of Christmas: Snowbound Slice of Pizza Ornament – Crochet Pattern – Crafty Kitty Crochet
November 15, 2019 at 4:11 pm
[…] in Tan for the crust (on Amazon HERE!), which ironically is what I used for the pizza crust in my Pizza Slouchy Hat Pattern! The cheese uses Caron One Pound in Sunflower (on Amazon HERE!) – it’s an awesome staple […]
Free Crochet Slouchy Hat Patterns – Easy Crochet Hat
March 26, 2020 at 6:22 am
[…] craftykittycrochet […]
Amigurumi Cheeseburger Crochet Pattern – Crafty Kitty Crochet
May 11, 2020 at 9:48 pm
[…] cheese, tomato, and lettuce. But I’m thinking of doing something similar to my idea for my Pizza Slouchy Hat Pattern – releasing an “extra toppings” pattern later on! There could be little chain […]
Amigurumi S'mores – Crochet Pattern ~ Crafty Kitty Crochet
July 3, 2020 at 3:25 pm
[…] Another great thing about these s’mores is that the colors are easy to match – all you need is a little bit of tan, dark brown, and white yarn (plus tiny amounts of black and pink yarn). The colors I used are Red Heart Super Saver in White (on Amazon HERE) and Coffee (on Amazon HERE), as well as Red Heart with Love in Tan (on Amazon HERE). You might recognize Tan as my go-to color for pizza crust – I also used it on my Pizza Slouchy Hat! […]
Free Crochet Hat Patterns For Every One –
September 18, 2020 at 8:09 am
[…] craftykittycrochet […]
Free Crochet Hat Patterns For Every One – Crochet Craftsy
December 14, 2020 at 3:31 pm
[…] craftykittycrochet […]
Crochet hat patterns for family completely free- 2021 – apronbasket .com
May 29, 2021 at 1:21 pm
[…] Click For Free Pattern […]
Pizza et crochet, un mariage improbable? – Magic Circle and Wine
February 8, 2022 at 5:19 pm
[…] explications sont ICI, sur le blog de Melissa: […]
Pretty Sailor Slouchy Hat – Crochet Pattern ~ Crafty Kitty Crochet
February 19, 2022 at 2:51 pm
[…] 90s kids in the US). I love making slouchy hats in general, which you probably know from my Pizza Slouchy Hat and Rainbow Slouchy Hat, among others! But I thought I’d put a geek chic twist on the idea this […]
12 Crochet Slouchy Hat Pattern – Stitch 11
March 29, 2022 at 1:20 pm
[…] Via Crafty Kitty Crochet […]
Everyone Needs a Crochet Slouchy Pizza Hat, Especially You! | KnitHacker
March 29, 2022 at 7:13 pm
[…] the FREE pattern here, designed by Crafty Kitty Crochet. Add it to your Ravelry […]