
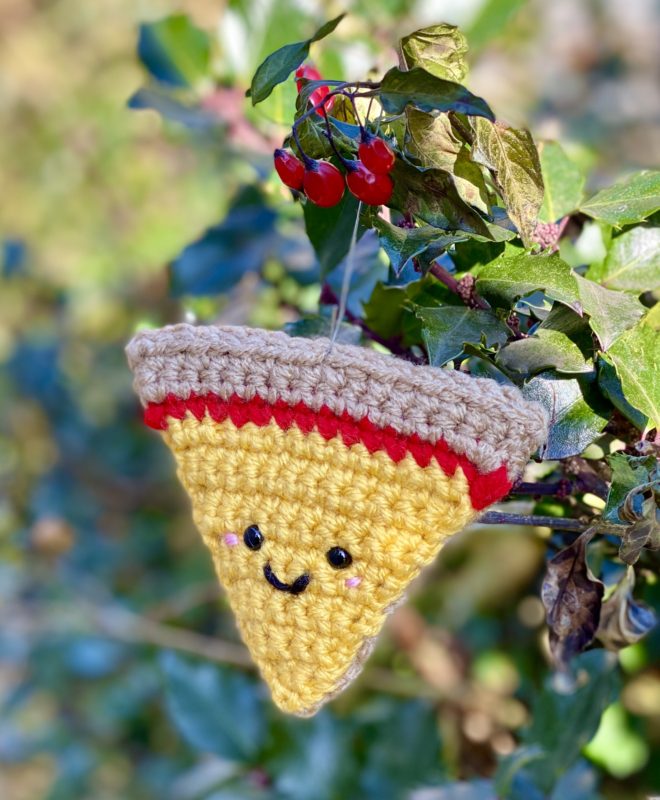
12 Weeks of Christmas: Snowbound Slice of Pizza Ornament – Crochet Pattern
The holidays are around the corner, and nothing quite says “holiday season” like comfort food! If you’re a pizza lover or have one on your Christmas gift list this year, this amigurumi Pizza ornament is a unique and cute way to make the tree a bit more festive! And this pattern is quick and easy, so it will leave plenty of time for you to catch up on shopping, cooking, prepping, etc. for your holiday plans!
Why Pizza, you might ask? Well, the obvious answer is that pizza is my all-time favorite food, so of course it was bound to make an appearance in this series of patterns sooner or later! And since there are so many fellow pizza lovers out there, I figured they may want to see a way to add some “extra cheese” to their tree this year!
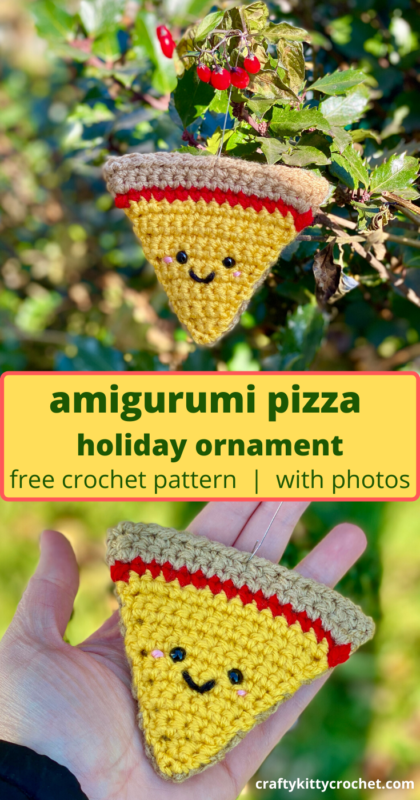
Pin it for later!
I’ve always felt that pizza is associated with lots of festive feelings, too. When I think of pizza, I think of party foods, kicking back with people I love, and enjoying a delicious and effortless meal. So why not bring all those fuzzy feelings to your Christmas tree this year?!
I managed to find some great yarn for this project! It’s sturdy, colorful, and gets the job done quickly on this pattern! I used Red Heart With Love in Tan for the crust (on Amazon HERE!), which ironically is what I used for the pizza crust in my Pizza Slouchy Hat Pattern! The cheese uses Caron One Pound in Sunflower (on Amazon HERE
!) – it’s an awesome staple yarn to have in your stash, and you could make dozens and dozens of these pizzas with just one skein! Last but not least, the safety eyes are what make this little pizza really come to life. I’ve been a big fan of this set of plastic safety eyes on Amazon
for a few years now! They last a long time, come in their own little case, and you get a little bit of everything but the cost is very low!
And I’ll give you a hint as to what the “Snowbound” part of the title of this pattern refers to: I live in Upstate NY! I know there will be many instances this winter of eating pizza while snowed in within my household, so I think the name is quite catchy and apropos!
So who’s ready to bake up some holiday goodness with this pizza ornament? Then let’s go!
Supplies
Size D-3 / 3.25 mm crochet hook
Caron One Pound in Sunflower
Red Heart with Love in Tan
Small amounts of Red Heart Super Saver in Cherry Red (for Pizza Sauce) and Black (for smile), and Red Heart Soft Essentials in Rose (for Blush)
1 pair 6 mm safety eyes
Yarn Needle
Scissors
Abbreviations
Ch = chain
Rem = remaining
Rep = repeat
Sc = single crochet
St(s) = stitch(es)
Gauge
Exact gauge is not essential to this project.
Size
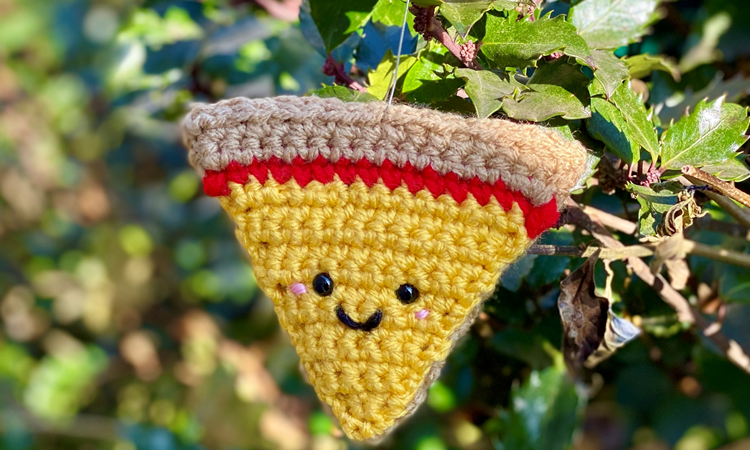
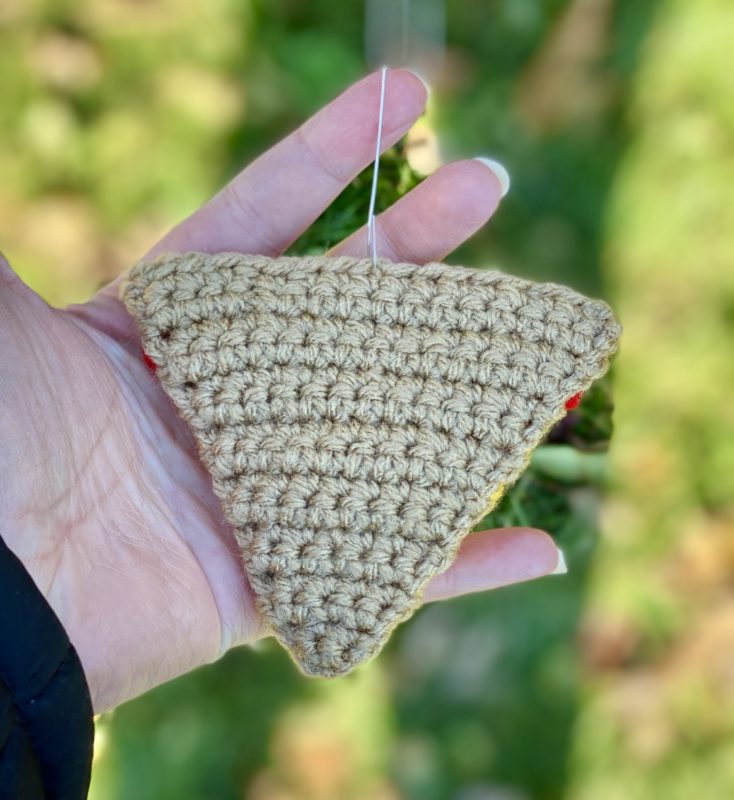
About 3.5 inches in length; 4 inches in width at widest point
Instructions
Front of Pizza
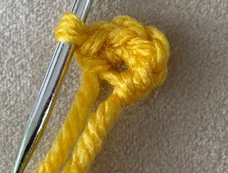
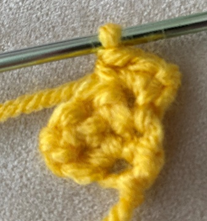
With Sunflower, ch 2.
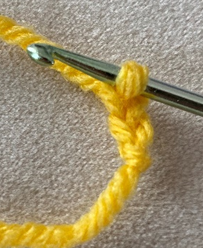
Row 1 – 3 sc in 2nd ch from hook. Ch 1, turn (3 sc)
Row 2 – sc in each st across. Ch 1, turn (3 sc)
Row 3 – 2 sc in next st, sc in next st, 2 sc in last st. Ch 1, turn (5 sc)
Row 4 – sc in each st across. Ch 1, turn (5 sc)
Row 5 – 2 sc in next st, sc in next 3 sts, 2 sc in last st. Ch 1, turn (7 sc)
Row 6 – sc in each st across. Ch 1, turn (7 sc)
Row 7 – 2 sc in next st, sc in next 5 sts, 2 sc in last st. Ch 1, turn (9 sc)
Row 8 – sc in each st across. Ch 1, turn (9 sc)
Row 9 – 2 sc in next st, sc in next 7 sts, 2 sc in last st. Ch 1, turn (11 sc)
Row 10 – sc in each st across. Ch 1, turn (11 sc)
Row 11 – 2 sc in next st, sc in next 9 sts, 2 sc in last st. Ch 1, turn (13 sc)
Row 12 – sc in each st across. Ch 1, turn (13 sc)
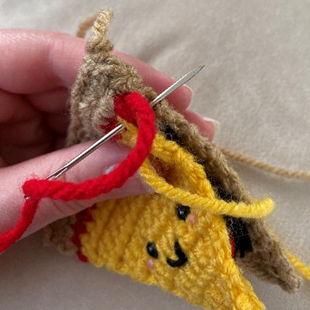
Row 13 – 2 sc in next st, sc in next 11 sts, 2 sc in last st. Join Cherry Red in last st. Ch 1, turn (15 sc)
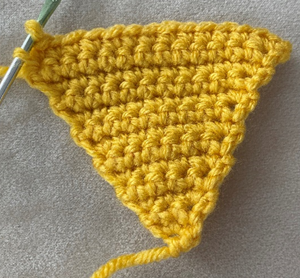
Row 14 – sc in each st across. Join Tan in last st. Ch 1, turn (15 sc)
Row 15 – 2 sc in next st, sc in next 13 sts, 2 sc in last st. Ch 1, turn (17 sc)
Row 16 – sc in each st across. Ch 1, turn (17 sc)
Fasten off all colors, leaving long tail for sewing from each.
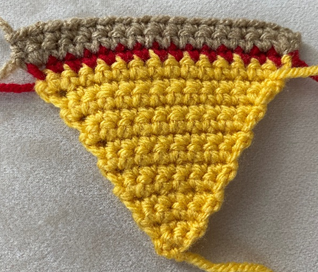
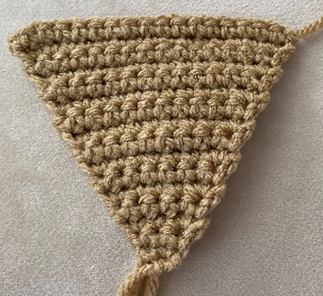
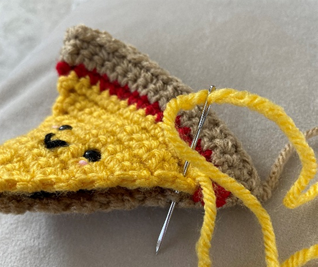
Crust
With Tan, rep process for Front of Pizza, but do not change colors throughout.
Fasten off.
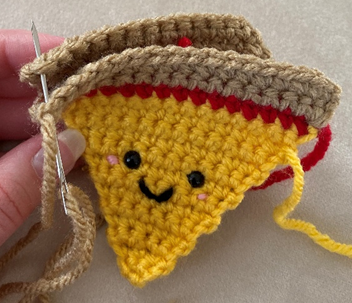
Finishing
Note: any ends not woven in from any of the pieces made can be used to lightly stuff Pizza.
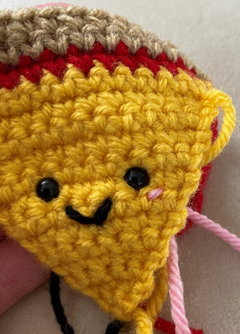
Attach safety eyes to Front of Pizza. With Black, make a small “v” between eyes for Smile.
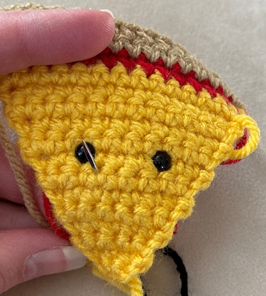
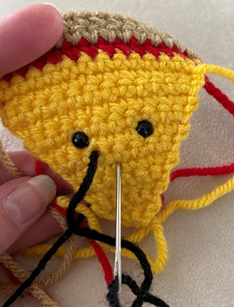
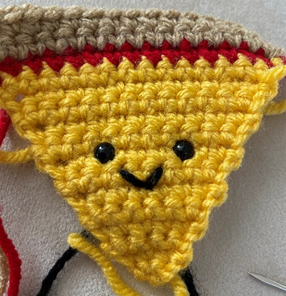
With Rose, make a small horizontal line under each eye for Blush.
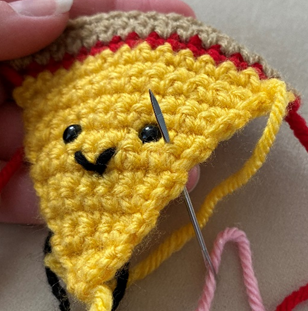
Using coordinating rem tails from Front of Pizza, sew Front of Pizza to Crust. Weave in ends from sewing.

Here is the finished Pizza!

I hope you enjoyed crocheting this Pizza Ornament along with me today! If you love fun, free patterns, please be sure to subscribe to my email list and follow me on social media. I have so many more fun patterns like this one coming soon!
Happy Crocheting!
COPYRIGHT: This pattern is owned by Crafty Kitty Crochet (Melissa Moore). Any reselling or distribution of this pattern is prohibited. Sale of items made using this pattern is welcomed, but I do ask that credit/a link be provided back to my site, craftykittycrochet.com.
Comments (4)
Dede
January 1, 2020 at 8:01 am
Melissa…this is soooo cute. Any suggestions on if/how it could be made into a garland? Thanks
Melissa
January 1, 2020 at 4:10 pm
Thank you so much, Dede!!! It would actually make a great garland, I’ve made it into garland before! 😀 I would recommend sewing 4-5 inches worth of yarn (or chains that equal that length) between each Pizza! Then you could make small loops on either edge of the garland to hang the Pizzas. Hope that helps! Good luck and Happy Crocheting! Melissa 🙂
DeDe
January 30, 2020 at 9:24 am
Hi Melissa. I have all my pizzas made and have been working on making them into a garland but I’m not having much luck. I tried it with a chain but didn’t really care for that look. I would rather sew them but I’m not really clear on how you sewed yours. Can you elaborate on that for me? I’m sorry….I’m more of a visual person and I’m just not picturing it. Thanks DeDe
Melissa
January 30, 2020 at 12:01 pm
Hi DeDe! Glad to hear you are done with your pizzas, but sorry to hear about the issues you’re having with assembling the garland! I can definitely elaborate on what I did to sew my garland together! Unfortunately I have no photos of the process, but essentially I threaded a yarn needle with the pizza cheese color, began at the “sauce” (red) of one pizza, sewed through a stitch a few times, cut the other end of my yarn and threaded the needle at that end, and repeated the sewing process on the same area of the next pizza. Then I just repeated that and wove in all the ends when I was done. My yarn in between the pizzas was about 2-3″. I hope that helps! If you have any more questions, please feel free to let me know here or email me at craftykittycrochet@gmail.com 🙂