
Happy Homestyle Throw Pillow – Crochet Pattern
What better way to put some crochet into your daily life than to make a comfy handmade throw pillow that you can admire in your home? This homey pillow is fun and easy to make, and fits beautifully with many different styles of decor – modern, traditional, rustic, farmhouse, etc.! And you can even customize it using appliques and embellishments!
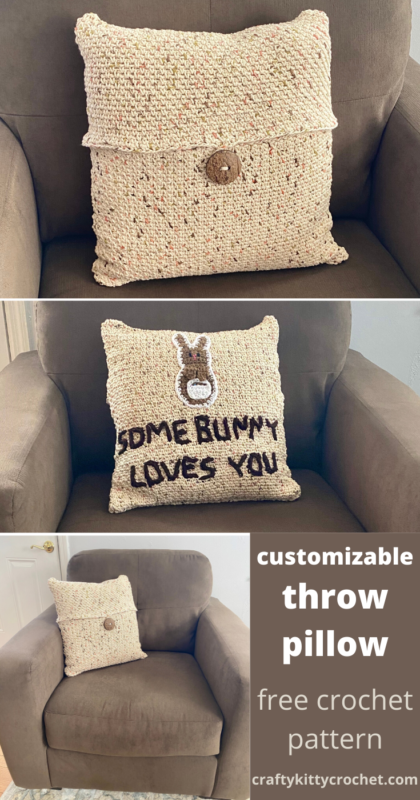
Pin it for later!
Crochet for the home is a great way to make a fun, quick project and show off your crochet skills to friends, family and visitors. This pattern is nice and simple, and goes really fast due to the use of the Moss Stitch. It has a tight, solid texture like regular single crochet, but goes twice as fast due to the fact that you are actually crocheting into chain spaces each row.
You can also get creative and customize your pillow in so many ways! A button in an interesting shape, yarn colors that match your decor, or even attaching appliques and stitched on text on the back side are all examples of personalization you could do on this classic pillow structure!
Here’s an example – I made a spring/Easter themed pillow on the back of my throw pillow for “some bunny” I love! The “front” is just the loop and button you see in my other photos. But for the back, I used my Bunny Applique Pattern and a stitch writing method I used for my Gingerbread Blanket Pattern to customize the pillow for the Easter holiday! You could do this with just about anything – other holidays, special occasions like weddings, baby showers, and graduations; names or characters, etc.! The possibilities are endless!

I’m in love with the yarn I used for this project – the texture is perfect for home decor projects, and the color was really neutral with just a splash of color and character to make things interesting! I used Lily Sugar n Cream Big Ball Ombres Yarn in Sonoma Print (on Amazon HERE!). One “big ball” is all you need to make this pillow!
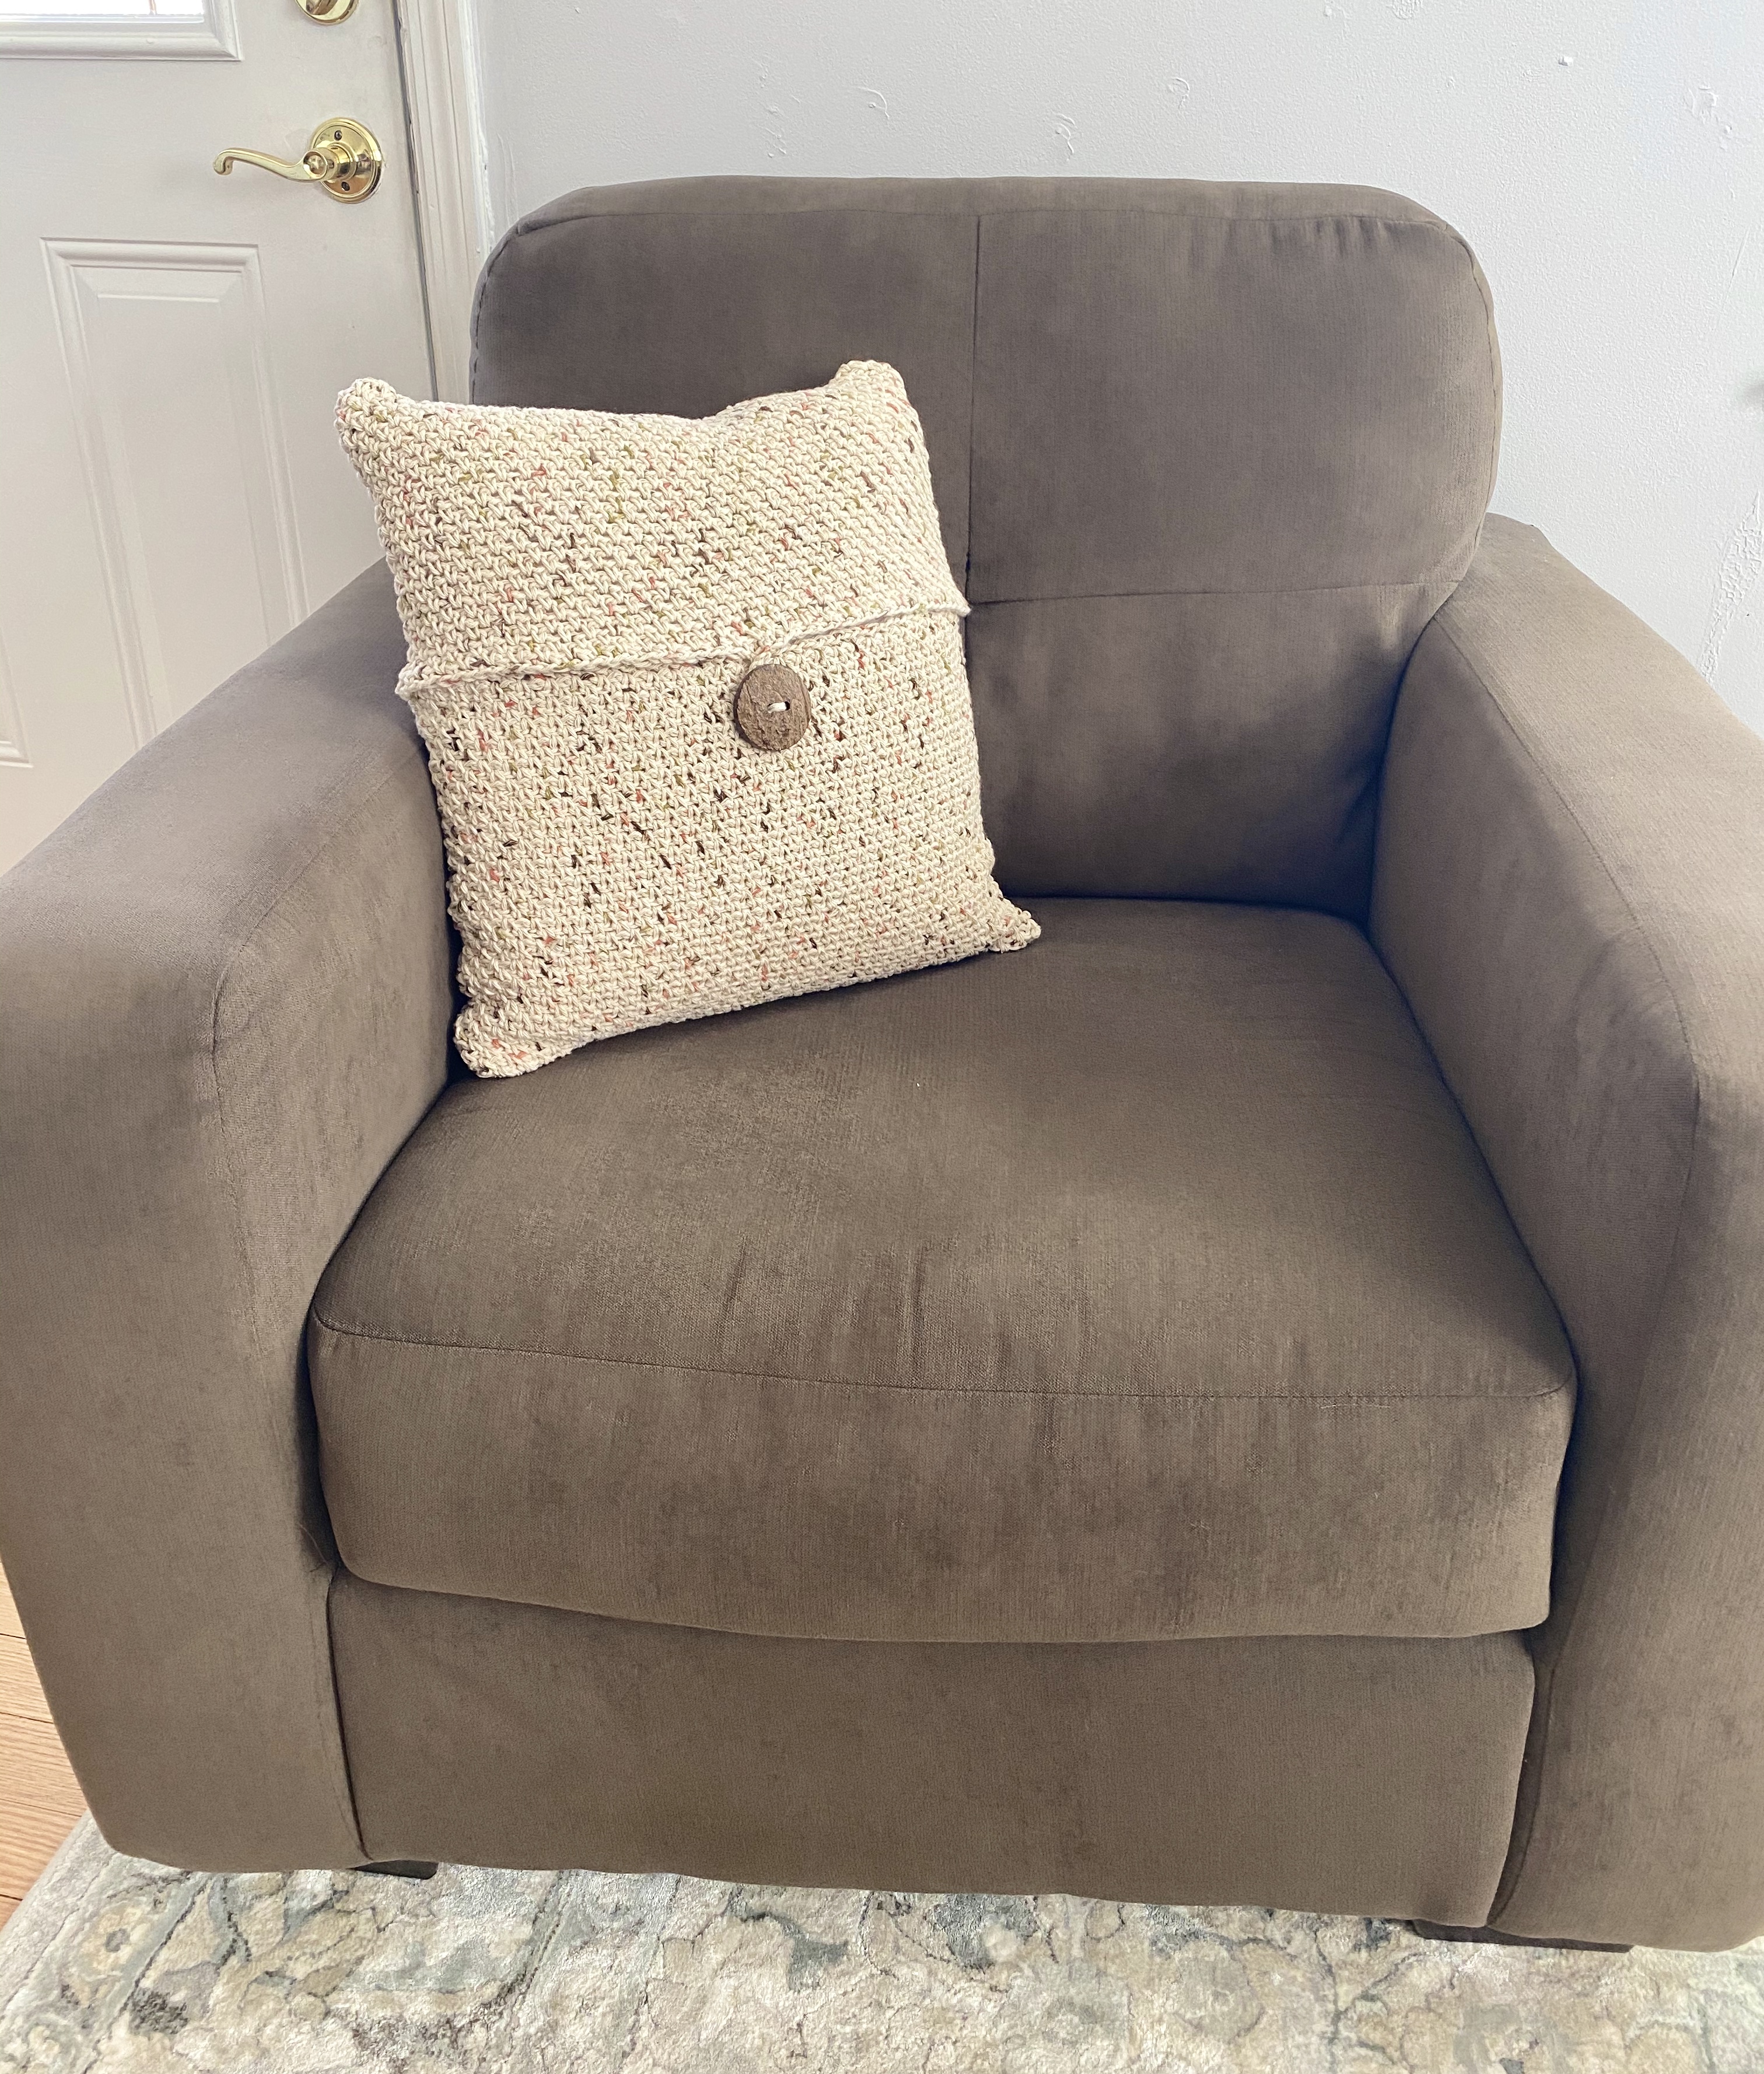
The craft pillow I used worked well, too. It’s squeezable, but still firm enough to look nice on a couch or chair! I found one similar to the one I used on Amazon HERE!
So who’s ready to spruce up their decor with this happy, homey pillow? Let’s go!
Supplies
Size H-8 / 5mm crochet hook
1 skein of Lily Sugar n Cream Big Ball Ombres Yarn in Sonoma Print (608 yards)
16 inch craft pillow form
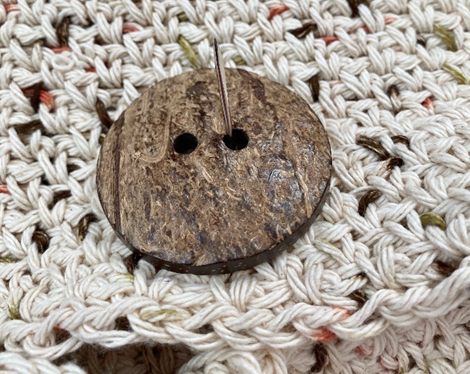
2 inch button
Yarn Needle
Scissors
Abbreviations
*=indicates the beginning/end of a section to be repeated
Ch = chain
Rep = repeat
Sc = single crochet
Sk = skip
Sl St = slip stitch
Sp = space
Gauge
About 3 moss stitches (single crochet plus one chain) and 5 rows = about 1.5 inches
Size
16 inches square
Special Stitches Used
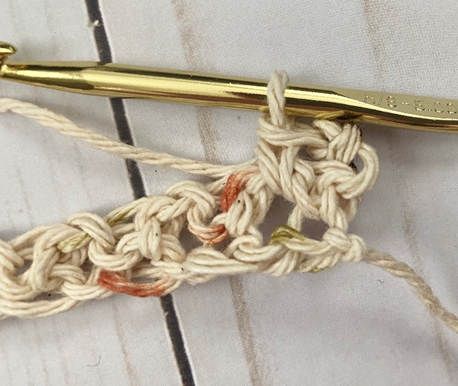
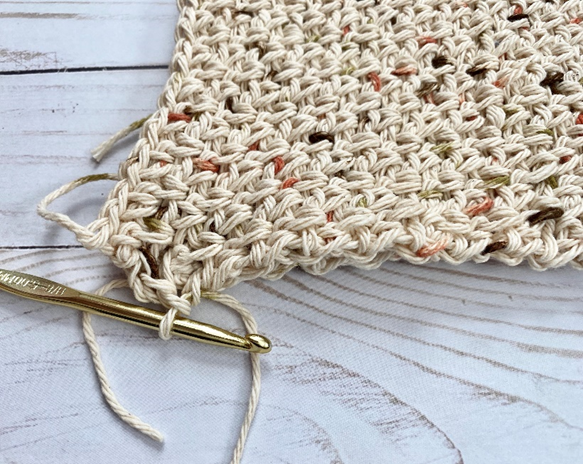
This pattern uses the Moss Stitch, which consists of a single crochet stitch, followed by a chain 1, skipping the next stitch/space, and making a single crochet in the next stitch.
Instructions
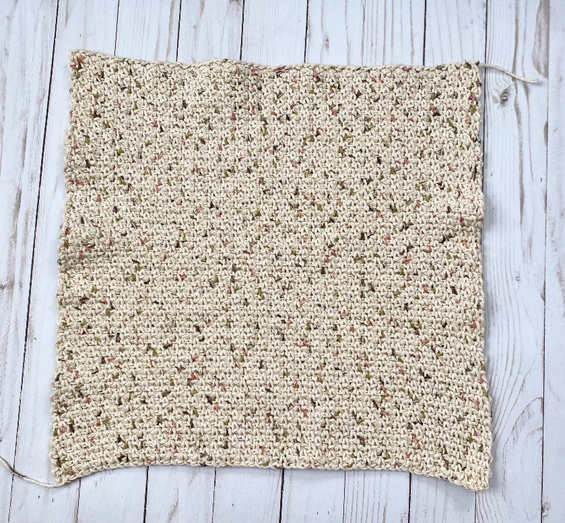
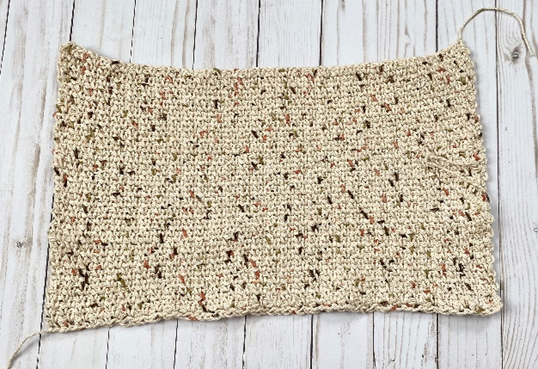
Back Square
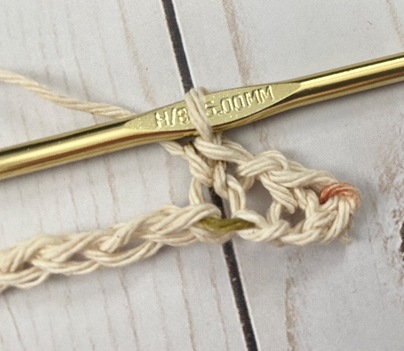
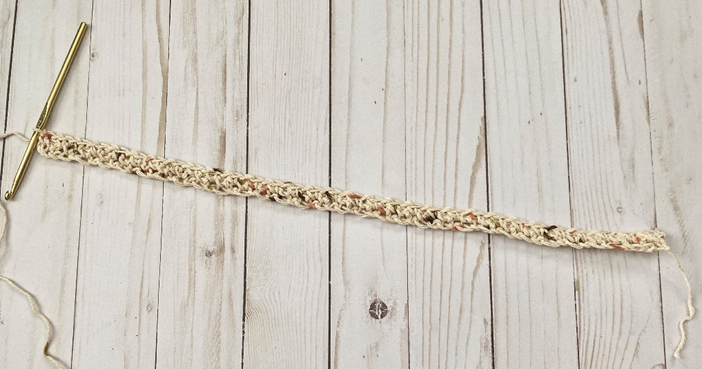
Ch 63.
Row 1 – sc in 3rd ch from hook. *Ch 1, sk next ch, sc in next ch.* Rep from * to * 29 more times. Ch 2 (31 sc)

Row 2 – *Sc in next ch-1 sp, ch 1.* Rep from * to * 30 more times. Ch 2 (31 sc)
Rows 3 – 67 – rep Row 2. Do not ch 2 at end of Row 67. (31 sc per row)
Fasten off.
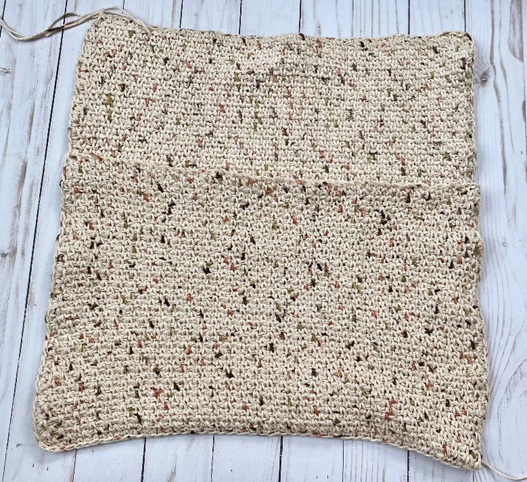
Front Top
Rep Back Square, but only rep Row 2 until Row 25.
Fasten off.
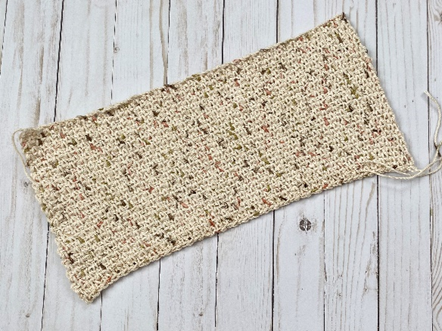
Front Bottom
Rep Back Square, but only rep Row 2 until Row 50.
Fasten off.
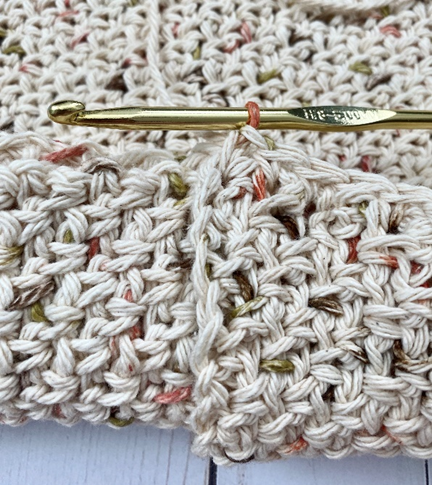
Assembly
With right sides facing each other, place Front Top over Back Square, aligning the tops of each piece. Place Front Bottom on top of both pieces – align the bottom of Front Bottom and Back Square so that Front Bottom overlaps Front Top. Attach yarn anywhere on piece and sc around entire piece, attaching all three parts together. Join with sl st to first sc. Fasten off.
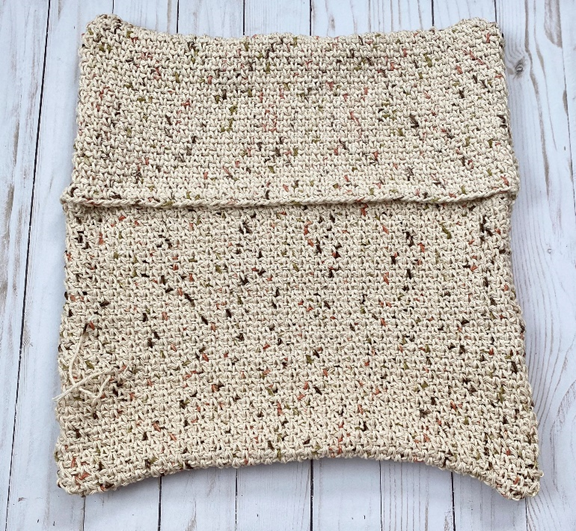
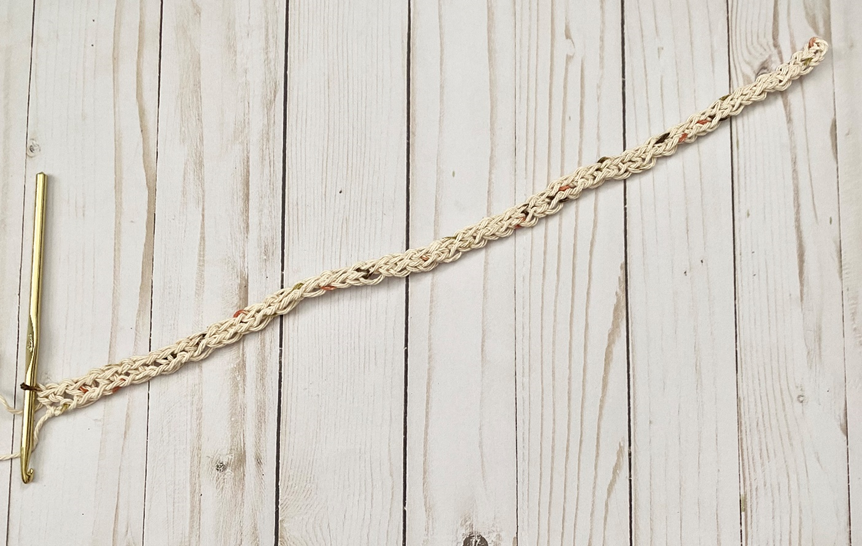
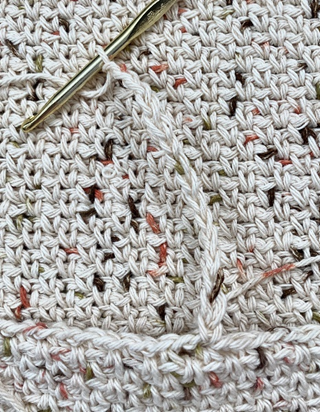
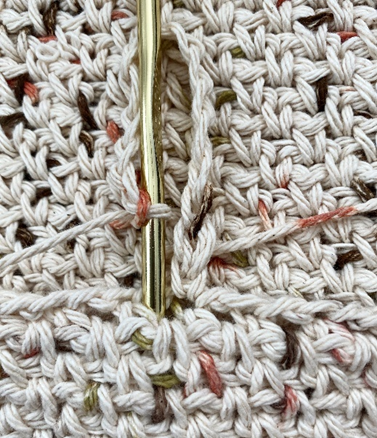
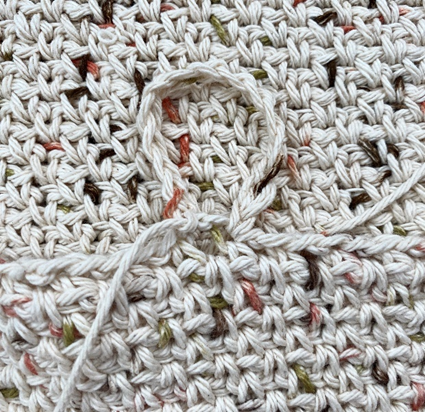
Turn piece right side out. Attach yarn at center of Top Front. Ch 16, join with sl st back to Top Front.
Sew button to center of Front Bottom, slightly below where it is overlapped by Front Top.
Weave in all ends.
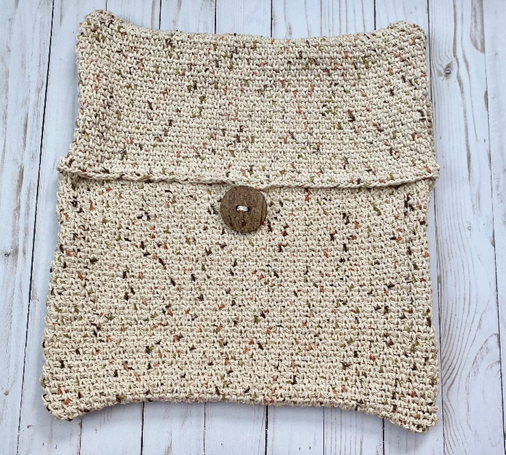
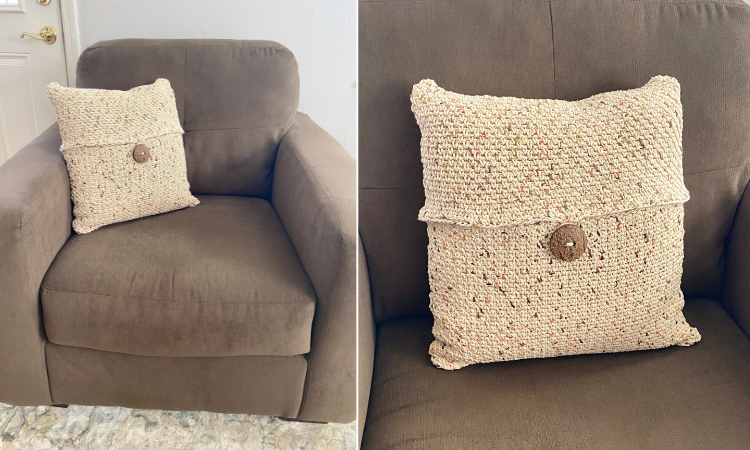
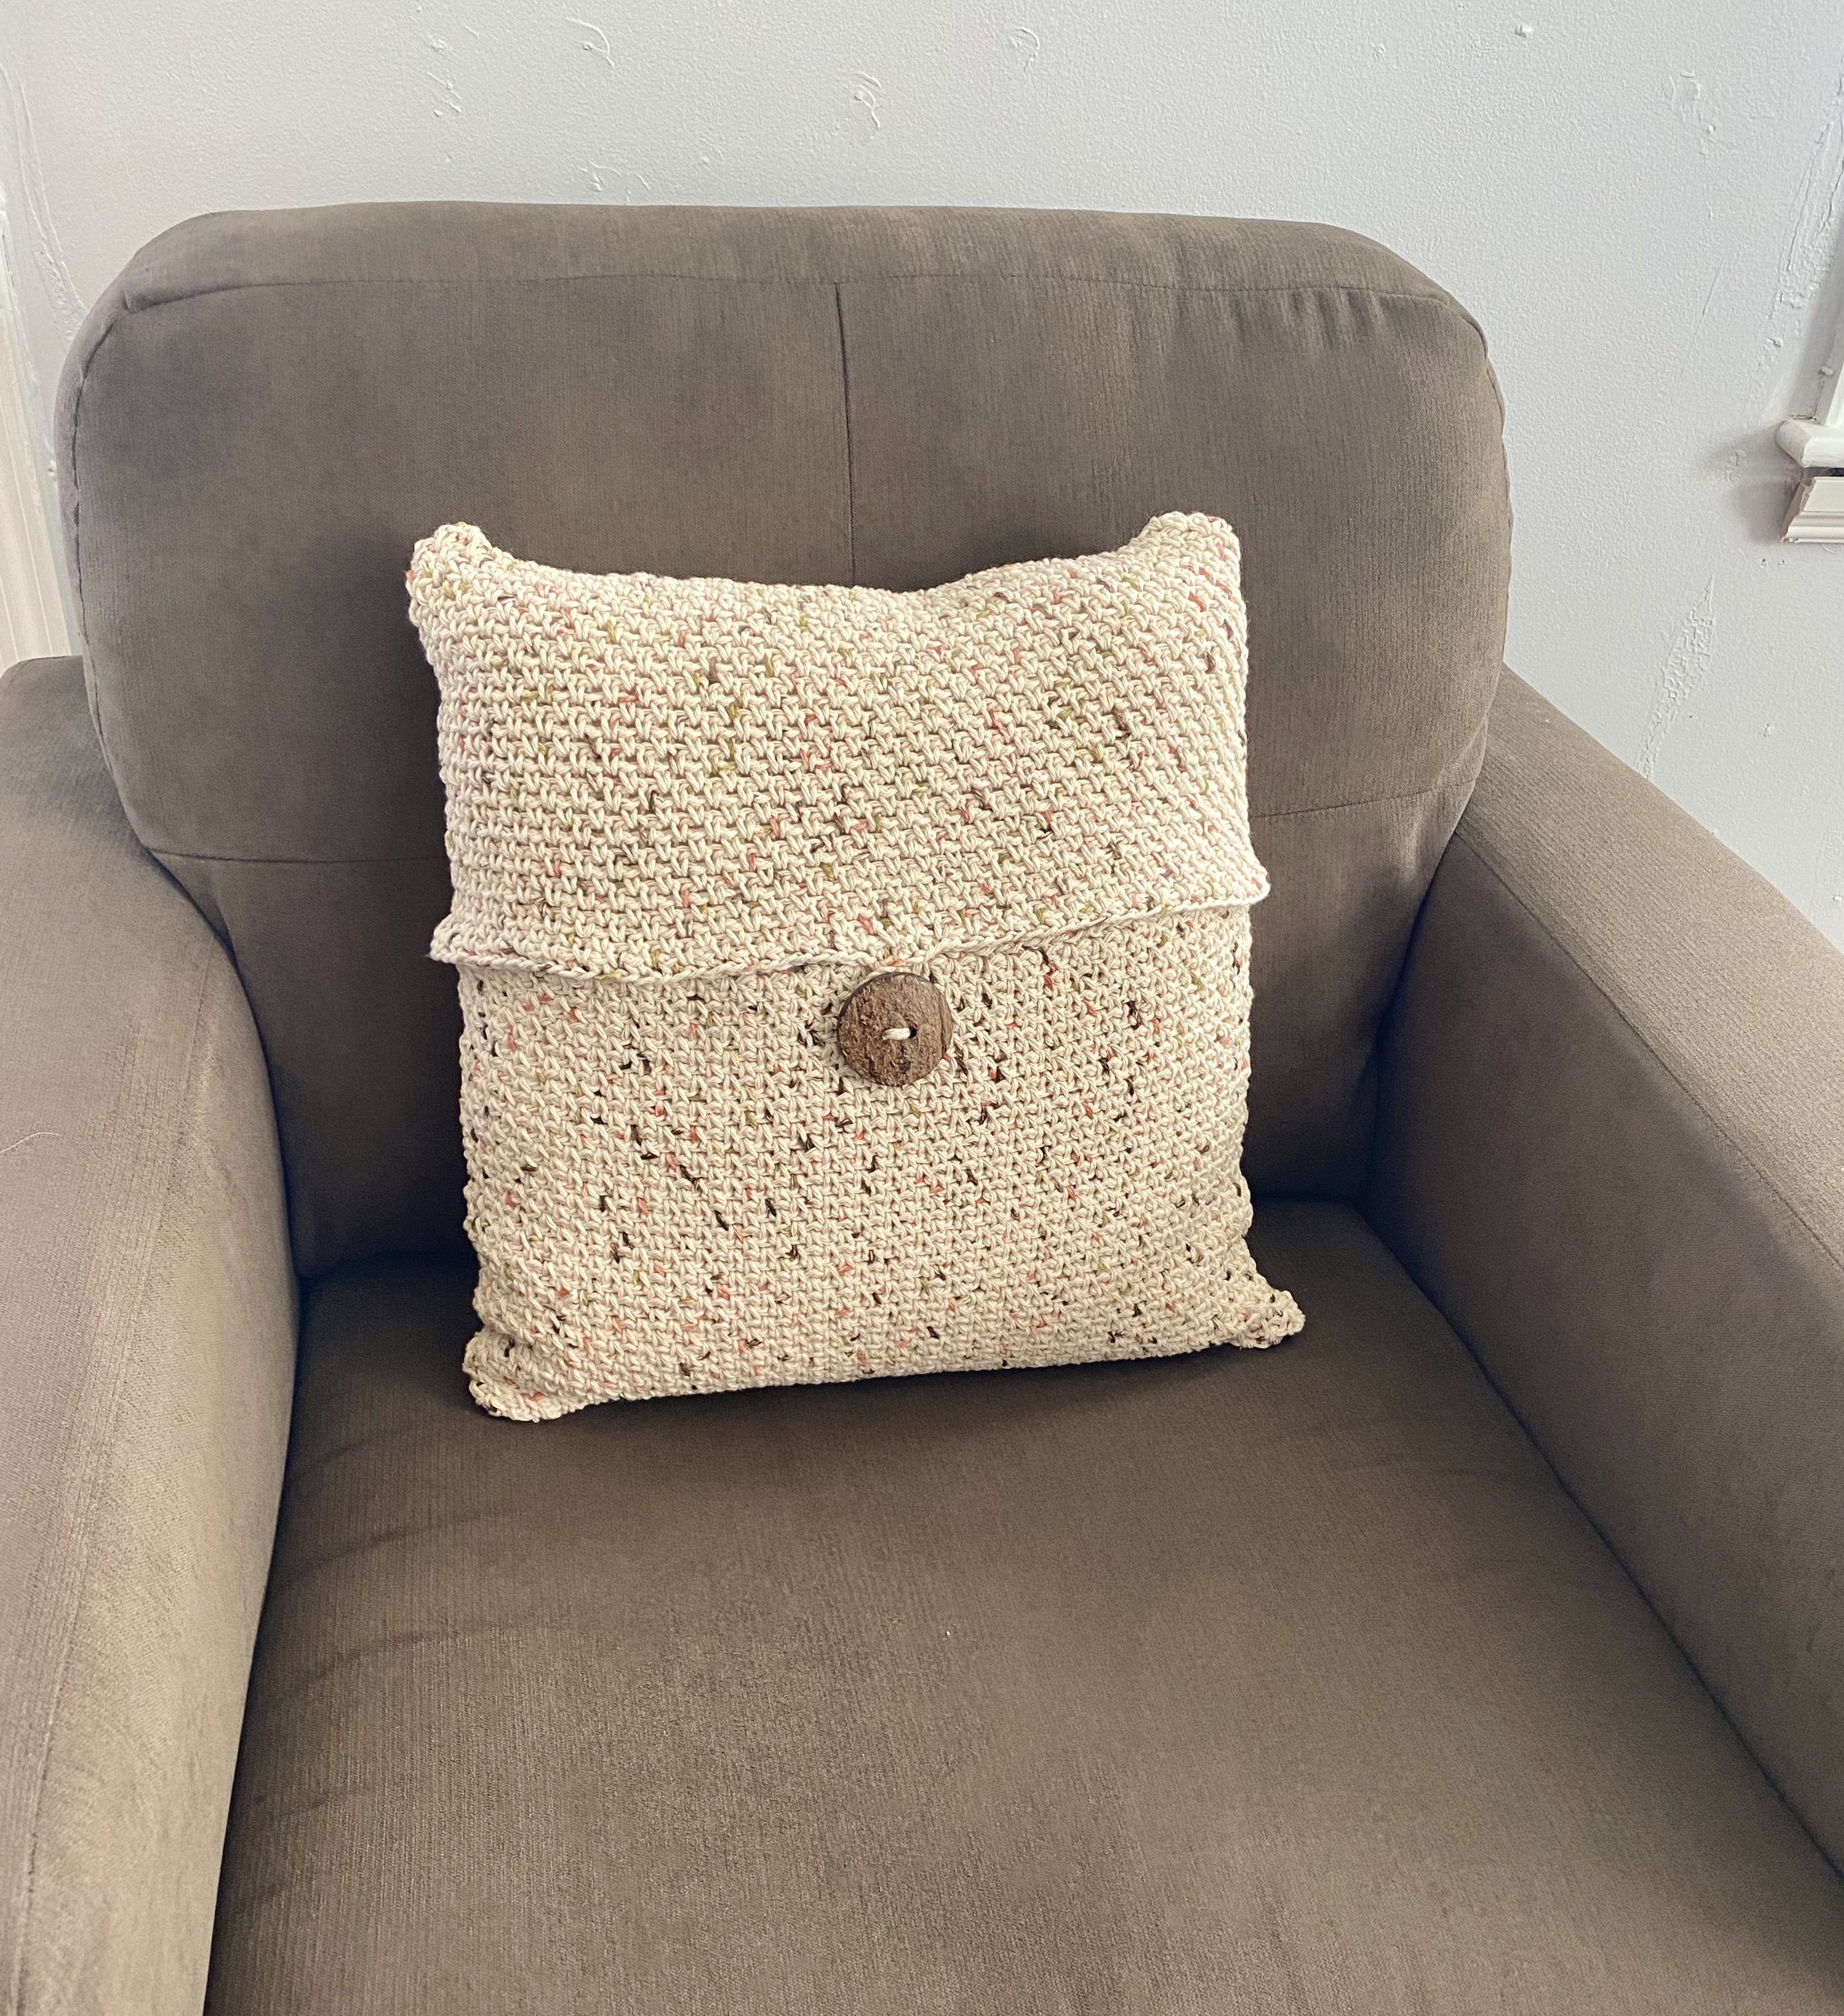
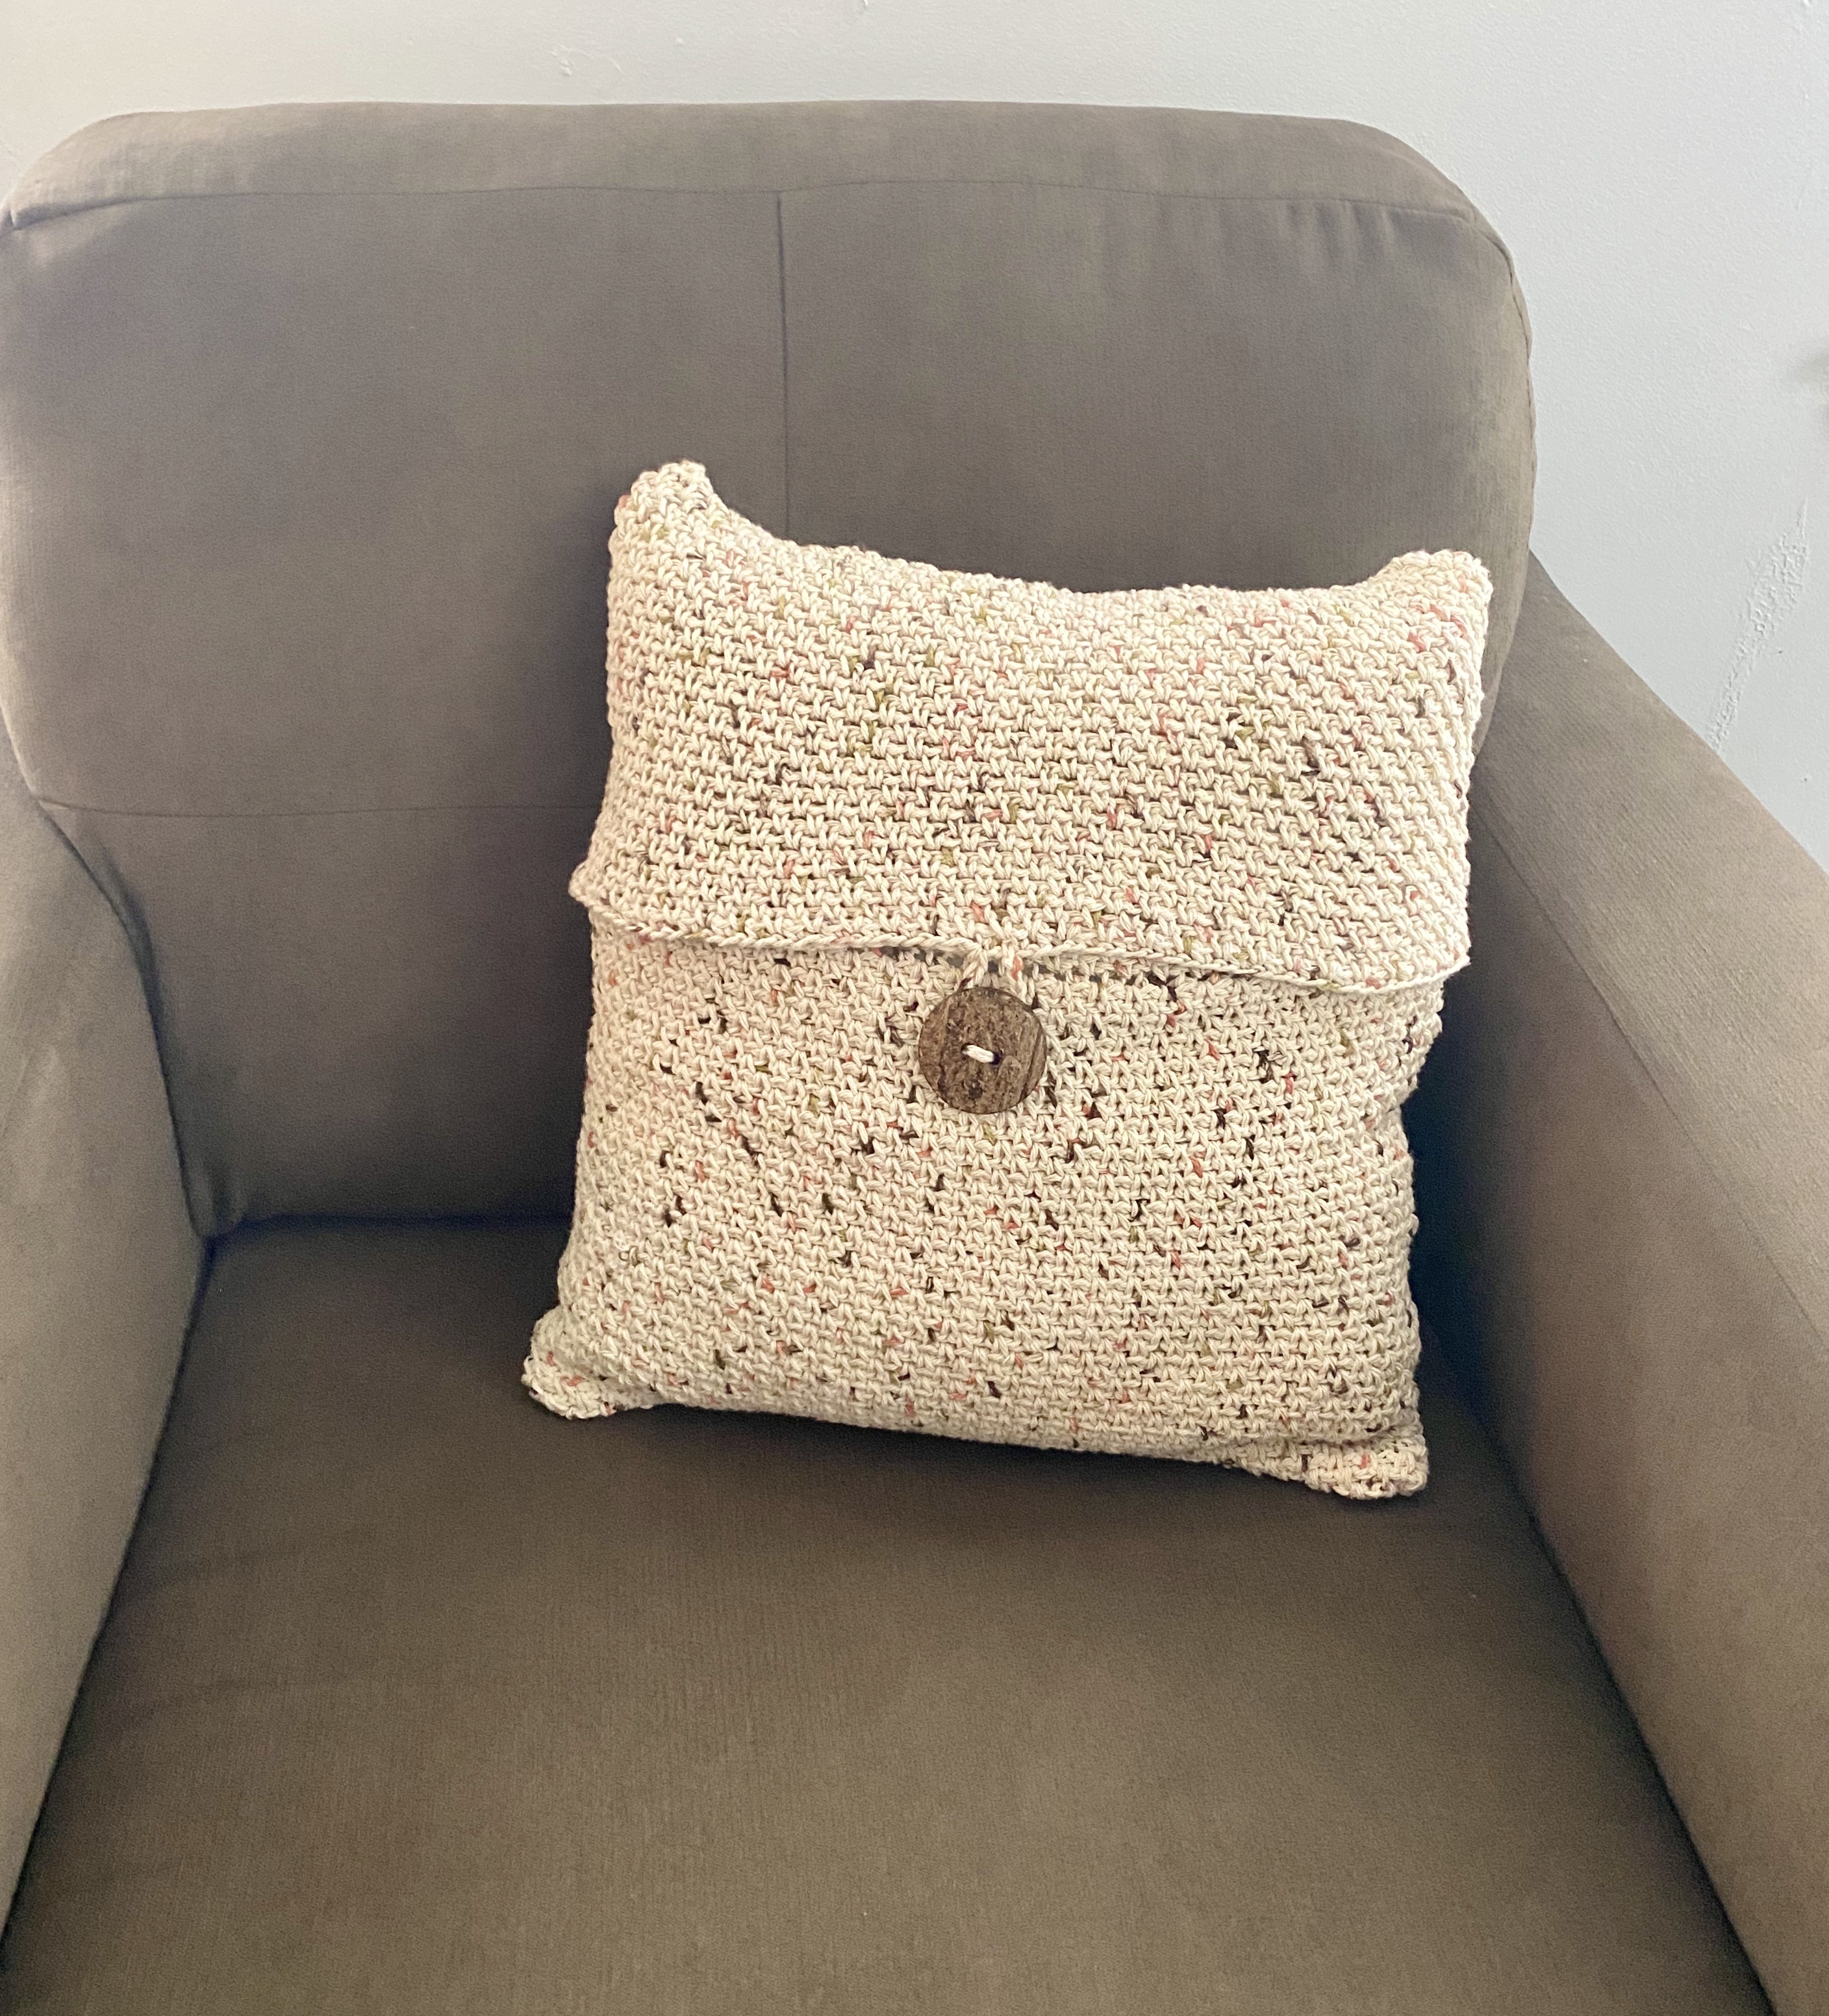
Here is the finished throw pillow!
I hope you enjoyed crocheting this throw pillow along with me! If you love fun, free patterns for the home, as well as quirky toys and fashion, and fun seasonal items, then please be sure to subscribe to my email list and follow me on social media. I have so many more fun patterns like this one coming soon!
Happy Crocheting!
COPYRIGHT: This pattern is owned by Crafty Kitty Crochet (Melissa Moore). Any reselling or distribution of this pattern is prohibited. Sale of items made using this pattern is welcomed, but I do ask that credit/a link be provided back to my site, craftykittycrochet.com.
Comments (1)
Easter Bunny Applique – Crochet Pattern – Crafty Kitty Crochet
April 5, 2020 at 4:06 pm
[…] a “Some Bunny Loves You” pillow I made for Some Bunny I Love this year! I used my Happy Homestyle Pillow Pattern to make the pillow, this pattern for the applique, and some stitch/writing techniques that I went […]