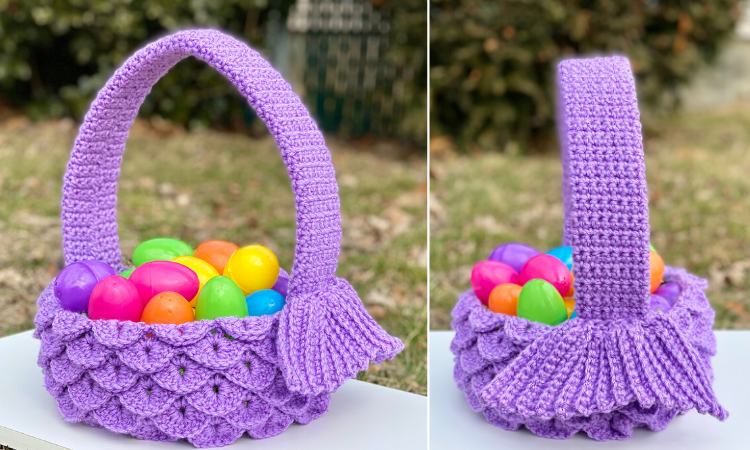
Mermaid Easter Basket – Crochet Pattern
Make your spring mermagical with this adorable mermaid-themed Easter basket! The scales and tiny fin make this handmade basket amazingly aquatic, and any mermaid lover is sure to cherish it! The finished result looks adorable, and the design is surprisingly simple – plus, there are tons of photos to guide you along the way!
Pin it for later!
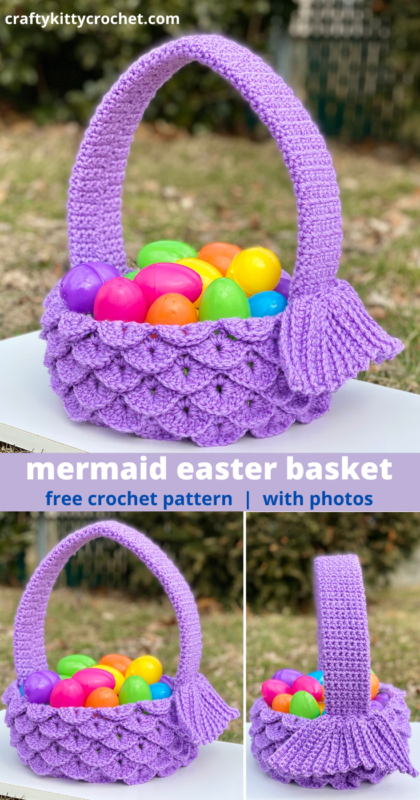
The “scales” on the body of the basket are made using the fun and textured crocodile stitch. You might recognize this stitch from my Mermaid Slouchy Hat, Mermaid Scarf, Mermaid Messy Bun Hat, or one of my many other Mermaid themed crochet designs! Can you tell I’m a bit of a mermaniac?!
If you’ve tried to add large appendages to your crochet projects before, you know how difficult it can be to not have them “droop” or lose shape due to the added weight. Well, great news – there’s a way around that in this pattern! The basket handle is droop-proof due to the light and flexible structure of the plastic canvas used as the base for the handle. It keeps shape easily, is affordable, and also easy to work with!
Looking for the ad-free PDF Pattern? You can find it in my shop HERE!!!
The yarn I used for this basket was Big Twist Twinkle in “Lilac”. This medium weight yarn is Joann’s store brand, and it comes in other lovely mermaid colors like a soft, minty green.
But if you’re looking for a substitute, I recommend my usual “go-to” mermaid yarn, Caron Simply Soft Party. It’s a lovely sparkle yarn that comes in so many beautiful colors! I’ve used it on my other mermaid projects and the results were gorgeous. Just an FYI – although it’s also a medium weight yarn, Caron Simply Soft Party is just a bit thinner than Big Twist Twinkle, so you may need to slightly adjust for that if you want your basket to come out exactly the same size as the pattern lists (i.e. add an extra crocodile stitch and/or an extra round). Find Caron Simply Soft Party on Amazon HERE!
How adorable would this basket be for the mermaid lovers in your life this Easter? It’s unique, beautiful, and fairly quick and easy to make! It could easily be re-used as a cute and whimsical means of storage after Easter, too!
So who’s ready to spread some Easter Mermaid magic?! I know I am – let’s go!
Supplies
Size H/8 5.0 mm crochet hook
One skein of Big Twist Twinkle in Lilac; or substitute with another similar, medium weight yards (380 yards)
10.5 by 13.5 inch sheet of Plastic Canvas
Yarn Needle
Scissors
Abbreviations
*=indicates the beginning/end of a section to be repeated
Beg = beginning
BLO = back loop only
Ch = chain
Croc st = crocodile stitch
Dc = double crochet
Rep = repeat
Rnd(s) = round(s)
Sc = single crochet
Sk = skip
Sl St = slip stitch
St(s) = stitch(es)
Gauge
About 1 crocodile stitch and 2 rounds of crocodile stitches = 1.5 inches
Size
Finished basket measured about 12 inches length, 10 inches width, 27 inches around body of basket
Notes
This pattern uses the crocodile stitch, which is worked by making 5 double crochet around one post of a 2 double crochet cluster, and another 5 around the other post of the cluster. Work will need to be slightly turned in order to do this. Here is a diagram of the order in which the double crochet stitches of the crocodile stitch are worked:


Instructions
Bottom of Basket
(This piece is worked in continuous rnds; do not join. You may wish to use a stitch marker and move it up at the beginning of each new rnd.)
Rnd 1 – make a magic ring. 6 sc in ring (6 sc)
Rnd 2 – 2 sc in each st around (12 sc)
Rnd 3 – 2 sc in next st, sc in next st; rep around. (18 sc)
Rnd 4 – 2 sc in next st, sc in next 2 sts; rep around. (24 sc)
Rnd 5 – 2 sc in next st, sc in next 3 sts; rep around. (30 sc)
Rnd 6 – 2 sc in next st, sc in next 4 sts; rep around. (36 sc)
Rnd 7 – 2 sc in next st, sc in next 5 sts; rep around. (42 sc)
Rnd 8 – 2 sc in next st, sc in next 6 sts; rep around. (48 sc)
Rnd 9 – 2 sc in next st, sc in next 7 sts; rep around. (54 sc)
Rnd 10 – 2 sc in next st, sc in next 8 sts; rep around. (60 sc)
Rnd 11 – 2 sc in next st, sc in next 9 sts; rep around. (66 sc)
Rnd 12 – 2 sc in next st, sc in next 10 sts; rep around. (72 sc)
Rnd 13 – 2 sc in next st, sc in next 11 sts; rep around. (78 sc)
Rnd 14 – 2 sc in next st, sc in next 12 sts; rep around. (84 sc)

Rnd 15 – Working in BLO, sc in each st around. Do not fasten off. (84 sc)

Body of Basket
Rnd 1 – Ch 3, dc in same st (counts as a 2 dc cluster). Sk 2 sts. *[Dc, ch 1, dc, ch 1] in next st; sk 2 sts – 2 dc cluster made.* Rep from * to * 27 more times. Join with sl st to 2nd ch in beg ch 3. (28 2 dc clusters)


Rnd 2 – Ch 1. *Croc st around next 2 dc cluster, sc in next 2 dc cluster.* Rep from * to * 13 more times. Join with sl st to center of first croc st. (14 croc sts, 14 sc)


Rnd 3 – Ch 3, dc in same st (counts as a 2 dc cluster). *[Dc, ch 1, dc, ch 1] in next sc, [Dc, ch 1, dc, ch 1] cluster in center of next croc st.* Rep from * to * 12 more times. [Dc, ch 1, dc, ch 1] in last sc. Join with sl st to 2nd ch of beg ch 3. (28 2 dc clusters)


Rnd 4 – Ch 1, *sc in next 2 dc cluster, croc st around next 2 dc cluster.* Rep from * to * 13 more times. Join with sl st to first sc. (14 croc sts, 14 sc)

Rnd 5 – Ch 3, dc in same st (counts as a 2 dc cluster). *[Dc, ch 1, dc, ch 1] in center of next croc st, [Dc, ch 1, dc, ch 1] cluster in next sc.* Rep from * to * 12 more times. [Dc, ch 1, dc, ch 1] in last croc st. Join with sl st to 2nd ch of beg ch 3. (28 2 dc clusters)
Rnds 6 – 9 – Rep Rnds 2 – 5.
Rnds 10 – 12 – Rep Rnds 2 – 4.
Fasten off.

Fin
(Fin is worked entirely in BLO after Row 1.)
Ch 16.
Row 1 – Sc in 2nd ch from hook, and in each st across. Ch 1, turn (15 sc)
Row 2 – sc in next 14 sts; leave rem st unworked. Ch 1, turn (14 sc)


Row 3 – sc in each st across. Ch 1, turn (14 sc)
Row 4 – sc in next 13 sts; leave rem st unworked. Ch 1, turn (13 sc)
Row 5 – sc in each st across. Ch 1, turn (13 sc)
Row 6 – sc in next 12 sts; leave rem st unworked. Ch 1, turn (12 sc)
Row 7 – sc in each st across. Ch 1, turn (12 sc)
Row 8 – sc in next 11 sts; leave rem st unworked. Ch 1, turn (11 sc)
Row 9 – sc in each st across. Ch 1, turn (11 sc)
Row 10 – sc in next 10 sts; leave rem st unworked. Ch 1, turn (10 sc)
Row 11 – sc in each st across. Ch 1, turn (10 sc)
Row 12 – sc in next 9 sts; leave rem st unworked. Ch 1, turn (9 sc)
Row 13 – sc in each st across. Ch 1, turn (9 sc)
Row 14 – sc in next 8 sts; leave rem st unworked. Ch 1, turn (8 sc)
Row 15 – sc in each st across. Ch 1, turn (8 sc)
Row 16 – sc in next 7 sts, 2 sc in last st. Ch 1, turn (9 sc)


Row 17 – sc in each st across. Ch 1, turn (9 sc)
Row 18 – sc in next 8 sts, 2 sc in last st. Ch 1, turn (10 sc)
Row 19 – sc in each st across. Ch 1, turn (10 sc)
Row 20 – sc in next 9 sts, 2 sc in last st. Ch 1, turn (11 sc)
Row 21 – sc in each st across. Ch 1, turn (11 sc)
Row 22 – sc in next 10 sts, 2 sc in last st. Ch 1, turn (12 sc)
Row 23 – sc in each st across. Ch 1, turn (12 sc)
Row 24 – sc in next 11 sts, 2 sc in last st. Ch 1, turn (13 sc)
Row 25 – sc in each st across. Ch 1, turn (13 sc)
Row 26 – sc in next 12 sts, 2 sc in last st. Ch 1, turn (14 sc)
Row 27 – sc in each st across. Ch 1, turn (14 sc)
Row 28 – sc in next 13 sts, 2 sc in last st. Ch 1, turn (15 sc)
Row 29 – sc in each st across. Ch 1, turn (15 sc)

Working along top of Fin, evenly make 7 sc. Join with sl st to first sc of row on other side of Fin.
Fasten off, leaving long tail for sewing.

Handle Cover
Ch 16.
Row 1 – sc in 2nd ch from hook, and in each st across. Ch 1, turn (15 sc)
Rows 2 – 120 – sc in each st across. Ch 1, turn. Do not ch 1 at the end of Row 120. (15 sc per row)
Fasten off, leaving long tail for sewing.

Canvas Insert
Cut two 2 inch wide pieces of Plastic Canvas. With yarn needle, sew through holes of canvas to attach them together. Secure each end with a knot, if necessary.


Place Canvas in the center of Handle Cover. Sew Handle Cover around Canvas Insert, leaving about one row of Handle Cover at each end for sewing to Basket. Fasten off.


Assembly
Place Handles inside Basket, where Base and Body meet. Sew around the portion of Handle that is inside the Basket. Repeat on other end of Handle.


Place Fin on one side of Basket. Sew Fin on Handle, near where it meets Basket edge.

Weave in all ends.
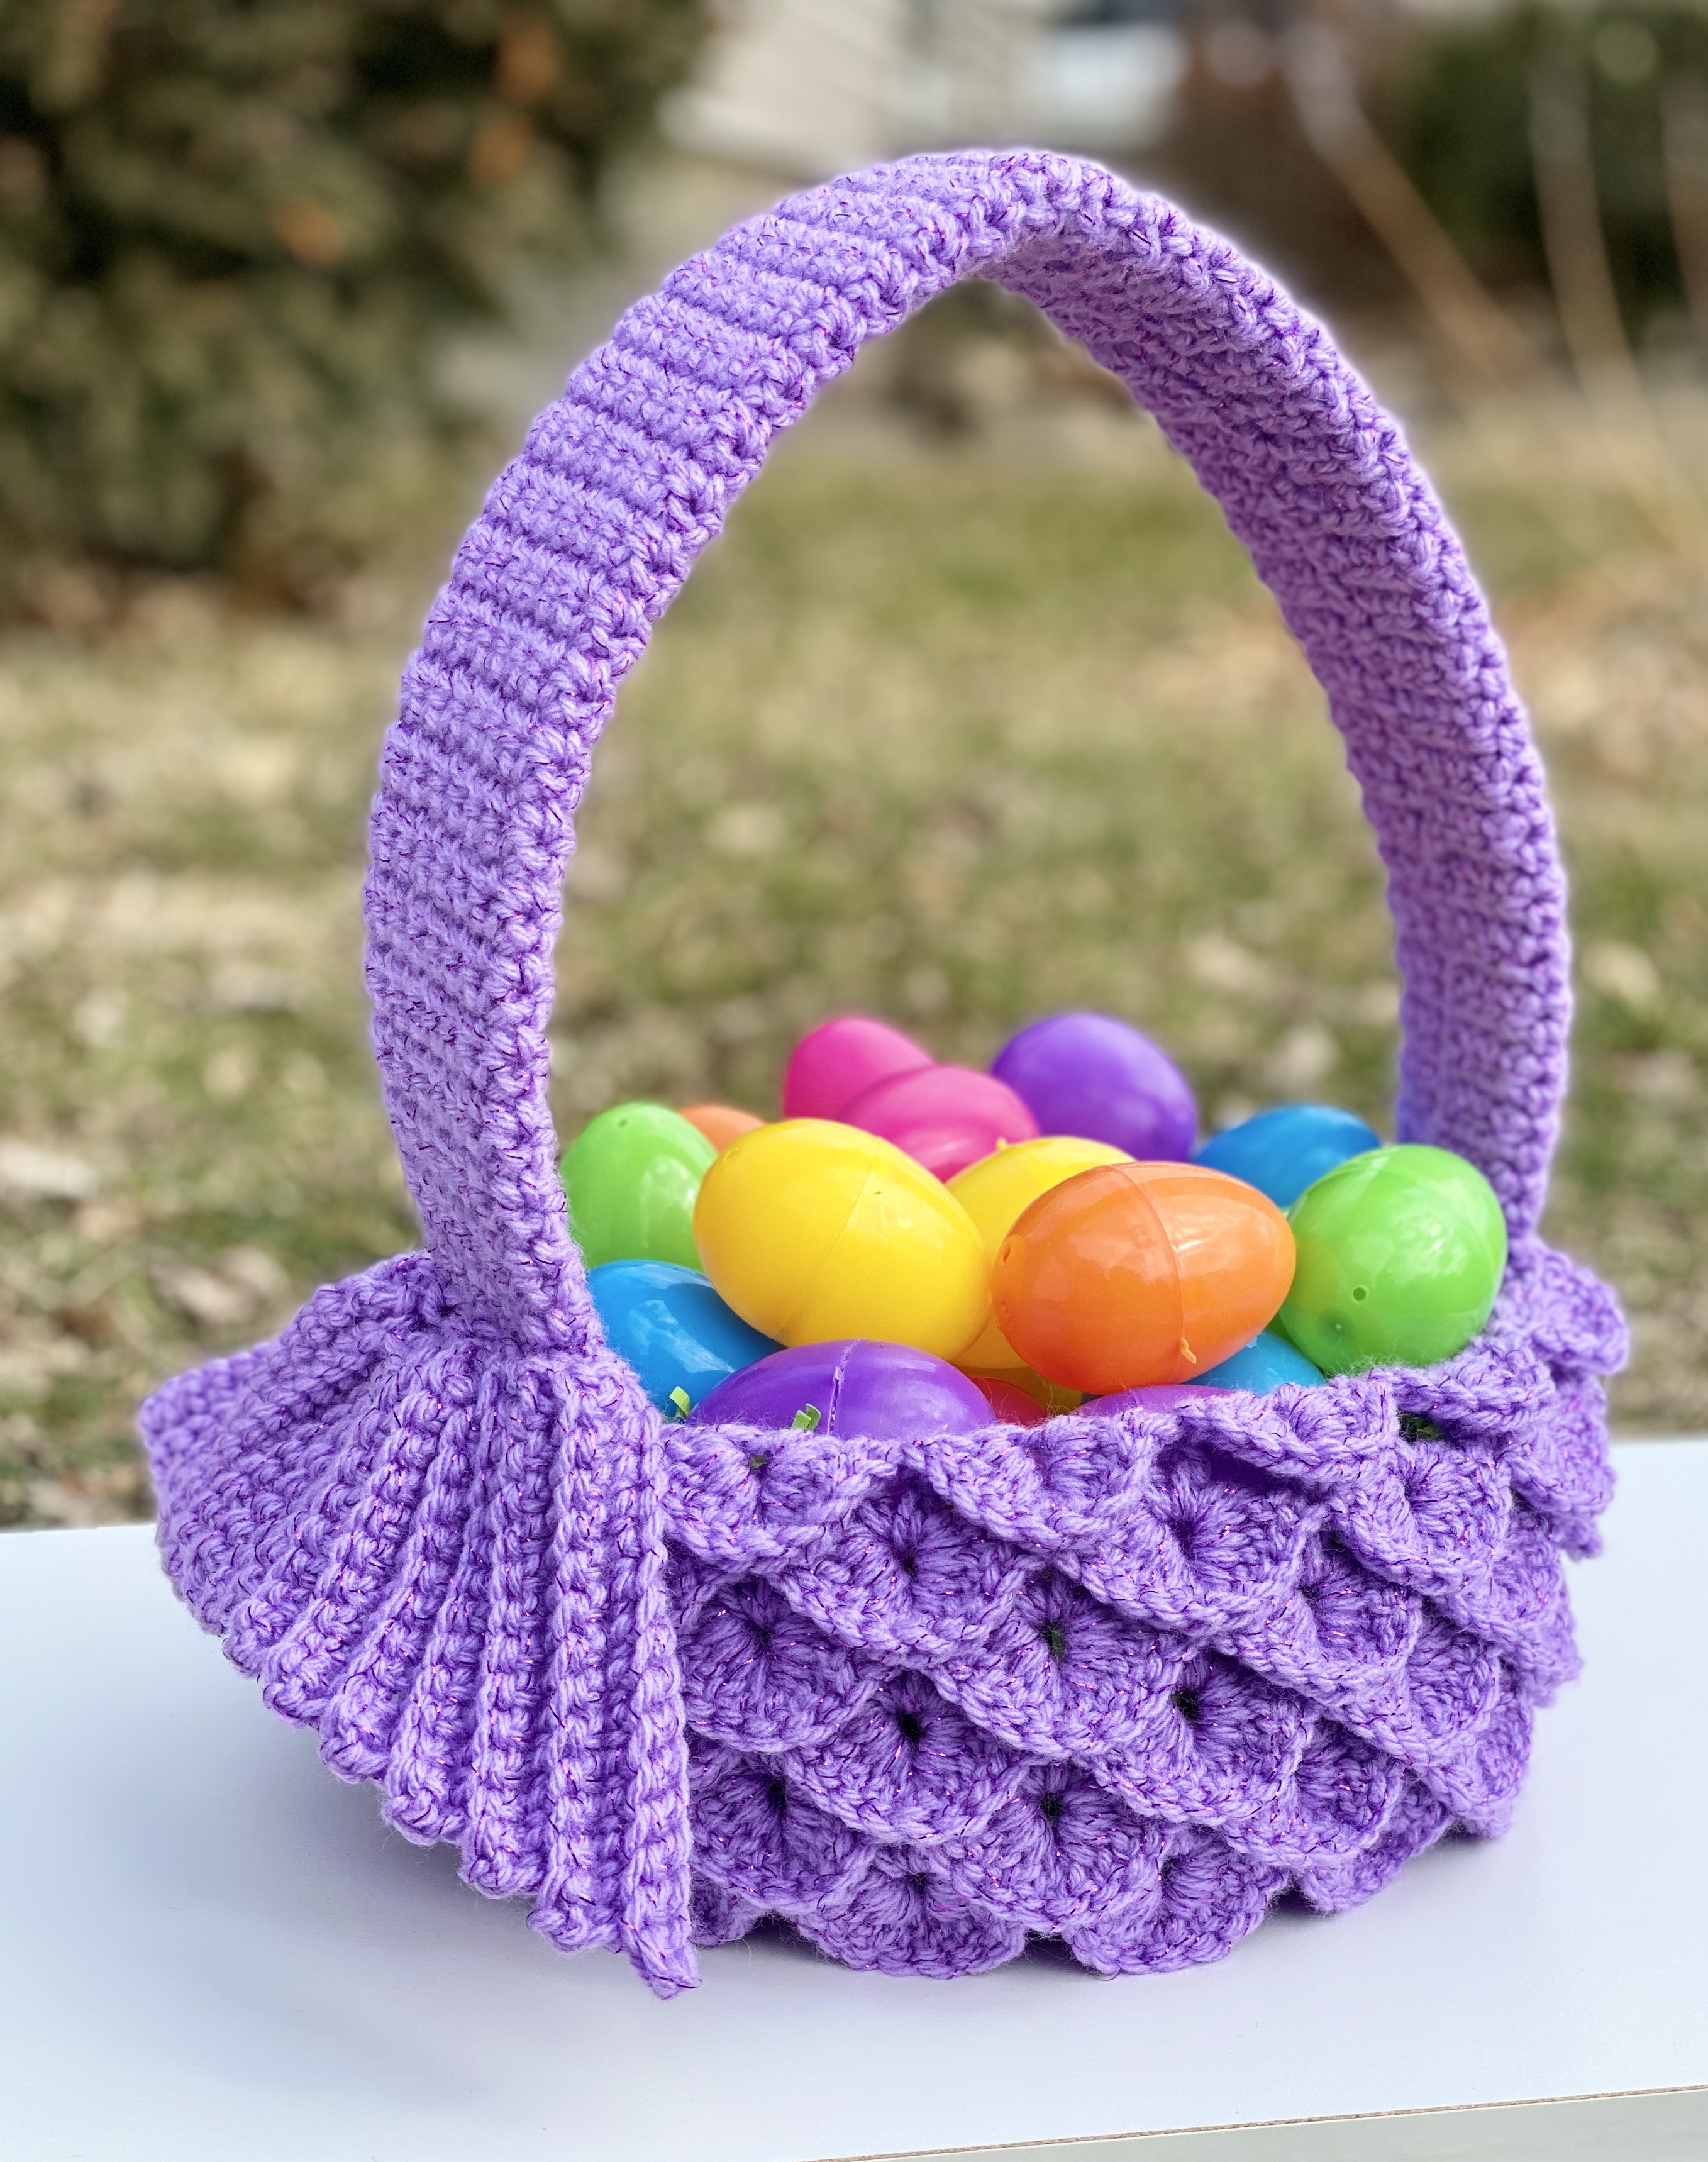
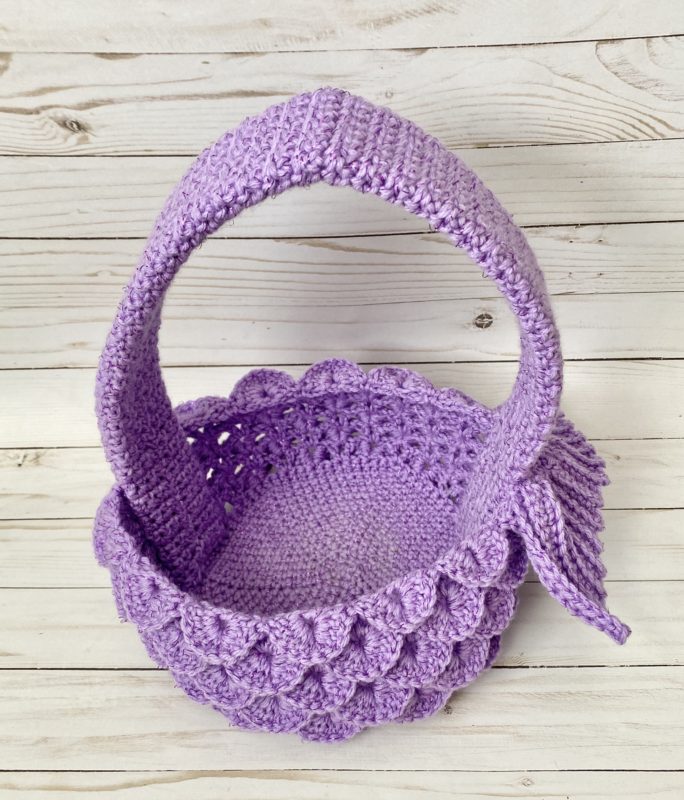
Here is the finished basket!
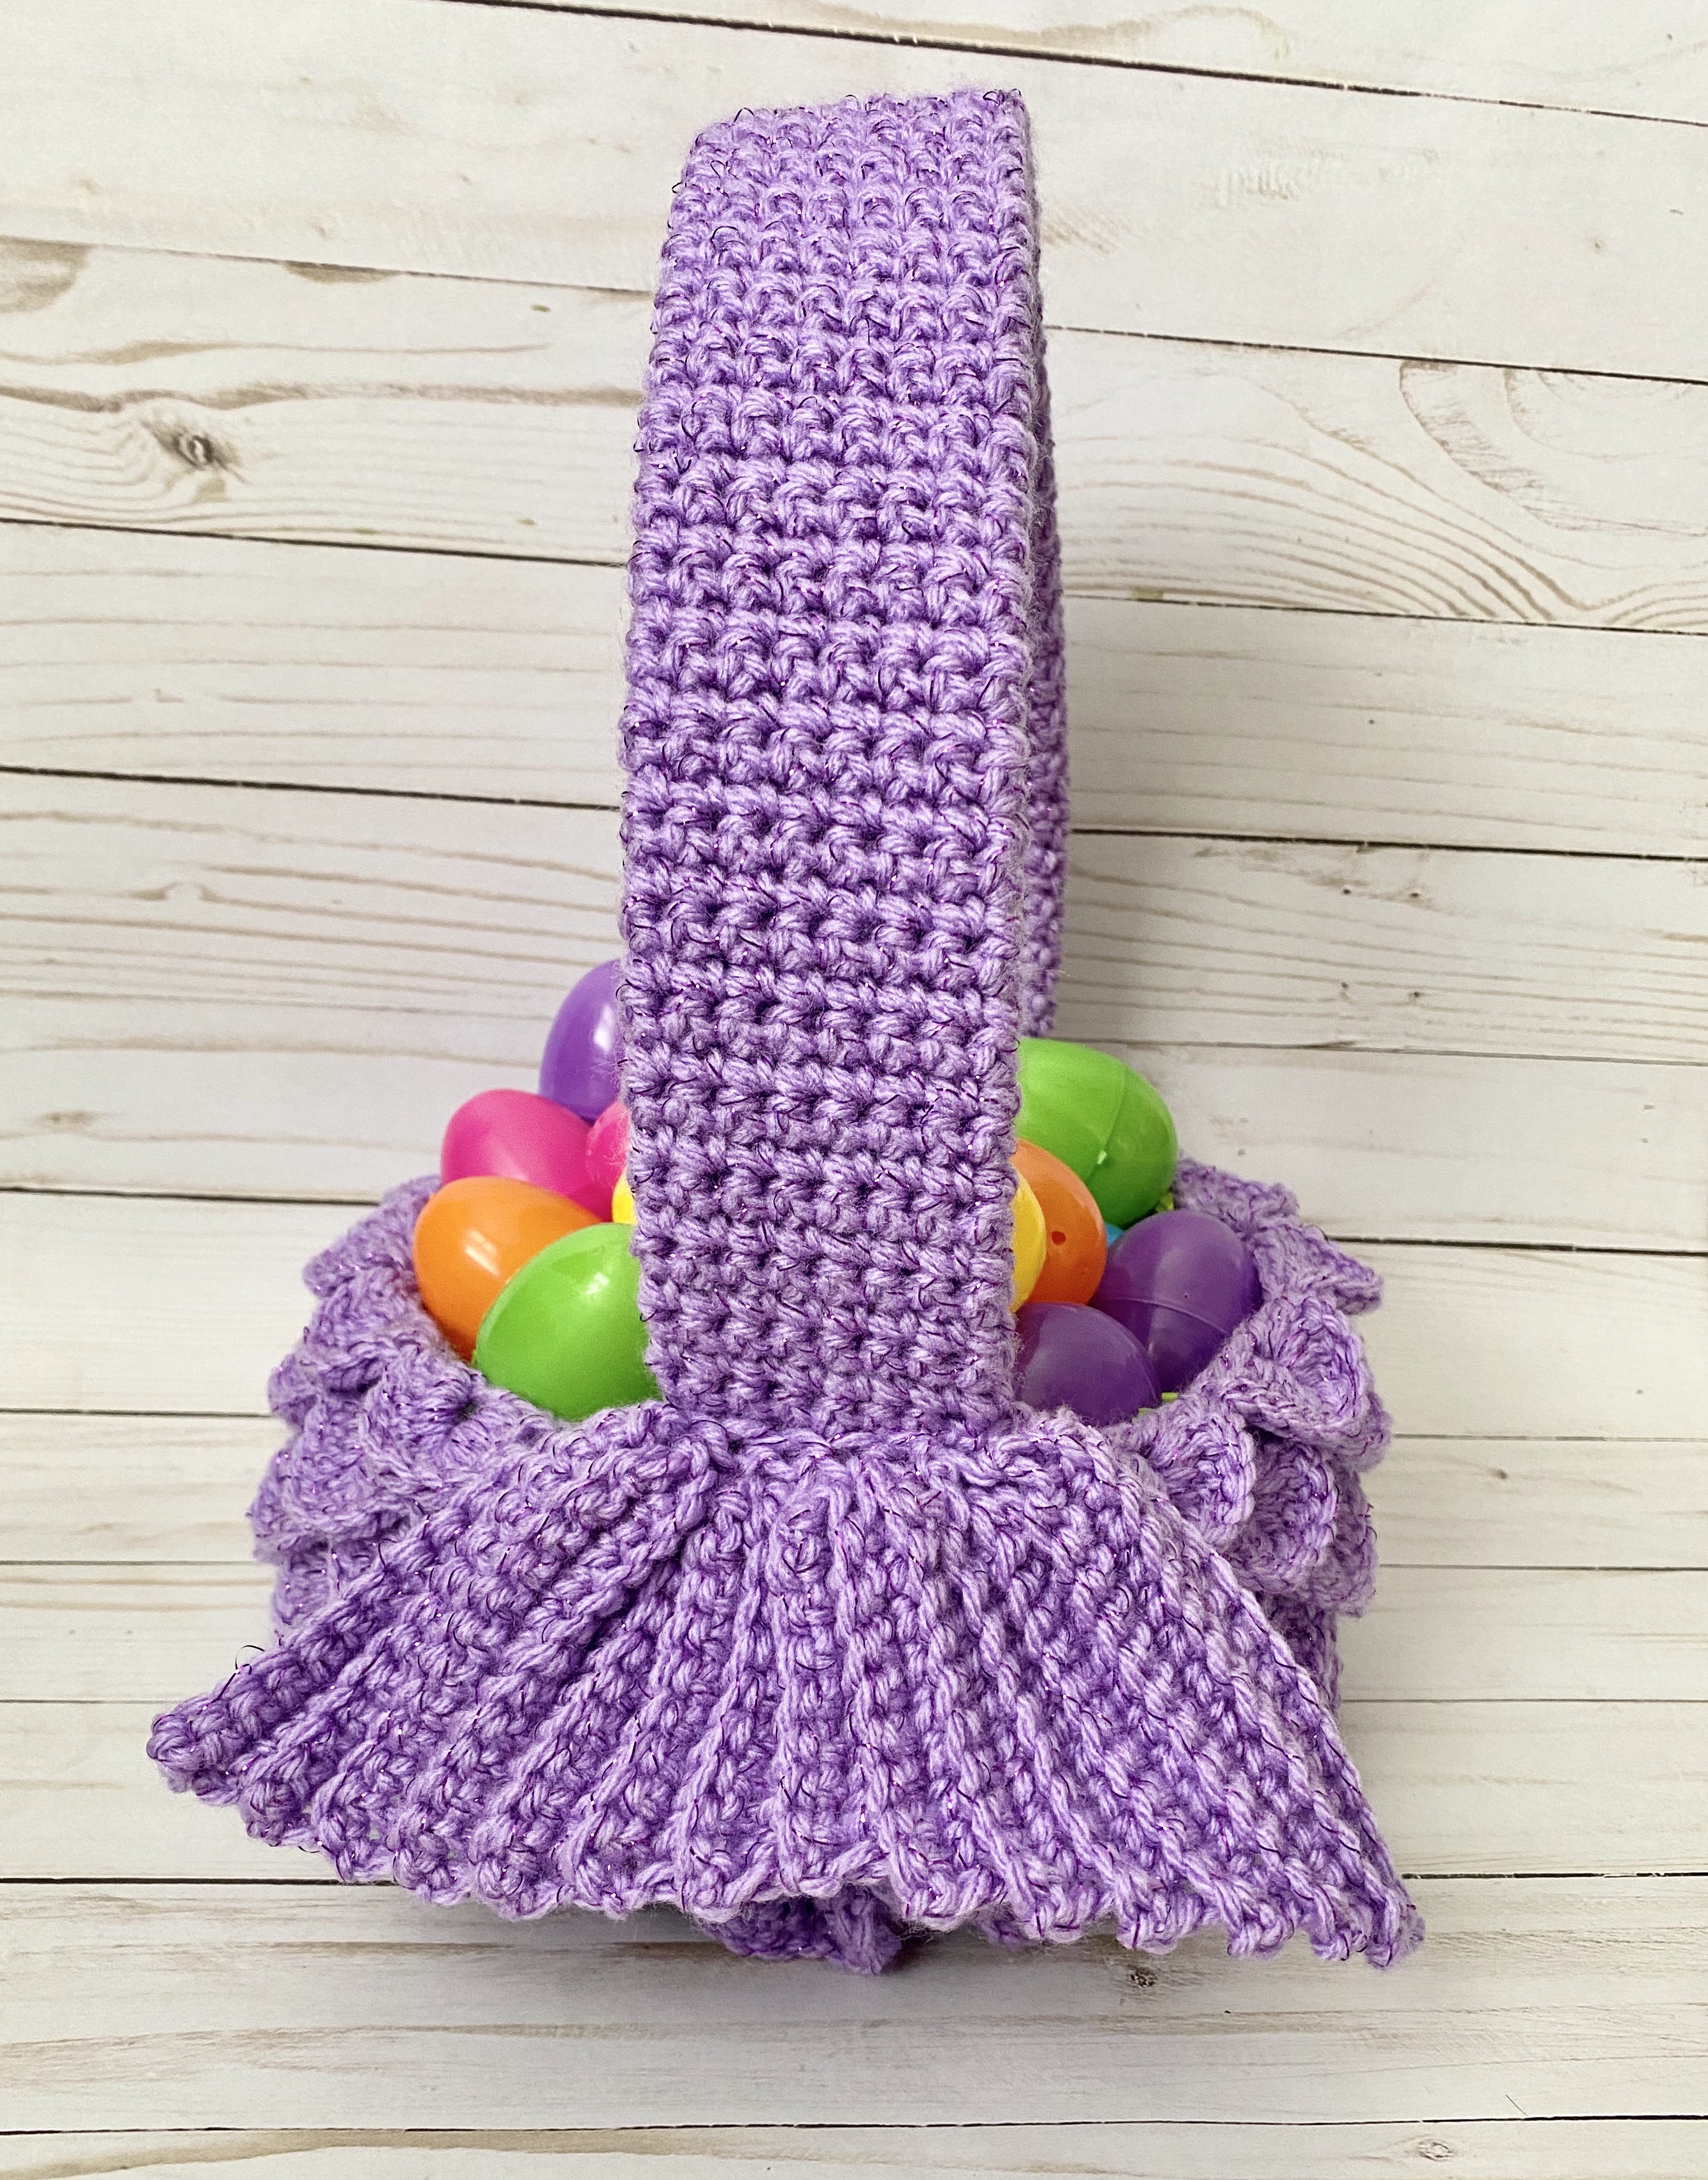
I hope you enjoyed crocheting this Easter basket along with me! If you love fun, free patterns like this one, then please be sure to subscribe to my email list and follow me on social media. I have many more patterns coming soon!
Happy Crocheting!
COPYRIGHT: This pattern is owned by Crafty Kitty Crochet (Melissa Moore). Any reselling or distribution of this pattern is prohibited. Sale of items made using this pattern is welcomed, but I do ask that credit/a link be provided back to my site, craftykittycrochet.com.


Comments (10)
Free Easter Crochet Patterns Round Up – Carroway Crochet Easter Crochet Patterns. Eight Free Easter Crochet Patterns gathered together in this great free pattern round up. % %
April 8, 2020 at 12:12 am
[…] The Mermaid Easter Basket from Crafty Kitty Crochet […]
Easter Bunny Applique – Crochet Pattern – Crafty Kitty Crochet
April 18, 2020 at 7:42 pm
[…] the spring holidays. If you haven’t already, I’d love for you to check out my Mermaid Easter Basket pattern, as well! It’s a must for any mermaid […]
40 Crochet Basket Patterns – Free Crochet Patterns
July 3, 2020 at 7:56 am
[…] craftykittycrochet […]
Mermaid Stocking – Crochet Pattern ~ Crafty Kitty Crochet
December 24, 2020 at 11:25 pm
[…] I have several mermaid patterns, from my Mermaid Slouchy Hat to my Mermaid Messy Bun to even my Mermaid Easter Basket! So of course, once the holidays were upon us, I had to start designing a Mermaid Stocking! Even […]
Mermaid Spa Day: Clamshell Scrubbies Crochet Pattern ~ Crafty Kitty Crochet
January 16, 2021 at 7:47 pm
[…] a mermaid! If you love mermagical patterns like my Mermaid Slouchy Hat, Mermaid Messy Bun Hat, and Mermaid Easter Basket, then prepare to love being pampered by these cute and cozy scrubbies. After finishing a year like […]
15 DIY Crochet Storage Basket Free Patterns & Instructions (With Photos)
March 10, 2021 at 7:49 am
[…] Source: https://craftykittycrochet.com/2020/02/28/mermaid-easter-basket-crochet-pattern/ […]
Darling Daisy Bunny Basket – Crochet Pattern ~ Crafty Kitty Crochet
March 12, 2021 at 10:44 pm
[…] for the Underground Crafter in February as a guest post! And who could forget last year’s Mermaid Easter Basket. Since I had so much fun making last week’s Spring Sherbet Bunny Amigurumi, I thought […]
15 Unique Easter Basket Ideas
February 2, 2022 at 2:58 am
[…] FROM:- Crafty kitty crochet […]
10 Amazing Easter FREE Crochet Patterns – I Good Ideas
February 6, 2023 at 7:15 pm
[…] #2: Mermaid Easter Basket FREE PATTERN […]
Mermaid Crochet Patterns II – The Lavender Chair
October 7, 2024 at 11:48 pm
[…] Mermaid Easter Basket […]