
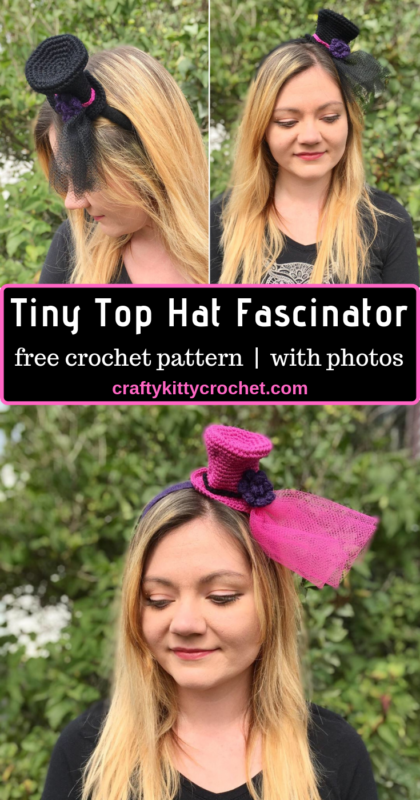
Tiny Top Hat Fascinator Crochet Pattern
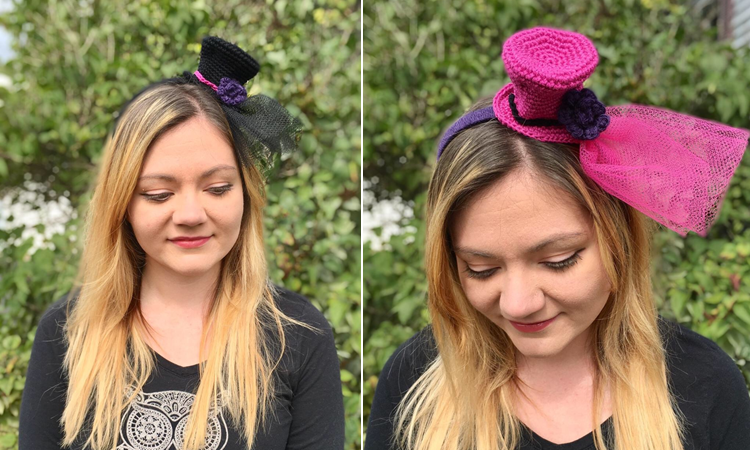
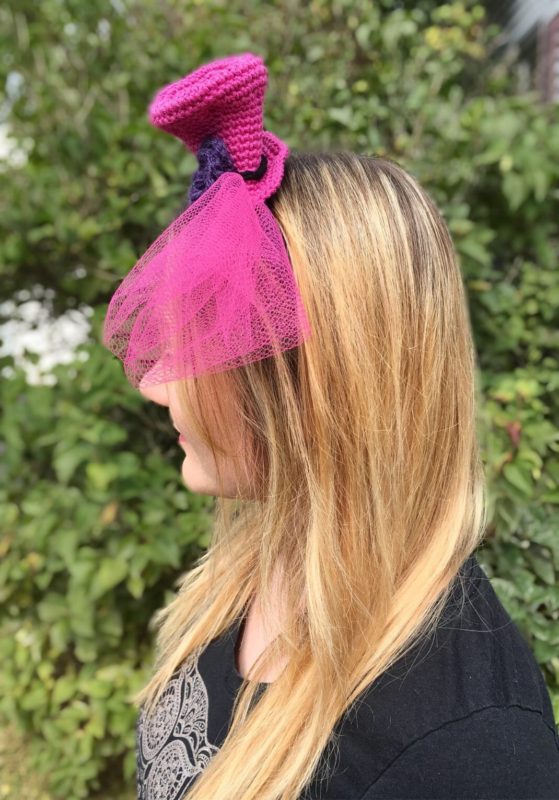
This is one pattern you’ll be happy to tip your hat to! Whether you’re looking for a unique compliment to your Halloween costume, or you’re a fan of the increasingly popular Steampunk style, this top hat fascinator is sure to be a “fascinating” accent to your wardrobe! You can customize it with flowers, netting, and more. Feel free to great creative and add all kinds of notions like beads, feathers, etc.!
Why a fascinator top hat? Why not, top hats are timeless classics, and they’re fun to wear! They’d make the perfect accent to a 20s flapper costume, a Victorian costume, or a Steampunk costume this Halloween. This top hat would also be a great option for cosplay! You could customize it to the fandom of your liking very easily! And why limit the top hat fun to just certain occasions? You could add some holly and berries for Christmas, a little buckle for St. Patrick’s Day, or deck it out in red, white, and blue for 4th of July! The only limit here is your own imagination – so feel free to go wild and make it your own! (Don’t forget to tag me in your photos when you post them – I love seeing what folks are making using my patterns! Find the links to my social media at the end of this post!)
Another great thing about this pattern is that it’s great for boys, girls, adults, and all ages! The plastic headbands I used can be worn by adults or children. They’re sold at Michaels and the brand name is called “Bow-tique”, but I found some really similar ones on Amazon HERE! This way, no matter who you’re crocheting for – kids or adults – you don’t have to worry about sizing your work!
(Pin it for later!)
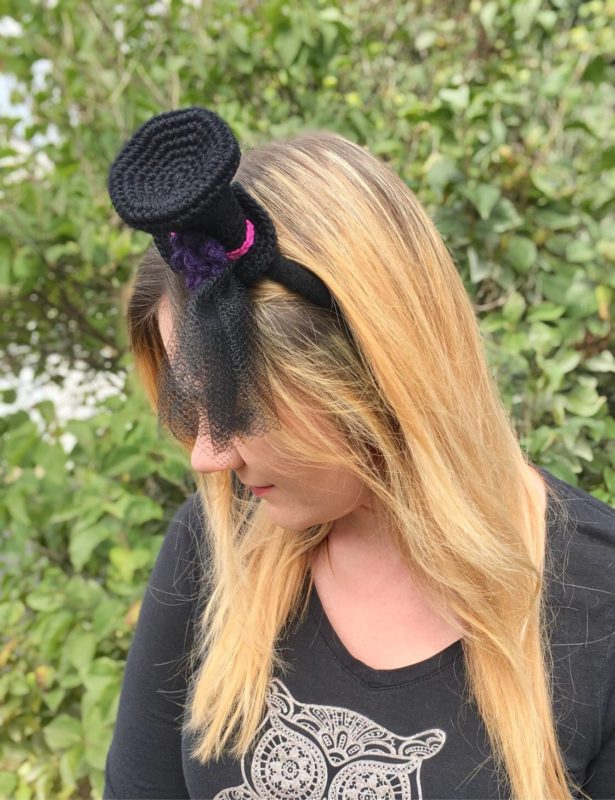
The top hat works up very quickly and is easy to make! This way, there’s plenty of time left for decorating it to your liking. When designing this top hat, I knew I wanted a yarn that was very defined and had the kind of structure that would help the top hat keep shape. A yarn too soft would result in a slouchy top hat – a weird hybrid that doesn’t need to be invented right now! I chose Lion Brand 24/7 Cotton, a yarn that became a quick favorite of mine while working up summer projects. It has a lovely sheen, doesn’t pill easily, and has a sturdy texture that is just right for this top hat! For these photos, I used Rose and Black. You can find Rose on Amazon HERE, and Black on Amazon HERE
!
Ready to top off your Halloween with this cute, fancy top hat? Then let’s go!
Supplies
Size D-3 / 3.25 mm crochet hook
1 skein Lion Brand 24/7 Cotton (for Top Hat and Band – hats shown in Black and Rose)
Lion Brand Vanna’s Choice (for flower and headband – hats shown in Eggplant and Black)
Plastic Craft Headband
Yarn Needle
Scissors
Abbreviations
Beg = beginning
Ch = chain
Dc = double crochet
Hdc – half double crochet
Rem = remaining
Rep = repeat
Rnd(s) = round(s)
Sc = single crochet
Sc2tog = single crochet 2 together
Sl st = slip stitch
St(s) = stitches
Gauge
Exact gauge is not essential to this project.
Size
Finished top hat measures about 2.75” in length.
Instructions
Top Hat
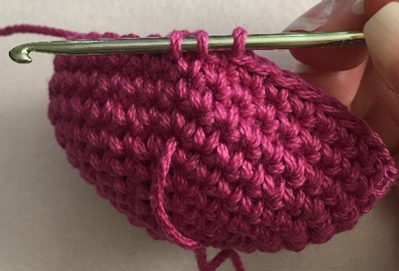
(This piece is worked in continuous rnds; do not join. You may wish to use a stitch marker and move it up at the beginning of each new rnd.)
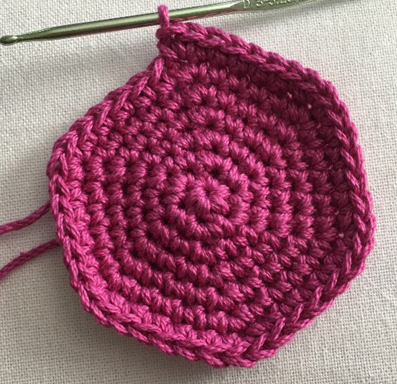
Rnd 1 – with main color, make a magic ring. 6 sc in ring (6 sc)
Rnd 2 – 2 sc in each st around. (12 sc)
Rnd 3 – 2 sc in next st, sc in next st; rep around. (18 sc)
Rnd 4 – 2 sc in next st, sc in next 2 sts; rep around. (24 sc)
Rnd 5 – 2 sc in next st, sc in next 3 sts; rep around. (30 sc)
Rnd 6 – 2 sc in next st, sc in next 4 sts; rep around. (36 sc)
Rnd 7 – 2 sc in next st, sc in next 5 sts; rep around. (42 sc)
Rnds 8 – 10 – sc in each st around. (42 sc per rnd)
Rnd 11 – sc2tog over next 2 sts, sc in next 5 sts; rep around (36 sc)
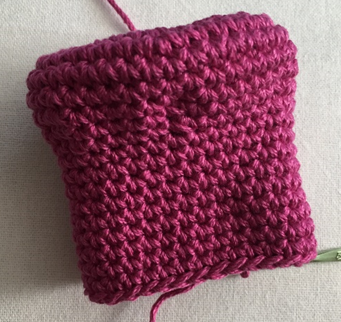
Rnd 12 – sc2tog over next 2 sts; sc in next 4 sts; rep around (30 sc)
Rnds 13 – 21 – sc in each st around. (30 sc per rnd)
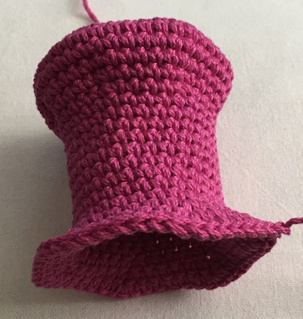
Rnd 22 – 2 sc in next st, sc in next 4 sts; rep around (36 sc)
Rnd 23 – 2 sc in next st, sc in next 5 sts; rep around (42 sc)
Rnd 24 – 2 sc in next st, sc in next 6 sts; rep around (48 sc)
Fasten off, leaving long tail for sewing.
Band
With contrast color, ch 28.
Fasten off, leaving long tail for sewing.
Flower
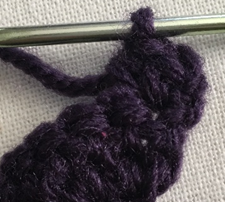
With contrast color, ch 12.
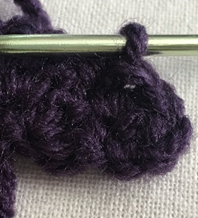
Row 1 – 2 dc in 3rd ch from hook, and in each st across. Ch 1, turn (20 dc)
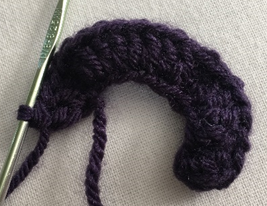
Row 2 – 2 Hdc in next st, sl st in next st, sl st in st after that; rep 8 more times. 2 Hdc in next st, sl st in next st. (10 petals)
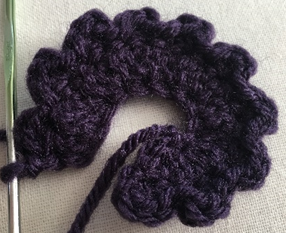
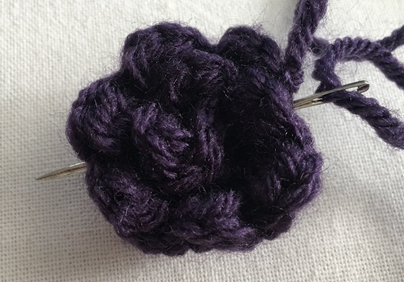
Fasten off, leaving long tail. Roll strip up and sew through piece to make Flower shape. Leave rem tail for sewing.
Finishing
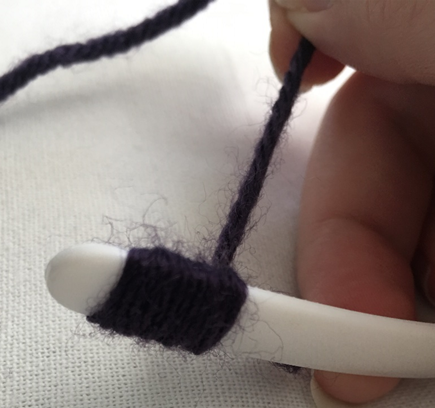
With either main color or contrast color, place a one inch strip of yarn along inside edge of plastic headband. Begin wrapping yarn around headband, wrapping around small strip of yarn. Continue wrapping yarn all the way around headband, periodically pushing yarn down towards beg of wrapping to cover any gaps. When end of headband is reached, fasten off and weave rem tail between yarn wrapping on inside of headband.
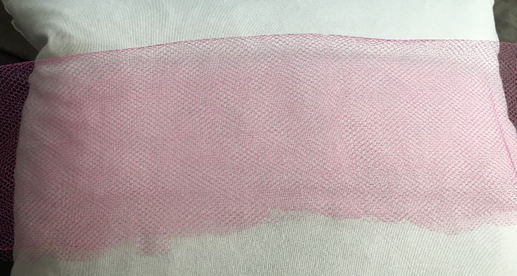
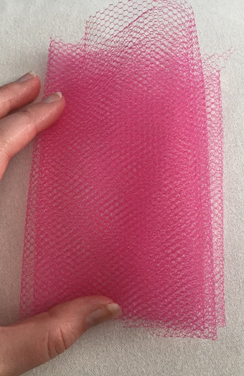
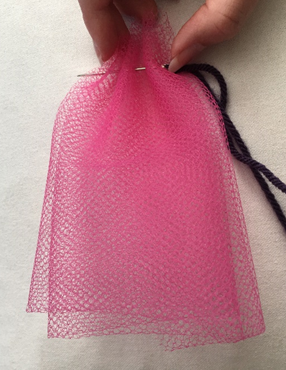
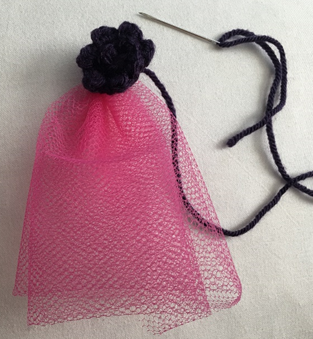
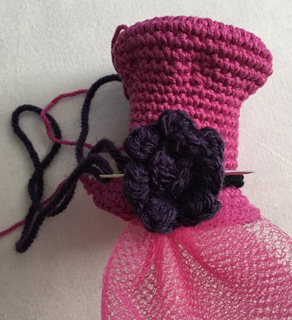
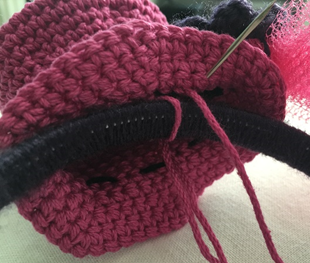
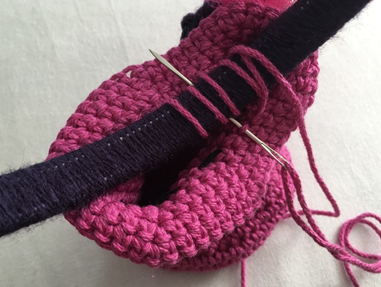
Sew Band in place on Top Hat, just above Rnd 22. Cut a strip of netting and fold into a small strip. Use rem tail from Flower to cinch top of netting strip. Sew netting and flower onto Top Hat, over Band. Carry any rem ends from Band or Flower inside Top Hat and weave in ends.

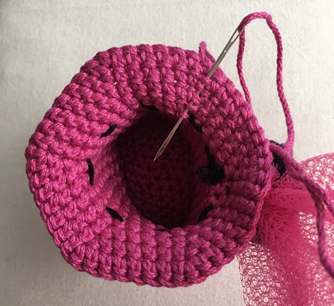
Carry rem end from Top Hat into sts from Rnd 22. Sew Top Hat onto headband. Weave in all ends.
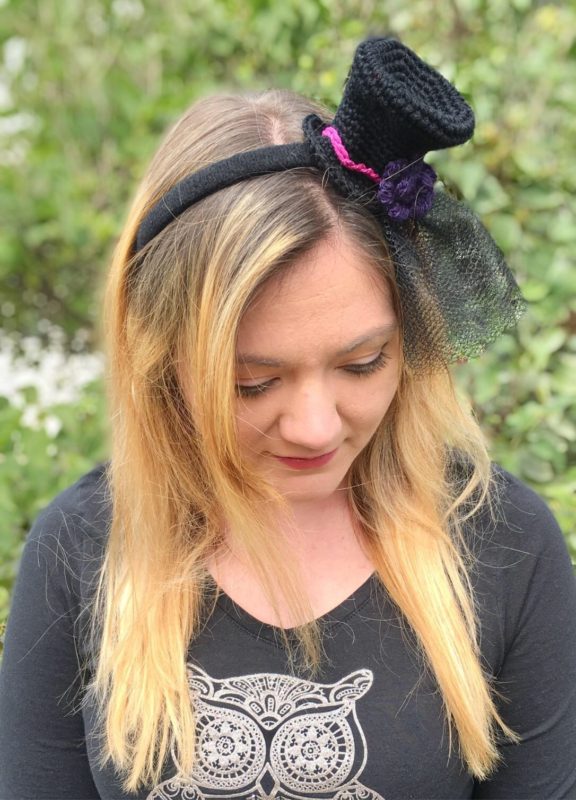
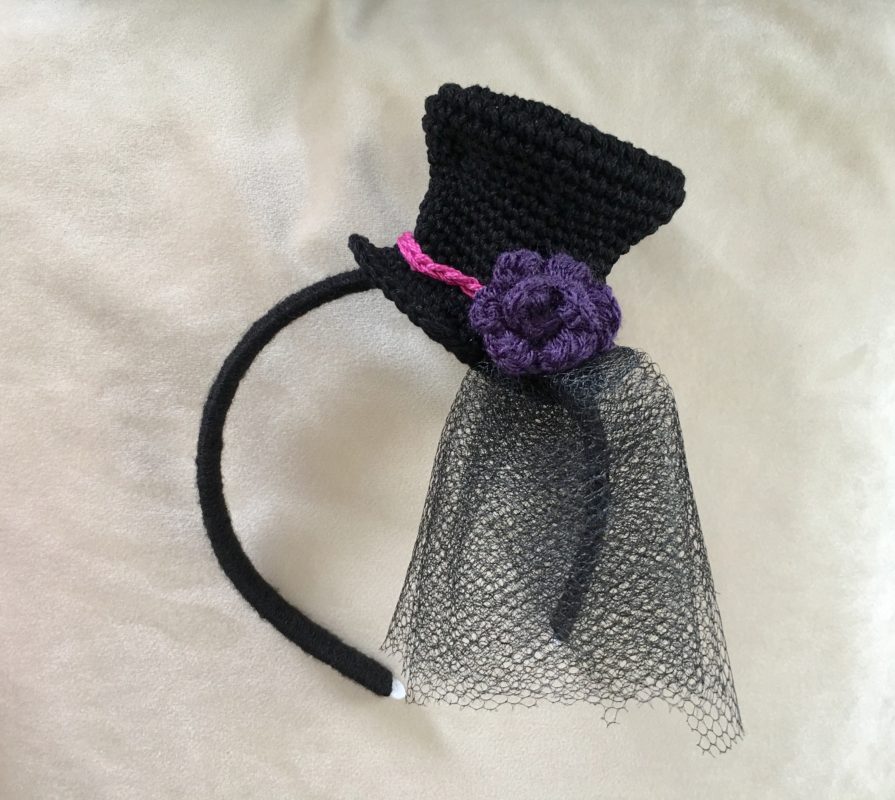
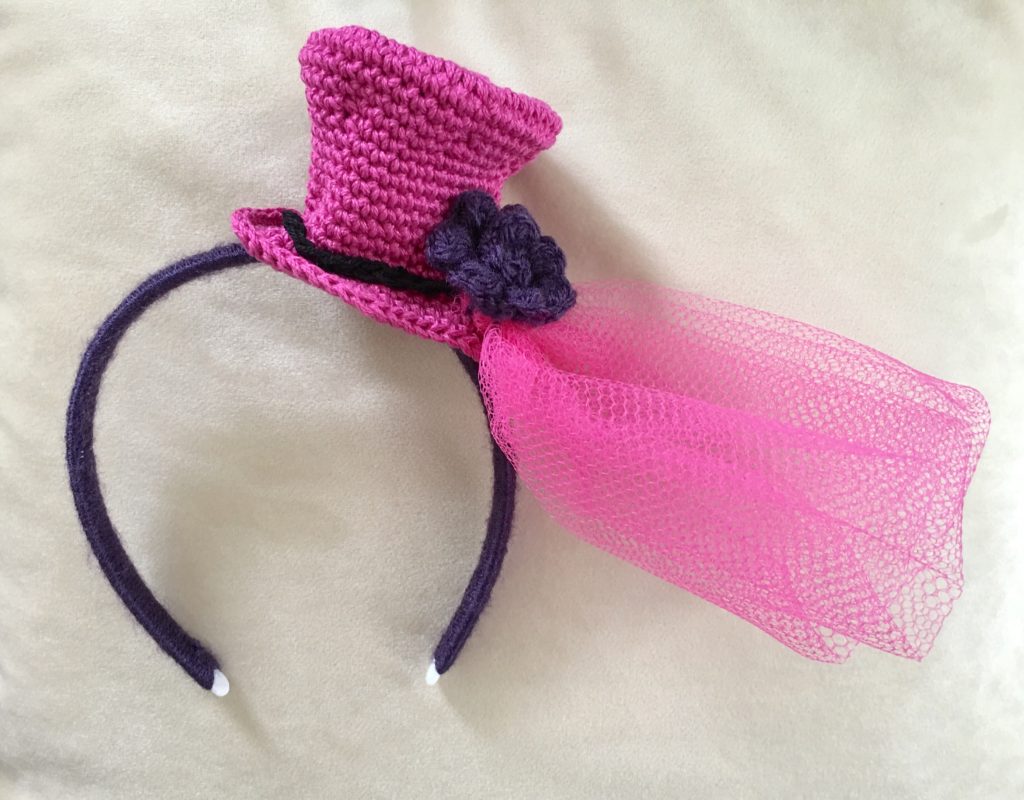
Here is the finished Top Hat Fascinator!
I hope you enjoyed crocheting this Tiny Top Hat Fascinator along with me! If you love fun, free crochet patterns, please be sure to subscribe to my email list and follow me on social media! I have so many more fun crochet patterns like this one coming soon!
Happy Crocheting!
COPYRIGHT: This pattern is owned by Crafty Kitty Crochet (Melissa Moore). Any reselling or distribution of this pattern is prohibited. Sale of items made using this pattern is welcomed, but I do ask that credit/a link be provided back to my site, craftykittycrochet.com.
Comments (1)
Mini Top Hat Headband Free Crochet Pattern – Knitting – DIY – Craft Blog
May 31, 2020 at 8:51 pm
[…] Tiny Top Hat Fascinator […]