
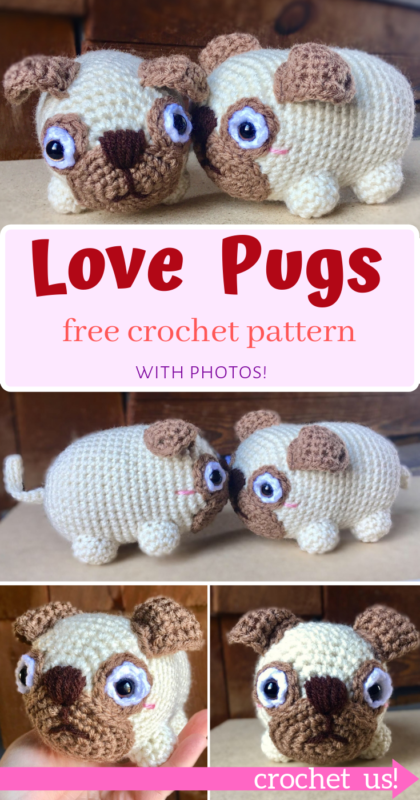
Love Pugs: An Adorably Romantic Crochet Pattern
Valentine’s Day is almost here, and by now you’ve probably seen tons of Valentine’s themed stuffed animals just about everywhere….but how about trying your hand at making your very own little Valentine’s stuffed animals? Nothing says “from the heart” quite like handmade! Furthermore, these Love Pugs are about as unique and adorable as it gets!
Pin this pattern for later here!
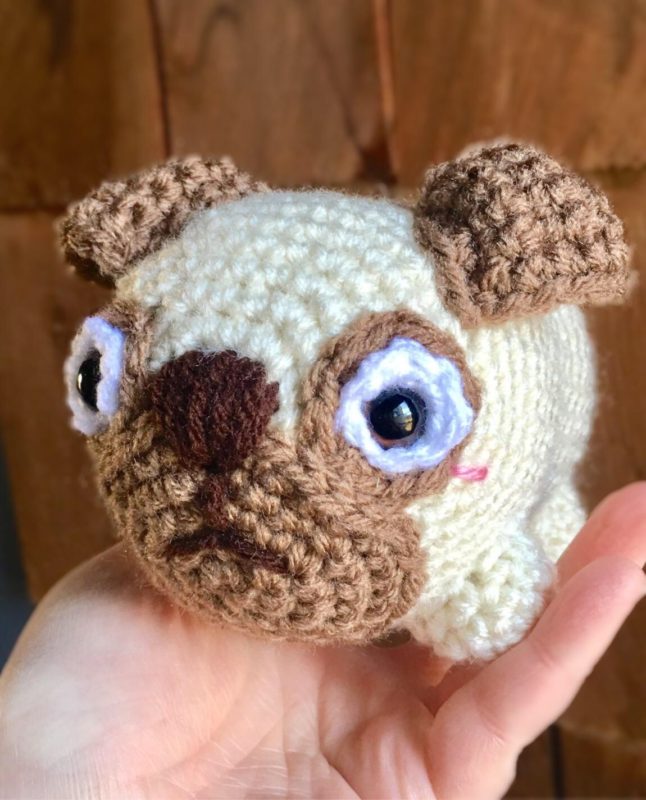
I first started making crocheted pugs several years ago after someone custom ordered them from my online shop. I loved the cartoonish – yet weirdly realistic – look, so of course I thought of them when I was brainstorming amigurumi pattern ideas for my blog. Then it hit me that “Love Pugs” would be a hilarious pun and unique stuffed animal pair for Valentine’s Day! These pugs work up really quickly, which makes them a great gift idea!
The pattern calls for brown animal safety eyes, and in my opinion, this is part of what really brings the “pug” look to life. You can get some awesome animal safety eyes on Amazon HERE!
Ready to warm your Valentine’s heart by crocheting these lovely little pugs for them? Then let’s get started!!!
(Looking for the ad-free PDF pattern? You can purchase it in my shop HERE!)
(You can also buy a finished couple of Love Pugs in my shop HERE!)
Supplies
Size F/3.75 mm crochet hook
Red Heart Super Saver in:
- Aran
- Cafe Latte
- White
- Coffee
Red Heart Soft Essentials in Rose
12 mm brown animal safety eyes
Yarn Needle
Fiberfill Stuffing
Scissors
Abbreviations
Ch = chain
Sc = single crochet
Sc2tog = single crochet 2 together
Sl st = slip stitch
St(s) = stitch(es)
Rem = remaining
Rep = repeat
Rnd = round
Gauge
Exact Gauge is not essential to this project.
Size
About 5.5” length (not included tail)
Notes
The “Love Pugs” are each made using the same Pug pattern described below; so to make the “Love Pugs”, make 2 of this pattern.
Instructions
Eyes
This piece is worked in continuous rnds; do not join. You may find it helpful to use a stitch marker and move it up at the beg of each rnd.
Outer ring (make 2)
With Cafe Latte, ch 2.
Rnd 1 – 6 sc in 2nd ch from hook (6 sc)
Rnd 2 – 2 sc in each st around (12 sc)
Fasten off, leaving a long tail for sewing edges of ring to Body.
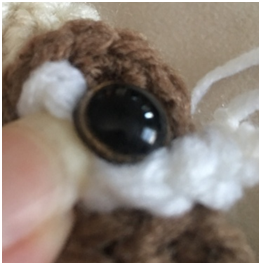
Eye white (make 2)
With White, Ch 7, sl st in each st across (6 sl sts)
Fasten off.
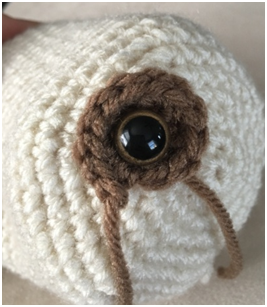
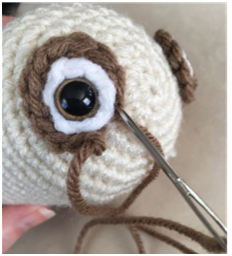
After Rnd 22 of Head/Body, Place safety eyes through small center holes of outer rings. Attach safety eyes. Wrap eye whites around safety eye.

Head/Body
This piece is worked in continuous rnds; do not join. You may find it helpful to use a stitch marker and move it up at the beg of each rnd.
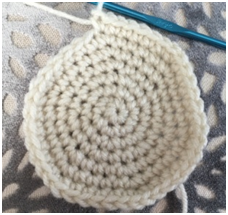
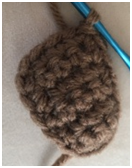
Rnd 1 – with Aran, make a magic ring. 6 sc in ring (6 sc)
Rnd 2 – 2 sc in each st (12 sc)
Rnd 3 – 2 sc in next st, sc in next. Rep around (18 sc)
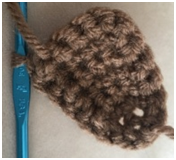
Rnd 4 – 2 sc in next st, sc in next 2 sts. Rep around (24 sc)
Rnd 5 – 2 sc in next st, sc in next 3 sts. Rep around. (30 sc)
Rnd 6 – 2 sc in next st, sc in next 4 sts. Rep around (36 sc)
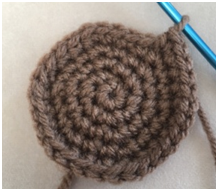
Rnd 7 – 2 sc in next st, sc in next 5 sts. Rep around (42 sc)
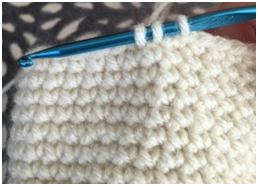
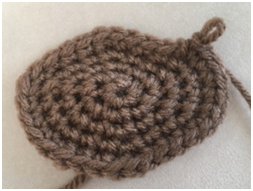
Rnds 8 – 22 – sc in each st around. Begin stuffing (42 sc)

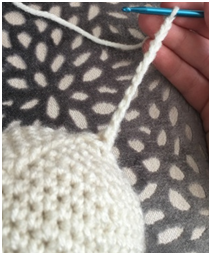
Rnd 23 – Sc2tog over next 2 sts, sc in next 5 sts (36 sc)
Rnd 24 – Sc2tog over next 2 sts, sc in next 4 sts (30 sc)
Rnd 25 – Sc2tog over next 2 sts, sc in next 3 sts (24 sc)
Rnd 26 – Sc2tog over next 2 sts, sc in next 2 sts (18 sc)
Rnd 27 – Sc2tog over next 2 sts, sc in next st (12 sc)
Rnd 28 – Sc2tog over next 2 sts; rep around (6 sc)
Rnd 29 – Sc2tog over next 2 sts. Leave rem sts unworked. Do not fasten off. (5 sc)
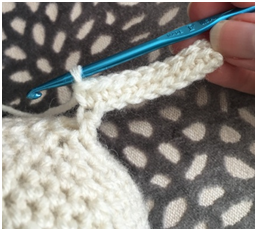
Tail
After Rnd 29 from Head/Body is completed, ch 10.
Row 1 – sc in each st across. Sl st to one of the rem sts from last rnd to help close gap.
Fasten off and use yarn end to close rem gap.
Ear (make 2)
With Cafe Latte, Ch 2.
Row 1 – 2 sc in 2nd ch from hook. Ch 1, turn (2 sc)
Row 2 – 2 sc in first st, 2 sc last st. Ch 1, turn (4 sc)
Row 3 – Sc in each st across. Ch 1, turn (4 sc)
Rows 4 – 7 – Rep Row 3. (4 sc)

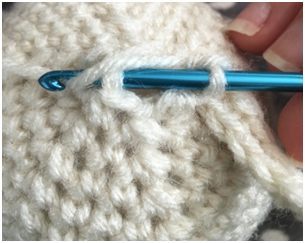
Edging
Sc evenly around entire piece, join with sl st to where you began crocheting around piece. Fasten off, leave long tail for sewing.
Snout
This piece is worked in continuous rnds; do not join. You may find it helpful to use a stitch marker and move it up at the beg of each rnd.
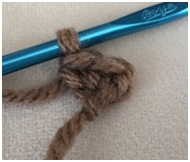
Rnd 1 – With Cafe Latte, make a magic ring. 6 sc in ring (6 sc)
Rnd 2 – 2 sc in each st (12 sc)
Rnd 3 – 2 sc in next st, sc in next. Rep around (18 sc)
Rnd 4 – 2 sc in next st, sc in next 2 sts. Rep around (24 sc)
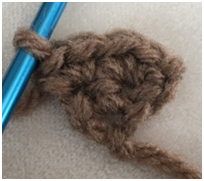
Rnd 5 – 2 sc in next st, sc in next 3 sts. Rep around. (30 sc)
Fasten off, leaving long tail for sewing. Stretch width considerably before sewing on.
Feet (make 4)
This piece is worked in continuous rnds; do not join. You may find it helpful to use a stitch marker and move it up at the beg of each rnd.
Rnd 1 – with Aran, make a magic ring. 6 sc in ring (6 sc)
Rnd 2 – 2 sc in each st (12 sc)
Rnds 3 – 4 – sc in each st around (12 sc per rnd)
Fasten off, leaving long tail for sewing to Body.
Finishing
Sew down edges of Eye Whites and Outer Ring around eye.
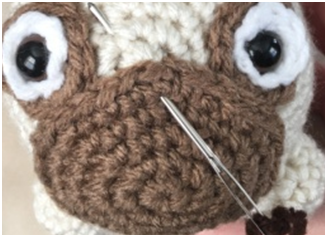
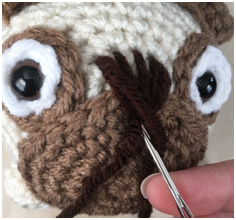
Sew Snout to face. Use Coffee to sew nose and mouth to Snout.

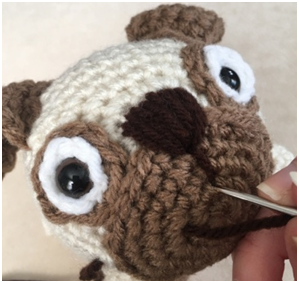
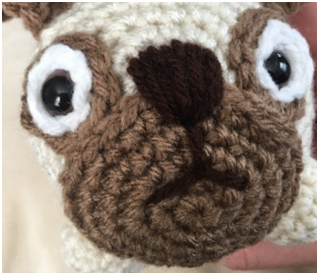
Use Rose to make Blush on outer corners of each Eye.
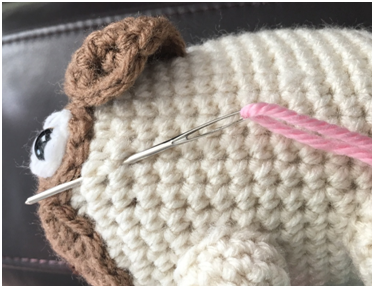
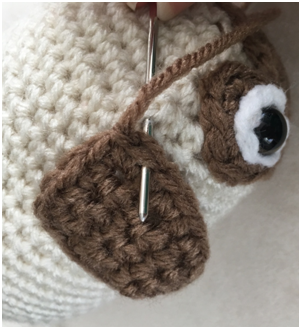
Line up Ears with Eyes and sew to Head.
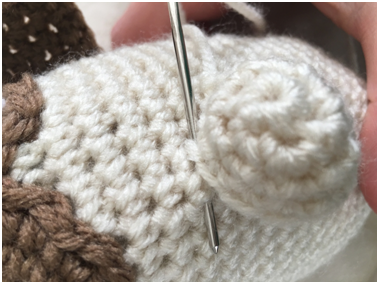
Lightly stuff Feet and sew to bottom of Body.
Tie off any ends and hide inside sts of Body, or weave in ends.
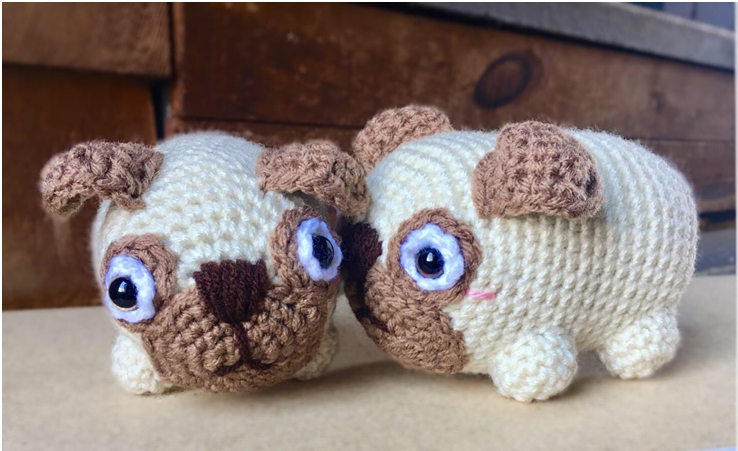
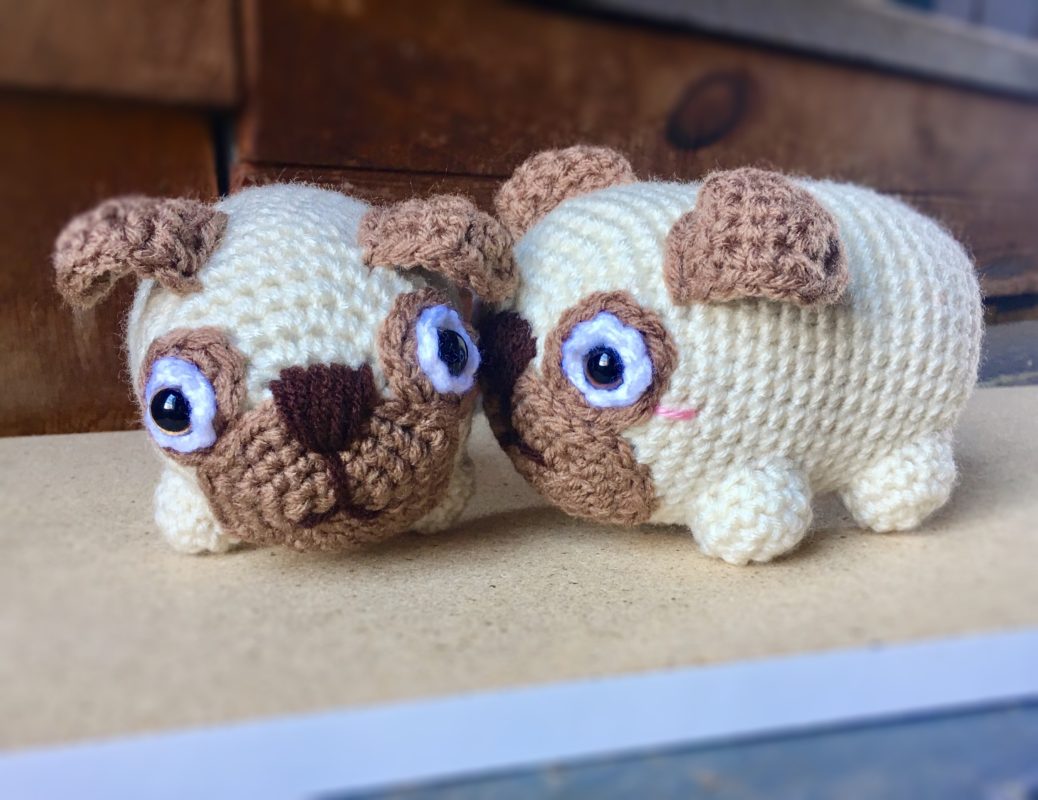
Here are the finished Pugs!

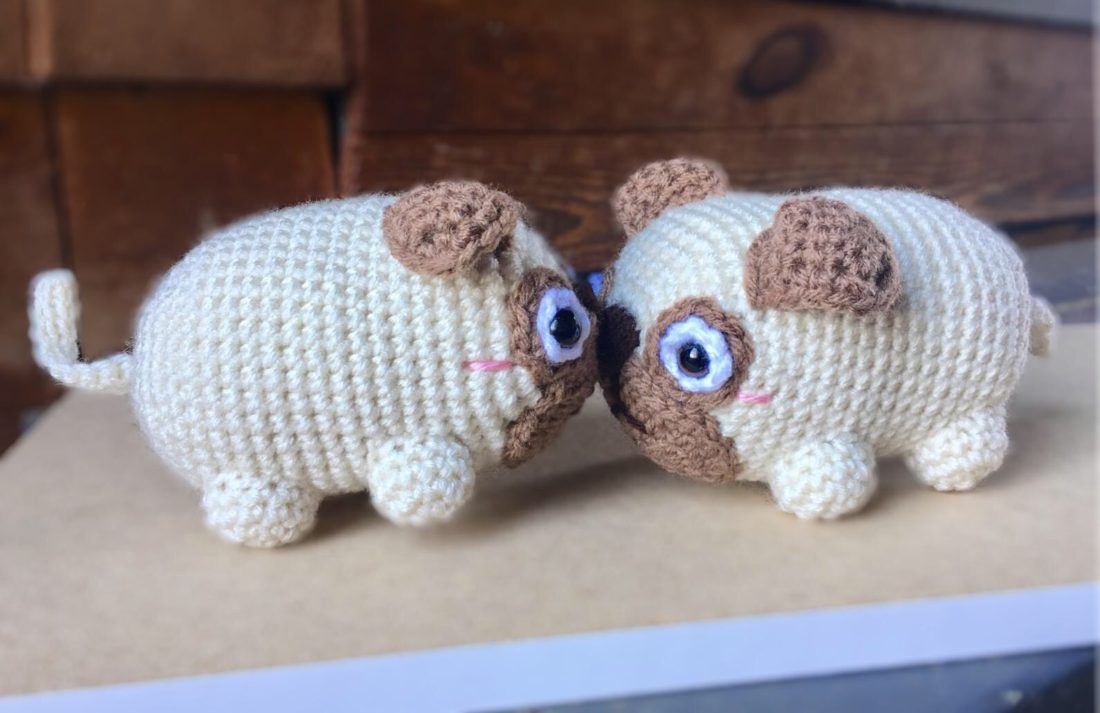
Aren’t they such a cute couple?!
Thank you so much for crocheting these Love Pugs along with me! I hope you loved the pattern, and if you’re looking for more fun patterns like this one, please subscribe to my email list and follow me on social media! I have MANY more fun and quirky patterns on the way, so please stay tuned!
COPYRIGHT: This pattern is owned by Crafty Kitty Crochet (Melissa Moore). Any reselling or distribution of this pattern is prohibited. Sale of items made using this pattern is welcomed, but I do ask that credit/a link be provided back to my site, craftykittycrochet.com.
Comments (4)
Carolyn Poe
February 1, 2022 at 6:57 pm
These are so cute! Thank you for sharing the pattern. The pattern is well written and easy to follow. They worked up quickly and I think my granddaughter will love them!
Melissa
February 1, 2022 at 7:01 pm
Thank you so much, Carolyn!!! I’m so happy to hear you enjoyed the pattern! And I’m sure your granddaughter will love them! Thank you for your kind message 🙂 Happy Crocheting! ~ Melissa
Elaineae
May 24, 2022 at 8:07 pm
They are so cute. Thank you for the pattern
Melissa
May 25, 2022 at 12:56 pm
Thank you so much!! I’m happy you like the pattern!! ~ Melissa