

Extra Toppings! How to Make Your Pizza Slouchy Hat into an “Everything” Pizza
Due to popular demand, I am finally releasing patterns for EXTRA pizza toppings for my Pizza Slouchy Hat! When I first released the pattern for my pizza hat in August, I was so happy to see how well received it was! Pizza and crocheting are two of my absolute favorite things, so combining the two is a lifelong dream for me! Along with all the love the hat received, I also got lots of great ideas for extra toppings I could add to the hat – everything from sausage to peppers to pineapple! And, just to be extra controversial, I’ve even decided to add an anchovy pattern here! Rejoice, lovers of anchovies on pizza! To anyone who doesn’t like anchovies on their pizza, feel free to “pick” that topping off your hat (i.e, don’t sew it on)!
The patterns below are for peppers, onions, mushrooms, olives, ham, sausage, anchovies, pineapple, and tomatoes. Do you have ideas for other toppings? Let me know!
I decided to make five to six of the smaller toppings (peppers, onions, etc.), two to four of the larger toppings (pineapple, sausage) and only two of the really large tomato slices. But the great thing about crocheting is that you can get creative and make as many toppings as you’d like, and arrange them to your liking, as well!
For the pizza hat pattern, which also includes the pattern for the crocheted pepperonis that can be attached to the hat, click here!
Are all you crochet chefs out there ready to get to work? Let’s do this!
Supplies
Size D3/3.25 mm crochet hook
Scissors
Yarn Needle
Stitch Markers (optional)
Red Heart Super Saver in:
– Cherry Red
– Hunter Green
– Soft White
– Cafe Latte
– Coffee
– Black
– Rouge
– Gold
Red Heart with Love in:
– Pewter
– Grape Jam
NOTE!“Grape Jam” is particularly tough to find in stores, but I find it to be the absolute PERFECT color for the onion in this pattern! You can find it on Amazon HERE at a really good price!
Abbreviations
Ch = chain
Beg = beginning
BLO = back loop only
Hdc = half double crochet
Dc= double crochet
Rep = repeat
Rnd = round
Sc = single crochet
Sc2tog = single crochet 2 together
Sl St(s) = slip stitch(es)
Sp(s) = space(s)
Gauge
Exact gauge is not essential to this project.
Instructions
Peppers
With Cherry Red or Hunter Green, ch 10.
Row 1: Sl st in 2nd ch from hook, sc in next 2 chs, hdc in next 3 chs, sc in next 2 chs, sl st in last ch. Fasten off, leaving a long tail for sewing to hat; weave in end from beg.
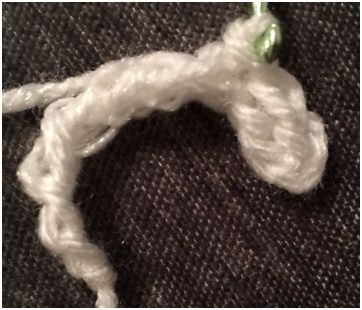
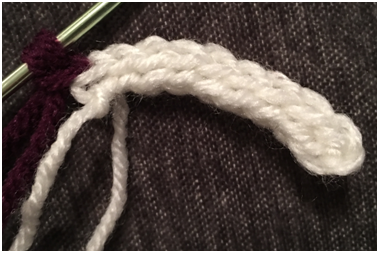
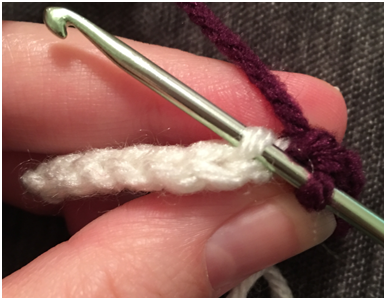
Onion
With Soft White, ch 10.
Row 1: Loosely sl st in each ch across. Join purple in last st, ch 1, turn (9 sl sts)
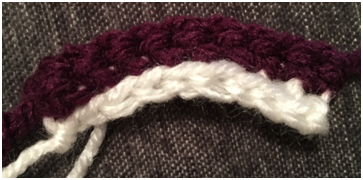
Row 2: Sc in BLO of each sl st across. Fasten off, leaving long white and purple tails for sewing, weave in other ends. (9 sc)
Mushroom
With Cafe Latte, ch 3.
Row 1: Sc in each ch across, ch 1, turn (2 sc)
Row 2: Sc across. Ch 1, turn (2 sc)
Row 3: Rep Row 2 (2 sc)
Row 4: 5 sc in first st, 5 sc in next st. Switch to Coffee in last st. Ch 1 (10 sc)
Row 5: Sc in first st, and in next 8 sts, 2 sc in last st. Fasten off, leave long light and dark brown tails for sewing, weave in other ends. (11 sc)
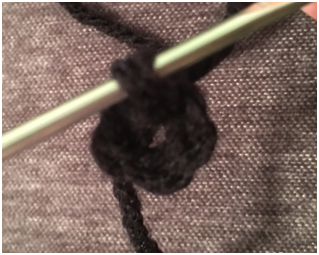
Olive
With Black, ch 5. Join with sl st to make a ring. Sl st inside ring. Ch 1.
Rnd 1: Sc 7 inside ring. Join with sl st to first sc. Fasten off, leaving a long tail for sewing; weave in end from beg (7 sc)

Ham
With Rouge, ch 3.
Row 1: Sc in each ch across. ch 1, turn (2 sc)
Row 2: Sc across, ch 1, turn (2 sc)
Rows 3-5: Rep Row 2, fasten off (2 sc per row).
Fold in half and sew together. Leave long tail for sewing to hat; weave in beg tail.
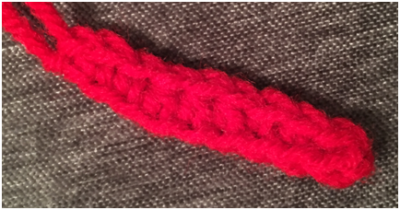
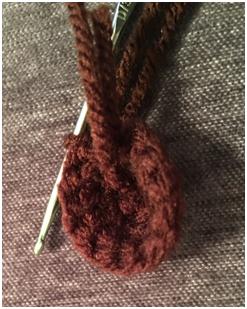
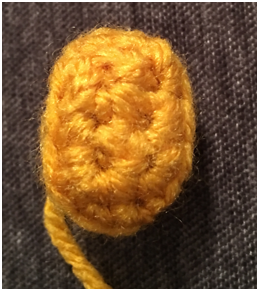
Sausage
This piece is worked in continuous rnds; do not join. You may wish to use a stitch marker and it up and the end of each rnd.
With Coffee, Make a magic ring, 6 sc in ring (6 sc)
Rnd 1: 2 sc in each st around (12 sc)
Rnd 2: Sc around; stuff with beg yarn tail (12 sc)
Rnd 3: Sc2tog in each st around (6 sc)
Rnd 4: Sc2tog twice, leave rem sts unworked (4 sc)
Fasten off, sew rem gap with yarn tail. Leave long tail for sewing to hat.
Anchovy
With Pewter, Ch 12.
Row 1: Sl st in next 2 chs, sc in next 2 chs, hdc in next 4 chs, sc in next 2 chs, sl st in last ch. Fasten off, leaving long tail for sewing to hat; weave in beg tail.
Pineapple
With Gold, Ch 3.
Row 1: Sc in each st across. Ch 1, turn (2 sc)
Row 2: Sc across, ch 1, turn (2 sc)
Rows 3-4: Rep Row 2 (2 sc per row)
Working around piece:
Rnd 1: *sc 3 down first side, ch 1, sc 2 across bottom, ch 1; rep from * to * up other side and across top. (10 sc)
Rnd 2: In BLO, sc around (do not sc in ch-1 sps from previous row) (10 sc)
Rnd 3: Sc2tog in next st, sc in next. Rep around. Sc in last st (7 sc)
Rnd 4: Sc2tog 3 times, sc in last st (4 sc)
Stuff with yarn. Fasten off, sew together rem gap with yarn tail. Leave a long tail for sewing to hat.
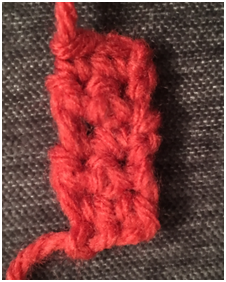
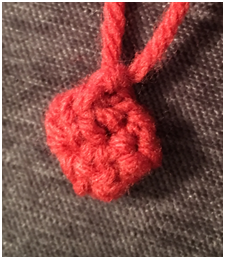
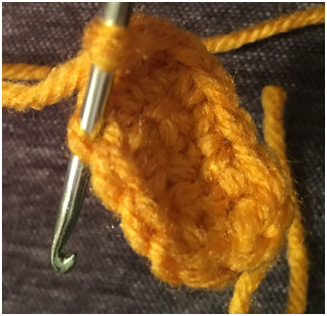
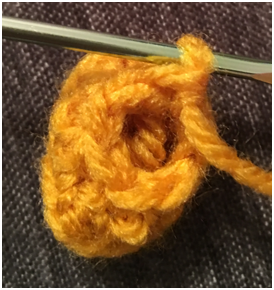
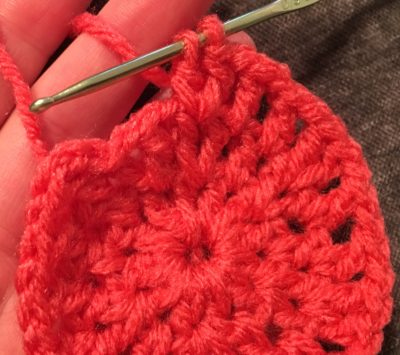
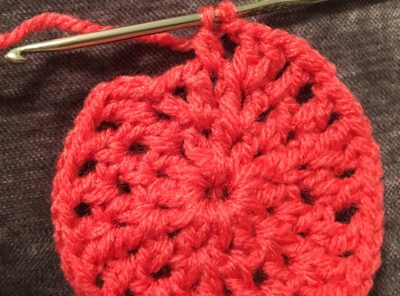
Tomato
With Rouge, Ch 4, join to make a ring
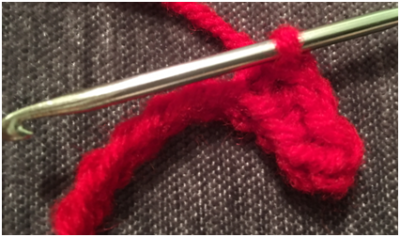
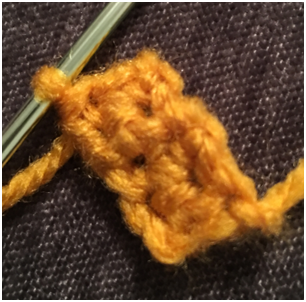
Rnd 1 – Ch 2, dc in ring (first 2dc cluster). *Ch 1, 2 dc in ring; rep from * 4 more times. Ch 1, join with sl st to top of ch 2 (6 2dc clusters and 6 ch 1 sps)
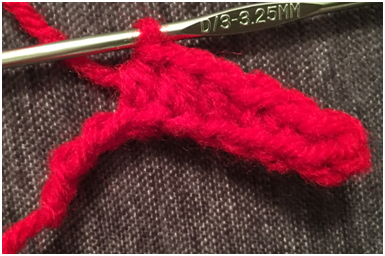
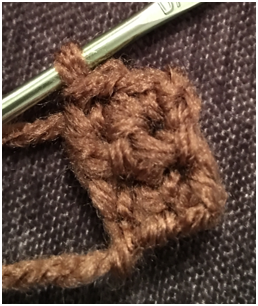
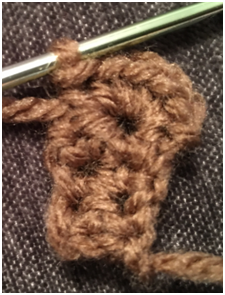
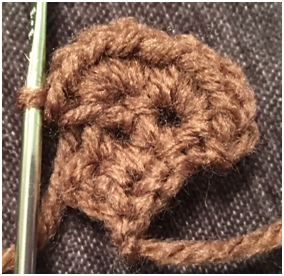
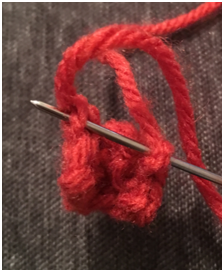
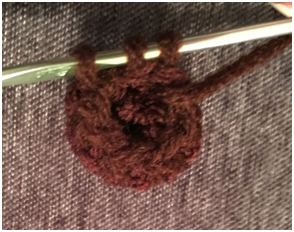
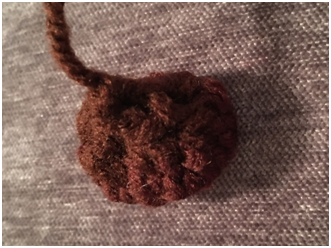
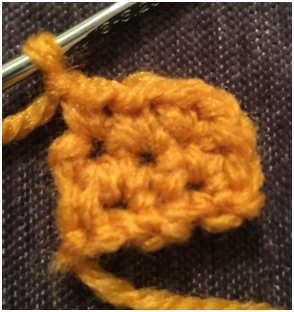
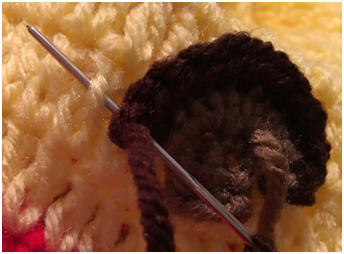
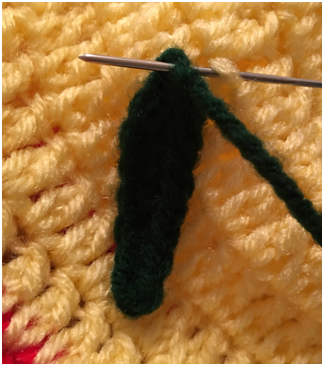
Rnd 2 – Ch 2, dc between 2dc cluster below, ch 1. *Dc in ch 1 sp, ch 1. 2 dc between 2dc cluster below, ch 1. Rep from * 4 more times. Dc in last ch sp and ch 1, join with sl st to top of ch 2 (6 2dc clusters, 6 dc) (To see what 2 dc between a 2dc cluster below looks like, see first photo below; to see what a dc in ch-1 sp from rnd below looks like, see second photo below)
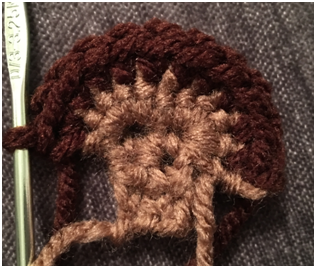
Rnd 3 – Ch 2, dc between 2dc cluster below, * ch 1, [Dc in ch 1 sp, ch 1] twice. 2 dc between 2dc cluster below. Rep from * 4 times. [Dc in ch 1 sp, ch 1] two more times, join with sl st to top of ch 2. Switch to Cherry Red when joining (6 2dc clusters, 12 dc)
Rnd 4 – Ch 1, sc around in each st and ch 1 sp (41 sc)
Fasten off, weave in ends.
Assembly
Sew each piece onto hat in whatever order you prefer. When sewing, be careful to sew through only a part of the stitch on the hat, so that your yarn does not show through on the inside of the hat.
Here is the finished “everything” hat!
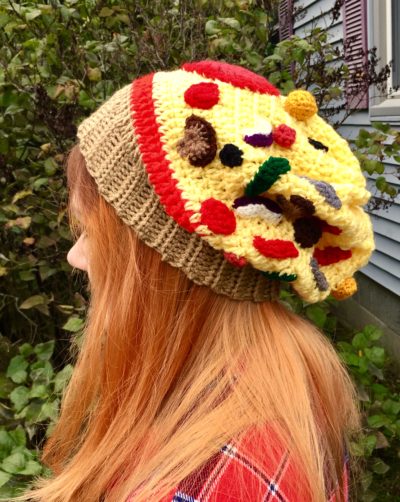
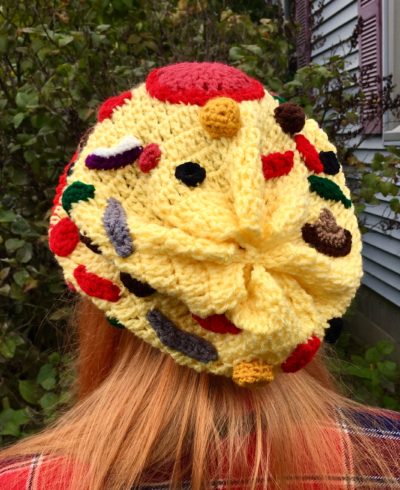
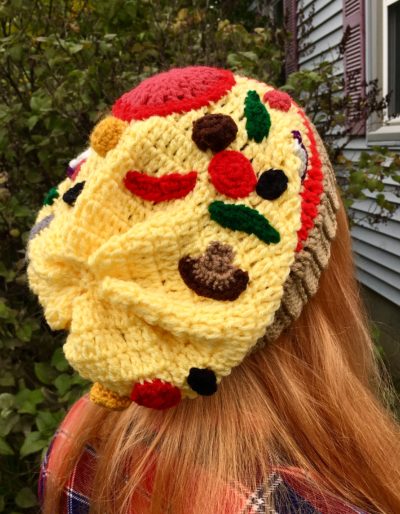
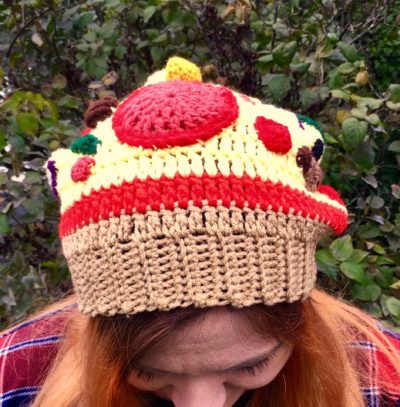
Enjoy, and don’t forget to follow me on social media (links below) to learn about other fun patterns I’m working on!
COPYRIGHT: This pattern is owned by Crafty Kitty Crochet (Melissa Moore). Any reselling or distribution of this pattern is prohibited. Sale of items made using this pattern is welcomed, but I do ask that credit/a link be provided back to my site, craftykittycrochet.com.
Comments (2)
Pizza Hooded Blanket – Crochet Pattern – Crafty Kitty Crochet
October 14, 2019 at 6:37 pm
[…] may remember other pizza patterns of mine such as the Pizza Slouchy Hat and the Everything Pizza Toppings that you can add to that hat. It should come as no surprise that pizza is my favorite food, and I […]
12 Best Women Winter Wearables Free Crochet Patterns
July 10, 2026 at 11:39 pm
[…] Crafty Kitty Crochet […]