
Amigurumi Corn on the Cob Crochet Pattern
Okay, I’ll admit it – it was pretty tough not to start this post out with some kind of joke related to the word “corny”! For everyone’s sake, I’ll try to avoid silly word puns!
This little corn on the cob is one of my favorite play food amigurumi to make, because it’s not only super cute, but it’s really versatile! From what I know about growing corn (and trust me, that’s not much) it grows in the spring and summer, but is harvested in the fall. So I’ve always thought of it as straddling the seasonal line – it’s something you think of for the summer, but also for the fall. It walks in both worlds. Sort of a “Nightmare Before Christmas” for vegetables – you can enjoy it in either season! That’s why I felt that this little corn was perfect for the month of August! Whether you’re enjoying a summer barbecue, or making plans for your Halloween costume already, you can enjoy the cuteness this corn on the cob has to offer!
To purchase an ad-free version of this pattern, click here!
Ready to get started on making the world’s tiniest cornfield? Let’s go!
Supplies:
Size D/3 (3.25 MM) Crochet Hook
Yarn Needle
Scissors
Fiberfill stuffing
6 mm Safety Eyes
(You will not need entire skeins of each color of yarns listed below)
Red Heart Super Saver in Tea Leaf (outside/husks)
Red Heart Super Saver in Lemon (inside/corn)
Red Heart Super Saver in Black (very small amount for smile)
Red Heart Soft Baby Steps in Strawberry (very small amount for blush)
Abbreviations:
BLO = back loop only
Ch = chain
Rep = repeat
Rnd = round
Sc = single crochet
Sc2tog = single crochet 2 together
Sc3tog = single crochet 3 together
Sl st = slip stitch
St(s) = stitch(es)
Size:
About 7 inches tall
Gauge:
Exact gauge is not essential to this project.
Instructions
Bottom of Husk
(Work in continuous rnds; do not join. You may find it helpful to place a stitch marker at the beginning of each rnd)
Rnd 1 – Magic ring, 6 sc in ring (6 sc)
Rnd 2 – 2 sc in each st around (12 sc)
Rnd 3 – Sc in next st, 2 sc in next – rep around (18 sc)
Rnd 4 – Sc in next 2 sts, 2 sc in next – rep around (24 sc)
Rnds 5-16 – sc around (24 sc per rnd)
Rnd 17 – Sc2tog over next 2 sts, sc in next 2 st – rep around (18 sc)
Rnd 18 – Sc2tog over next 2 sts, sc in next – rep around, switch to yellow in
last st, fasten off green (12 sc)
Rnd 19 – In BLO, sc around (12 sc)
Begin stuffing
Rnds 20-29 – Sc around (12 sc per rnd)
Attach safety eyes between rnds 27 and 28,
about 4 sts apart, and finish stuffing
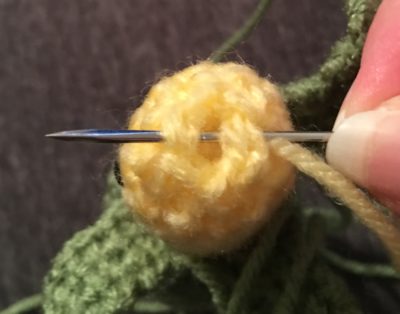
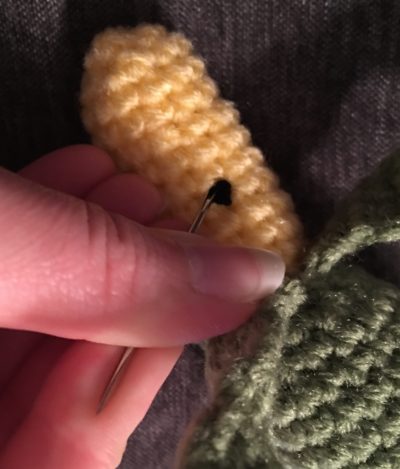
Rnd 30 – Sc2tog around; sc2tog once more (5 sc)
Fasten off. Close gap with yarn needle (see photo below). Weave in ends.
Top Husks (make 3)
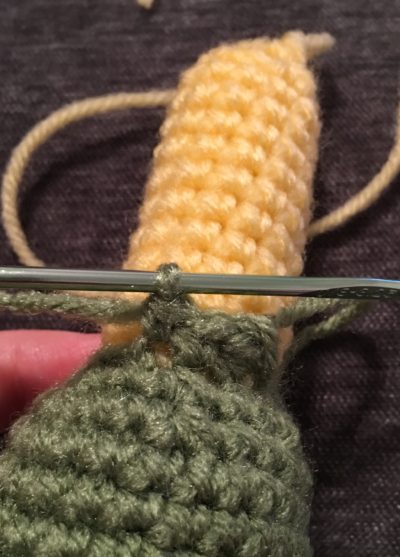
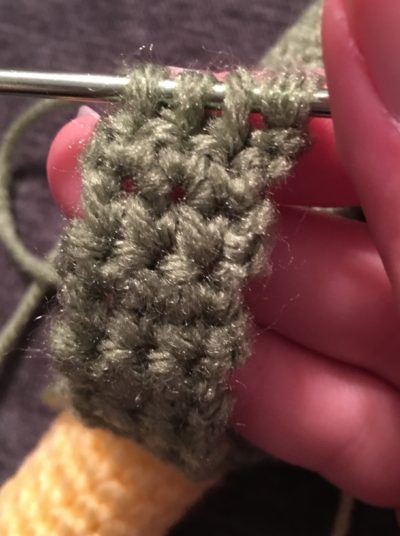
Rnd 1 – Working in remaining front loop sts from rnd 19, where sts were worked in BLO, join green on back of corn (see first photo below). Ch 1, sc in same st, and in the next 2 sts. Ch 1, turn. (See second photo below) (3 sc)
Rnd 2 – Sc across, ch 1, turn (3 sc)
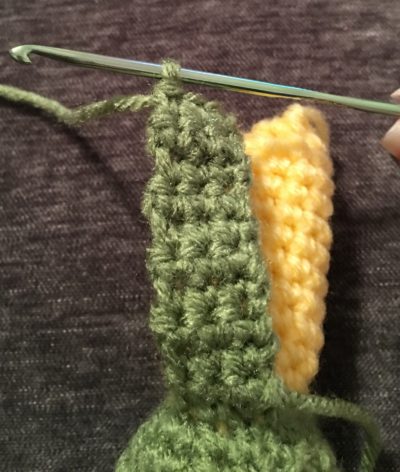
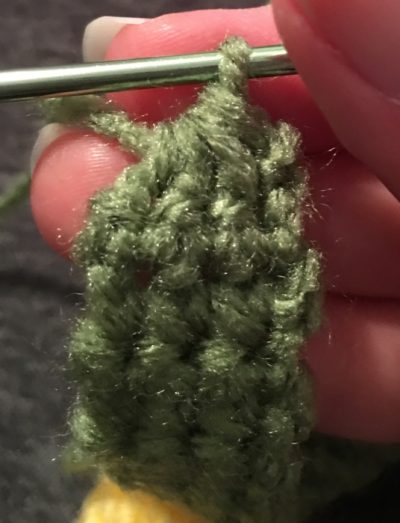
Rnds 3-10 – rep rnd 2 (see third photo below) (3 sc per rnd)
Rnd 11 – Sc3tog (see fourth and fifth photos below), ch 1, turn. (1 sc)
Rnd 12 – Sc in rem st (1 sc)

Rep process for the other two husks – make one on each side of current husk
Fasten off, weave in ends
Finishing
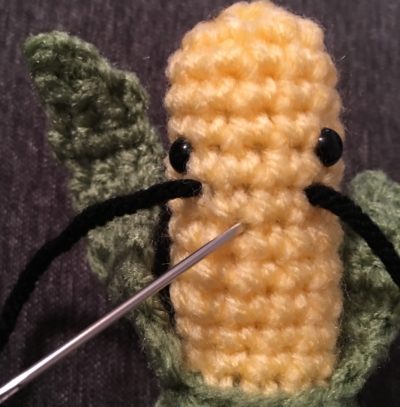
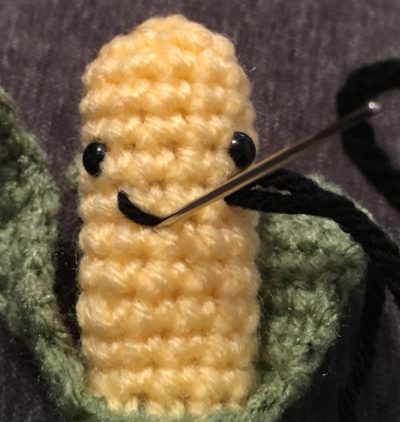
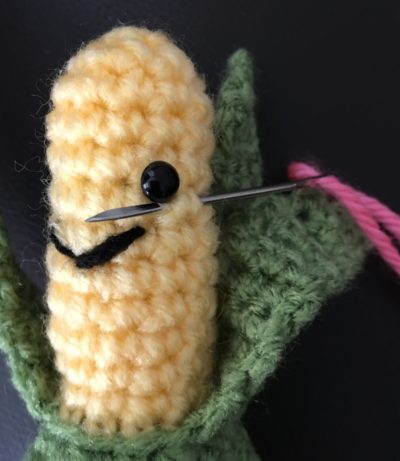
To make smile, attach black yarn to needle and make a “v” shape below eyes (see first two photos below). Carry yarn ends to back of corn and tie off, then hide the knot inside the stitches (see third photo below). To make blush, attach pink yarn to needle and make a small line underneath the outer corner of each eye (see fourth photo below). Repeat process to carry/tie/hide yarn ends.
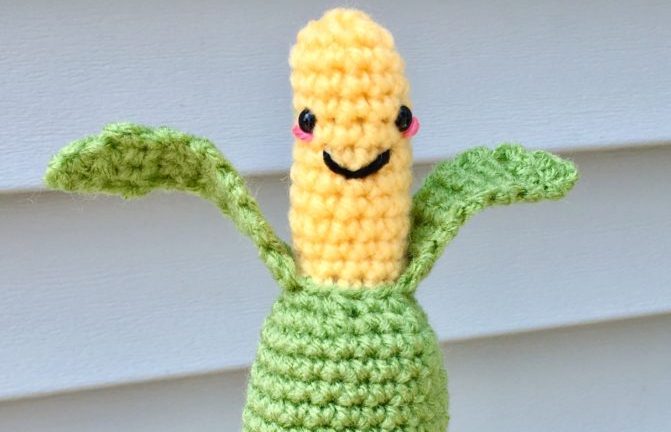
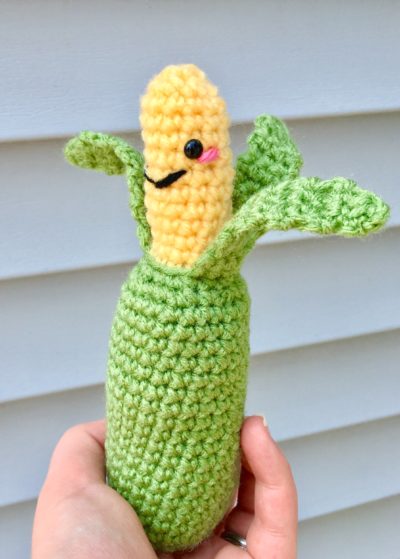
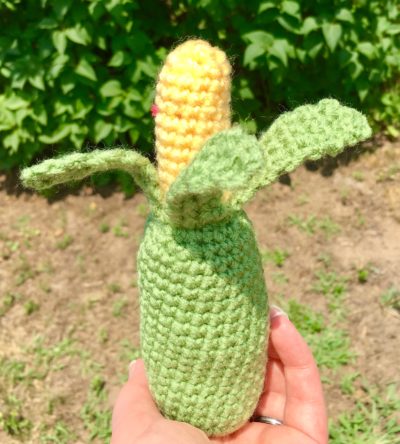
Here is the finished corn!

COPYRIGHT:
This pattern is owned by Crafty Kitty Crochet (Melissa Moore). Any reselling or distribution of this pattern is prohibited. Sale of items made using this pattern is welcomed, but I do ask that credit/a link be provided back to my site, craftykittycrochet.com.

Comments (1)
RobertMit
August 24, 2019 at 10:23 pm
I had been exclusively a knitter for over ten years when I finally decided to learn to crochet. The catalyst for my taking the plunge into a new world of hooks and loops were seeing amigurumi patterns online. Amigurumi are basically small knitted or crocheted stuffed toys, but all of the patterns I liked were crocheted.