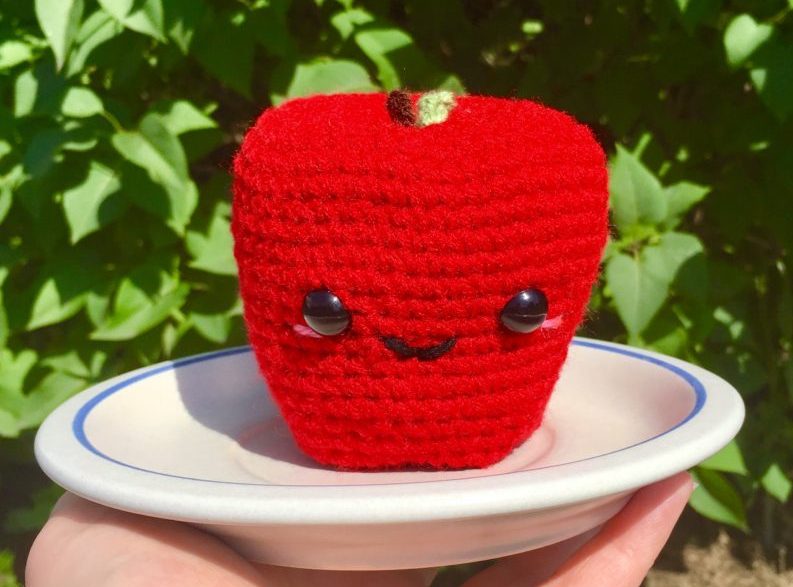
Amigurumi Apple Crochet Pattern
“An apple a day…” is an idiom for a reason! Who can say no to a crisp apple on a chilly fall day? Okay, okay….I know fall isn’t quite here yet, but as I write this, it’s almost August, which means it’s almost time for my fall/Halloween countdown to begin! I love crocheting these amigurumi apples because they are easy to make, they look cute, and you can make them in different colors to suit your apple preferences! (I’m a Macintosh girl, through and through, but there’s a time and a place for a good ol’ Granny Smith every once in a while, too!)
So let’s start apple picking season a little early this year and work up some of these adorable amigurumi apples!
(To purchase an ad-free PDF copy of this pattern in my shop, click here!)
Supplies:
Size D/3 (3.25 MM) Crochet Hook
Yarn Needle
Scissors
Fiberfill stuffing
12 mm Safety Eyes
(You will not need entire skeins of each color of yarns listed below)
Red Heart Super Saver in Cherry Red (body of apple)
Red Heart Super Saver in Coffee (very small amount for stem)
Red Heart Super Saver in Tea Leaf (very small amount for leaf)
Red Heart Super Saver in Black (very small amount for smile)
Red Heart Soft Baby Steps in Strawberry (very small amount for blush)
Abbreviations:
Beg = beginning
Ch = chain
Rem = remaining
Rep = repeat
Rnd = round
Sc = single crochet
Sc2tog = single crochet 2 together
Sl st = slip stitch
St(s) = stitch(es)
Size:
About 3.25 inches tall
Gauge:
Exact gauge is not essential to this project.
Instructions
Body of apple
Rnd 1 – Make a magic ring, 6 sc in ring (6 sc)
Rnd 2 – 2 sc in each st around (12 sc)
Rnd 3 – Sc in next st, 2 sc in next-rep around (18 sc)
Rnd 4 – Sc in next 2 sts, 2 sc in next-rep around (24 sc)
Rnd 5 – Sc in next 3 sts, 2 sc in next-rep around (30 sc)
Rnd 6 – Sc in next 4 sts, 2 sc in next-rep around (36 sc)
Rnd 7 – Sc in next 5 sts, 2 sc in next-rep around (42 sc)
Rnd 8 – Sc in next 6 sts, 2 sc in next-rep around (see photo) (48 sc)
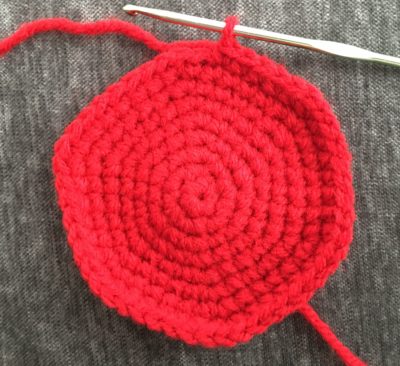
Rnds 9-14 – sc around (48 sc per rnd)
Rnd 15 – Sc2tog
Rnd 15 – Sc2tog over next 2 sts, sc in next 6 sts-rep around (42 sc)
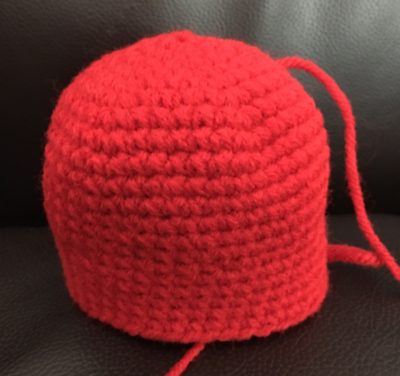
Rnds 16-20 – sc around (photo shows what piece should look like at this stage) (42 sc)
Rnd 21 – Sc2tog over next 2 sts, sc in next 5, rep around (36 sc)
Rnds 22-25 – sc around (36 sc per rnd)
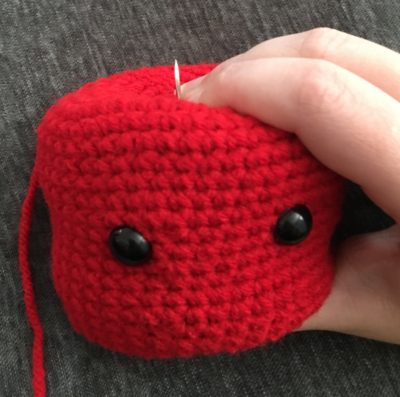
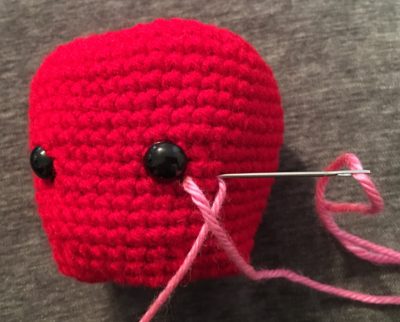
Attach safety eyes between rnds 15 and 16, about 7 sts apart. Begin stuffing.
Rnd 26 – Sc2tog over next 2 sts, sc in next 4 sts, rep around (photo shows how to keep your stitches tight/prevent gapping while decreasing) (30 sc)
Rnd 27 – Sc2tog over next 2 sts, sc in next 3 sts, rep around (24 sc)
Rnd 28 – Sc2tog over next 2 sts, sc in next 2 sts, rep around. Finish stuffing (do not overstuff). (18 sc)
Rnd 29 – Sc2tog over next 2 sts, sc in next st, rep around (12 sc)
Rnd 30 – Sc2tog around (6 sc)
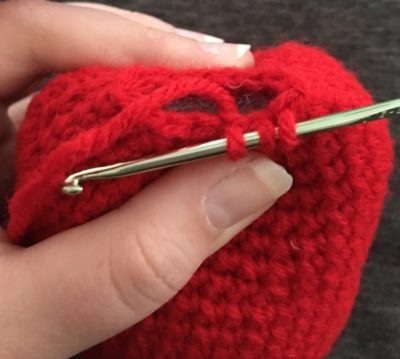
Rnd 31- Sc2tog once, leave rem stitches unworked. (5sc)
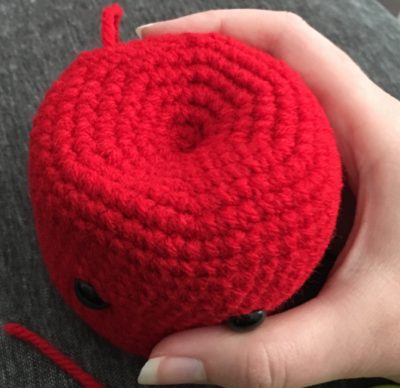
Fasten off, leaving a very long tail – a small rem gap will be closed up with yarn needle (see photo)
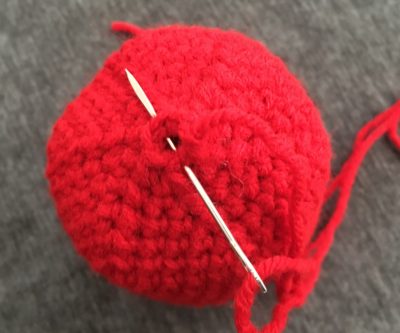
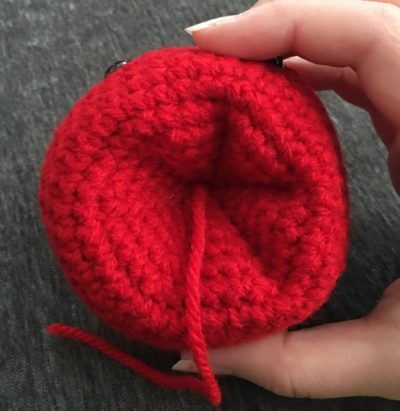
Cinching the apple
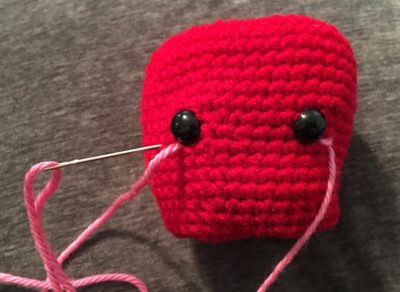
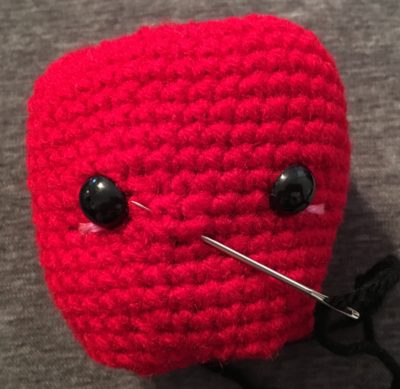
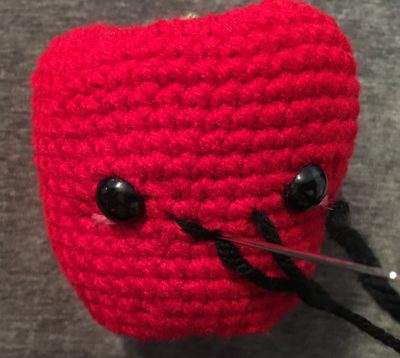
With long tail left over from end of Body threaded through needle, insert needle through bottom-center of apple and pull it out through the top-center (a good place to pull through is the center of the magic ring from rnd 1 – see photos). You may need to squeeze apple together from top to bottom in order to guide needle all the way through the entire apple (see photos). Once you have come out through the top of the apple, repeat the process, going from top to bottom, in order to cinch the apple even further. The end results will look like the last two photos below. Fasten off, weave in ends.
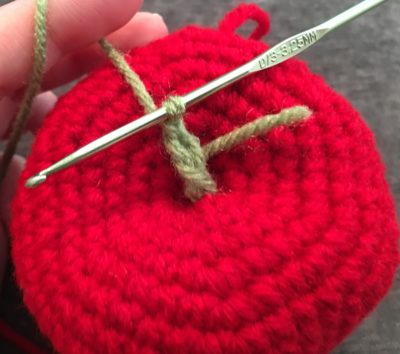
Leaf
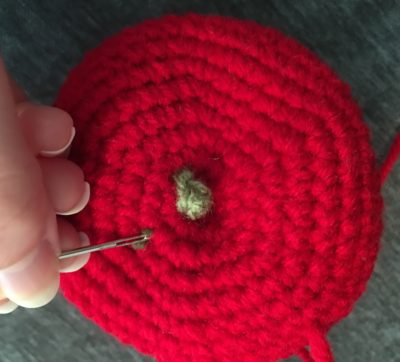
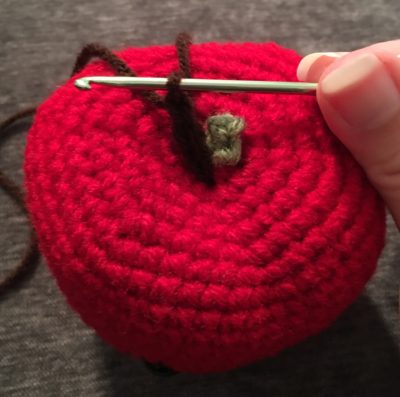
Attach green yarn close to top cinched part of Apple (see first photo below). Ch 3 (see second photo below). In 2nd ch from hook, sl st. Sc in next st and join with sl st in st of Apple where green yarn was first joined. (1 sc)
Carry ends to back of Apple, tie a firm knot, and hide knot in stitches (see third photo below).

Stem
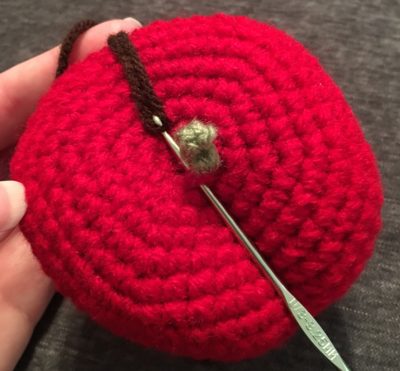
Attach brown yarn next to leaf, in center-top of Apple (see first photo below). Ch 3 (see second photo below). Fasten off, leaving a long tail – the tail can be worked back through the ch 3 of the stem and into the body of the apple with yarn needle, in order to be tied/hidden using same process of tying/hiding ends that was used for Leaf.
Finishing
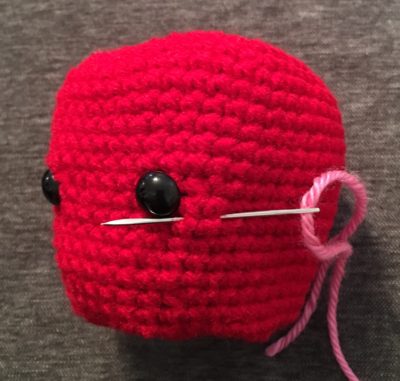
To make the blush, start underneath eye and cover about one sc st with the pink yarn (see first and second photos below). Carry your needle over to the other eye and repeat (see third photo below). Carry yarn ends to back of piece and tie/hide, using same process that was used for Leaf and Stem.
To make the smile, sew a tiny “v” shaped smile between eyes (see photos below). Carry yarn ends to back of piece and tie/hide, using same process that was used for leaf and stem.
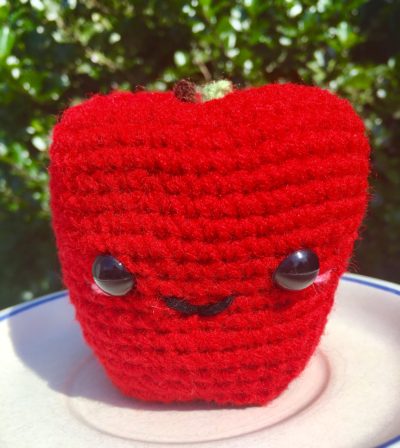
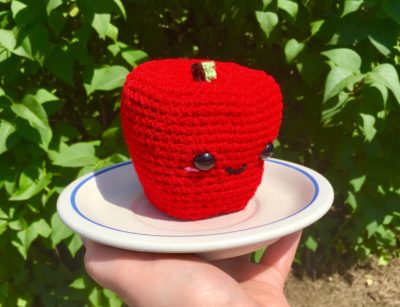
Here’s the finished result!

COPYRIGHT:
This pattern is owned by Crafty Kitty Crochet (Melissa Moore). Any reselling or distribution of this pattern is prohibited. Sale of items made using this pattern is welcomed, but I do ask that credit/a link be provided back to my site, craftykittycrochet.com.