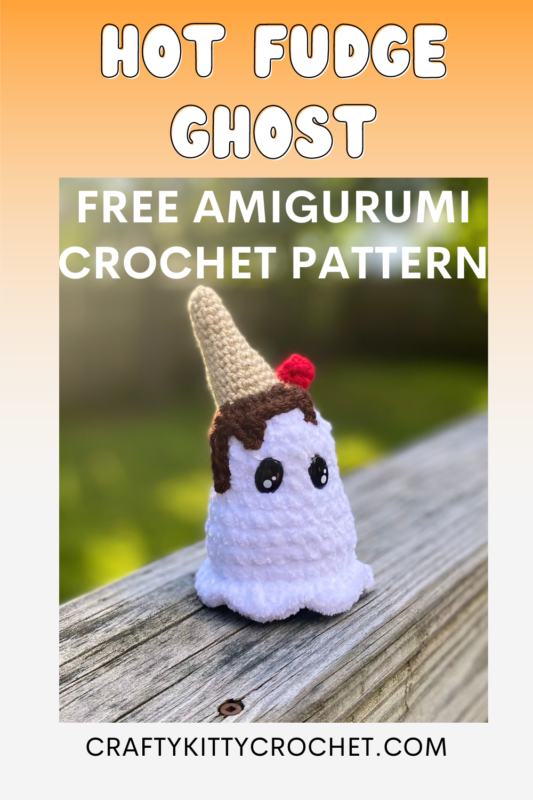
Hot Fudge Ghosts – Amigurumi Crochet Pattern
Pin it for later!
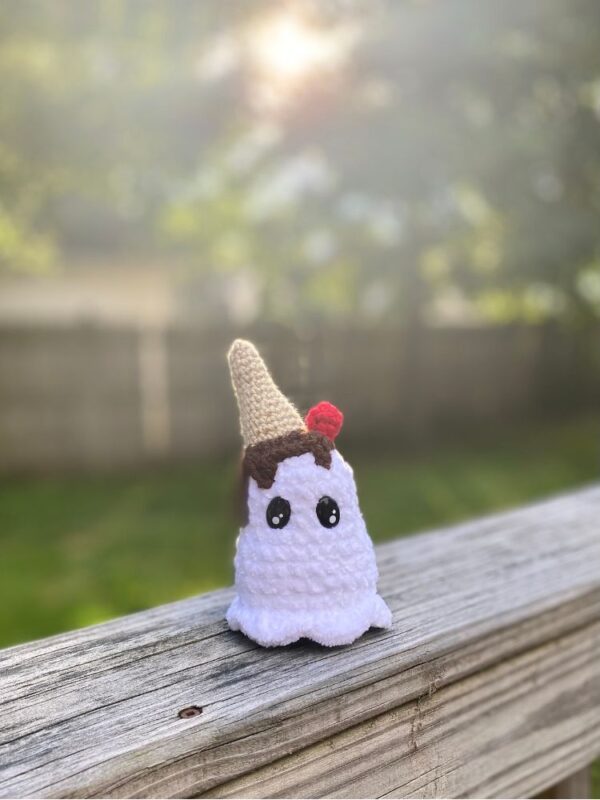
Spooky season is just around the corner, so what could be sweeter than this spooky cute Hot Fudge Ghost? The design is so kawaii it’s scary, and the addition of a dessert theme just literally adds the cherry on top. These boo babies are the perfect Halloween gift, easy and fast make for a fall craft fair or market, or just adorable gift idea for the spooky, witchy Halloween lover in your life! How about a fun boo basket addition? The possibilities are endless! The pattern is fast and easy, and the finished result is cute and soft. Make a whole ice cream parlor full of these ghosties in no time!
Amigurumi Ice Cream Ghost
If you’re familiar with my other Halloween patterns, like my Wee Ghosties, Pastel Ghosties, and Hearty Bats, you know that I love designing spooky cute critters with some kind of twist (like a food theme, a specific shape, etc.). Considering how successful my Ice Cream Octopi are at craft fairs, I decided to apply the same logic to making a little ice cream ghost. And I’m really happy with the results! Desserts, fall, and Halloween are motifs that just go together so well!
Looking for the ad-free PDF pattern? You can find it in my shop HERE!
Supplies
Size 7 / 4.5 mm crochet hook
Size F5 / 3.75 mm crochet hook
Premier Just Chenille in White (super bulky – about 50 yds)
Caron Simply Soft in Bone (medium weight – about 30 yds)
Caron Simply Soft in Chocolate (medium weight – about 15 yds)
Red Heart Super Saver in Cherry Red (medium weight – about 5 yds)
1 pair 12×16 mm oval safety eyes
Fiberfill stuffing
Yarn Needle
Scissors
Abbreviations
*= indicates beginning/end of a section to be repeated
Beg = beginning
Ch = chain
FLO = front loop only
Hdc = half double crochet
Rem = remaining
Rep = repeat
Rnd(s) = round(s)
Sc = single crochet
Sc2tog = single crochet 2 together
Sl St = slip stitch
St(s) = stitch(es)
Gauge
Exact gauge is not essential to this project.
Size About 4.5 inches length not including cone

How to Make This
Instructions
Ghost
This pattern is worked in continuous rnds; do not join. You may wish to use a stitch marker and move it up at the beginning of each new rnd.
Rnd 1 – with super bulky white yarn, make a magic ring. 6 sc in ring. (6 sc)
Rnd 2 – 2 sc in each st around. (12 sc)
Rnd 3 – *2 sc in next st, sc in next st*; rep from * to * around. (18 sc)
Rnds 4 – 7 – sc in each st around. (18 sc per rnd)
Rnd 8 – *2 sc in next st, sc in next 2 sts*; rep from * to * around. (24 sc)
Rnds 9 – 12 – sc in each st around. (24 sc per round)
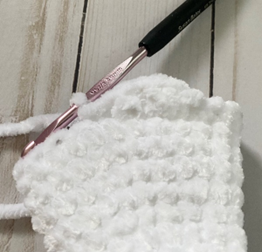
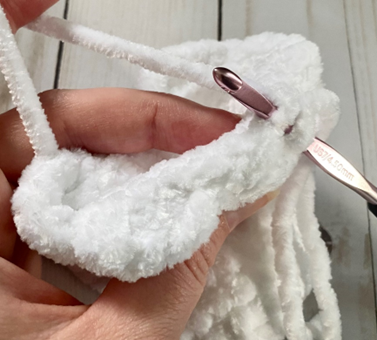
Rnd 13 – working in FLO (first photo below), *2 hdc in next 2 sts, sl st in next 2 sts.* (See second photo below.) Rep from * to * 5 more times (third photo below). Attach safety eyes between Rnds 6 and 7. Stuff Ghost (do not overstuff). (12 hdc / 6 scallops)
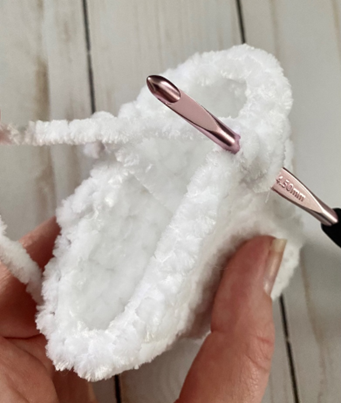
Rnd 14 – working in rem loops from Rnd 14 (first photo below), *sc2tog over next 2 sts, sc in next 2 sts*; rep from * to * around. (18 sc)
Rnd 15 – *sc2tog over next 2 sts, sc in next st*; rep from * to * around. (12 sc)
Rnd 16 – sc2tog in each st around. (6 sc)
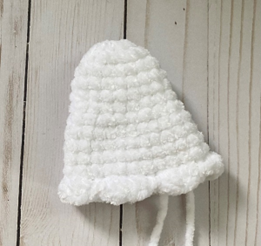
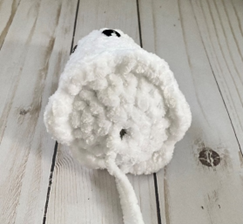
Rnd 17 – sc2tog over next 2 sts; leave rem sts unworked. (Second and third photo below shows piece after this rnd.) (5 sc)
Fasten off, leaving tail for sewing rem gap from Rnd 17.
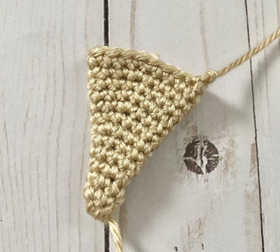
Cone
This pattern is worked in continuous rnds; do not join. You may wish to use a stitch marker and move it up at the beginning of each new rnd.
Rnd 1 – with medium weight beige yarn, make a magic ring. 6 sc in ring. (6 sc)
Rnds 2 – 3 – sc in each st around. (6 sc)
Rnd 4 – *2 sc in next st, sc in next st*; rep from * to * around. (9 sc)
Rnds 5 – 6 – sc in each st around. (9 sc)
Rnd 7 – *2 sc in next st, sc in next 2 sts*; rep from * to * around. (12 sc)
Rnds 8 – 9 – sc in each st around. (12 sc)
Rnd 10 – *2 sc in next st, sc in next 3 sts*; rep from * to * around. (15 sc)
Rnds 11 – 12 – sc in each st around. (15 sc)
Rnd 13 – *2 sc in next st, sc in next 4 sts*; rep from * to * around. (18 sc)
Rnd 14 – sc in each st around. (18 sc)
Fasten off.
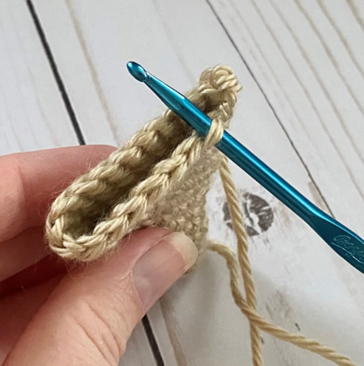
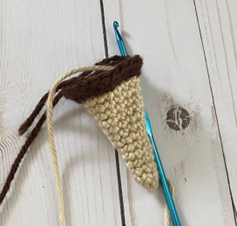
Chocolate
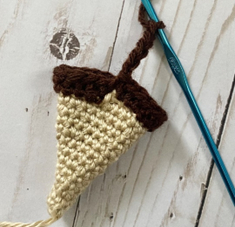
Rnd 1 – Attach medium weight brown yarn in front loop of any st from Rnd 14 of Cone (first photo). Working in FLO, *2 sc in next st, sc in next 2 sts*; rep from * to * around. (24 sc)
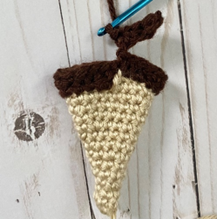
Rnd 2 – sc in each st around. (Second photo below shows piece at this stage.) (24 sc)
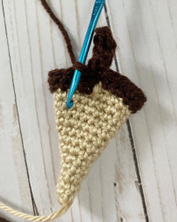
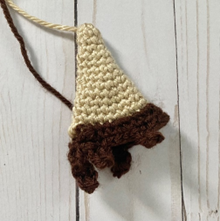
Rnd 3 (making chocolate drips) – ch 5 (third photo). Working back down ch sts, sc in each st across (4 sc – fourth photo), sl st in next 2 sts of Chocolate (fifth photo). *Ch 3, sc in each st across (2 sc)*, sl st in next 5 sts of Chocolate. Rep from * to *, sl st in next 10 sts of Chocolate. Rep from * to *, sl st in 6 sts of Chocolate. (Sixth photo shows finished piece.)
Fasten off, leaving long tail for sewing.
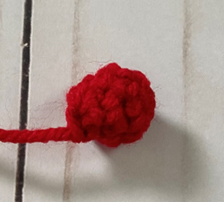
Cherry
This pattern is worked in continuous rnds; do not join. You may wish to use a stitch marker and move it up at the beginning of each new rnd.
Rnd 1 – with medium weight red yarn, make a magic ring. 6 sc in ring. (6 sc)
Rnds 2 – 3 – sc in each st around. Stuff with beg tail from magic ring (6 sc)
Rnd 4 – sc2tog twice. (4 sc)
Fasten off, leaving long tail for sewing.
Finishing
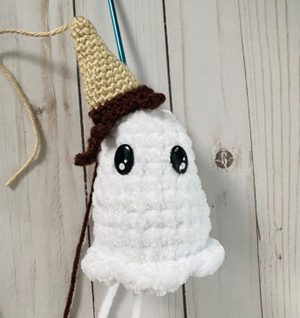
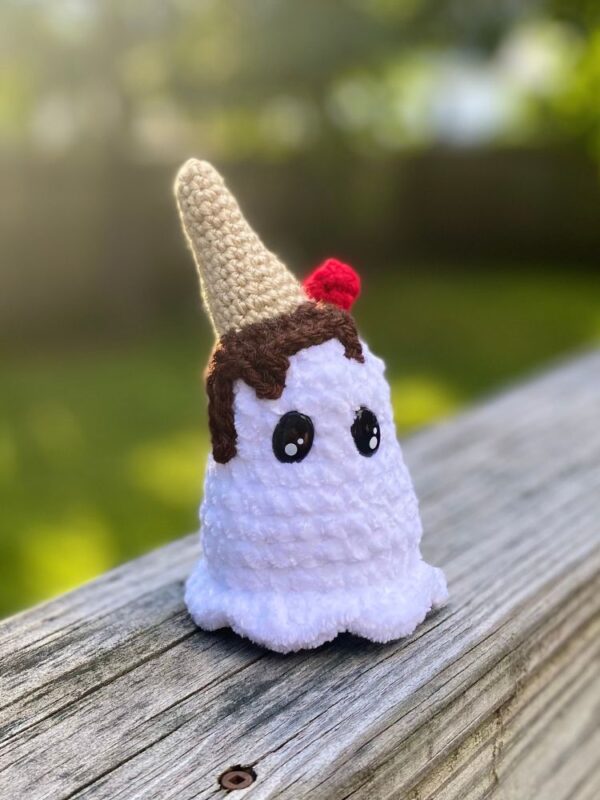
Sew Cone to side-top of Ghost, aligning chocolate drips with eye so that it is not covered (first photo). Sew Cherry next to Cone on top of Ghost. Weave in all ends and/or tie knots and hide inside sts. (Second photo shows finished piece.)
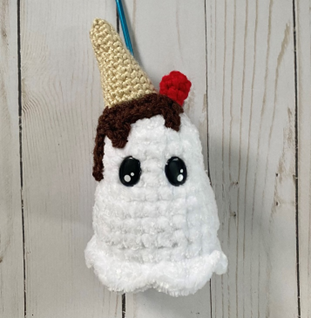
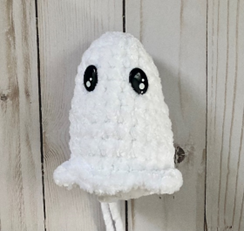
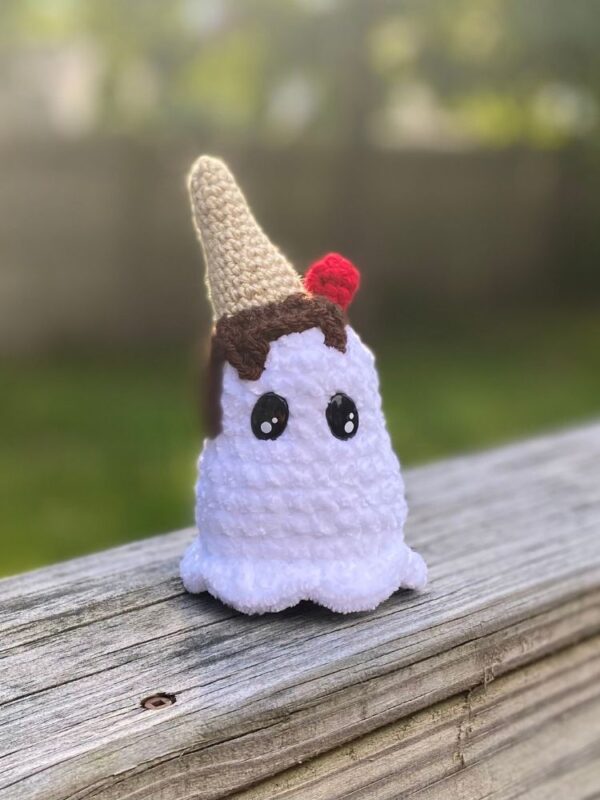
Here is the finished Ghost!
I hope you enjoyed crocheting this ghost along with me today. If you love fun, free patterns like this one, then please be sure to sign up for my email list to keep up to date with all my latest designs:
Also, please be sure to follow me on social media, and tag me in photos of your finished projects made from my patterns, so I can see your lovely work!
Don’t forget to pin it for later HERE!
And you can find that ad-free PDF pattern HERE!
Happy Crocheting!
COPYRIGHT:
This pattern is owned by Crafty Kitty Crochet (Melissa Moore). Any reselling or distribution of this pattern is prohibited. Sale of items made using this pattern is welcomed, but I do ask that credit/a link be provided back to my site, craftykittycrochet.com.