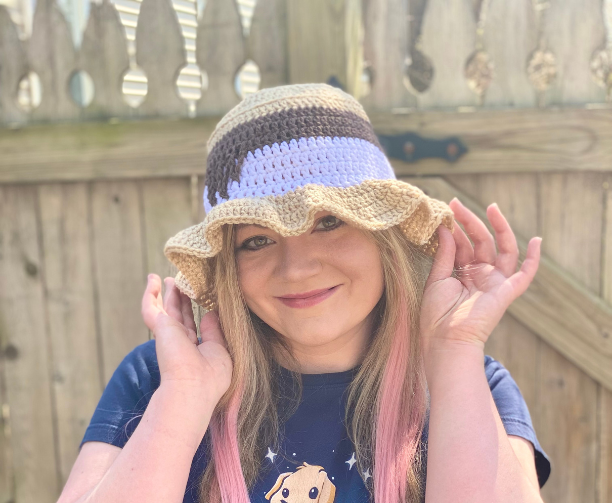
S’mores Bucket Hat – Crochet Pattern
Pin it for later!
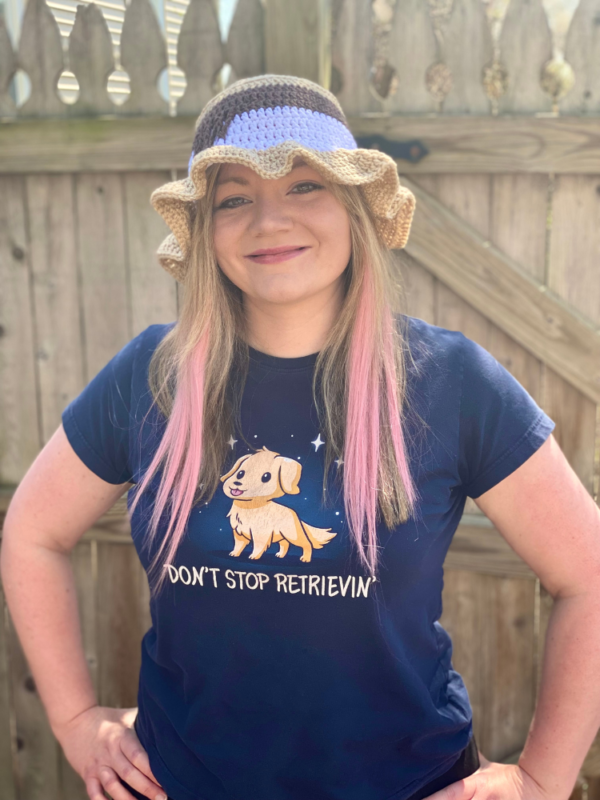
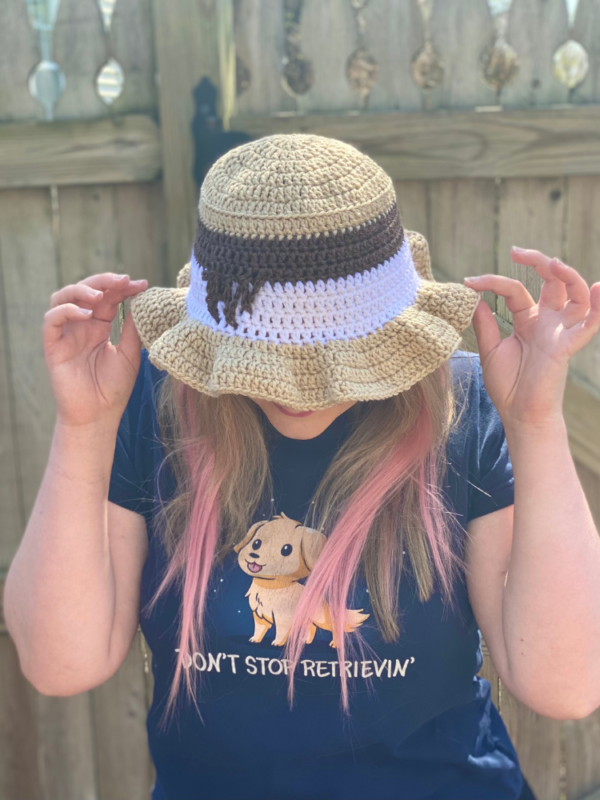
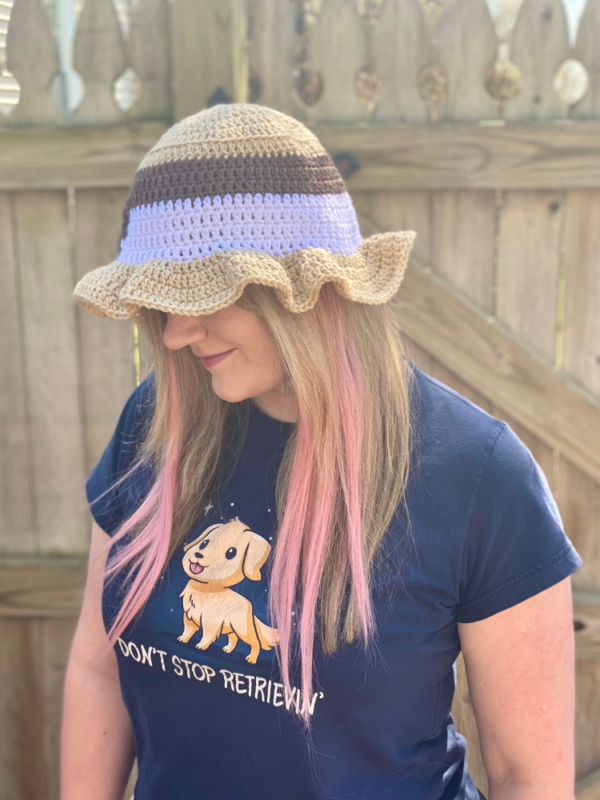
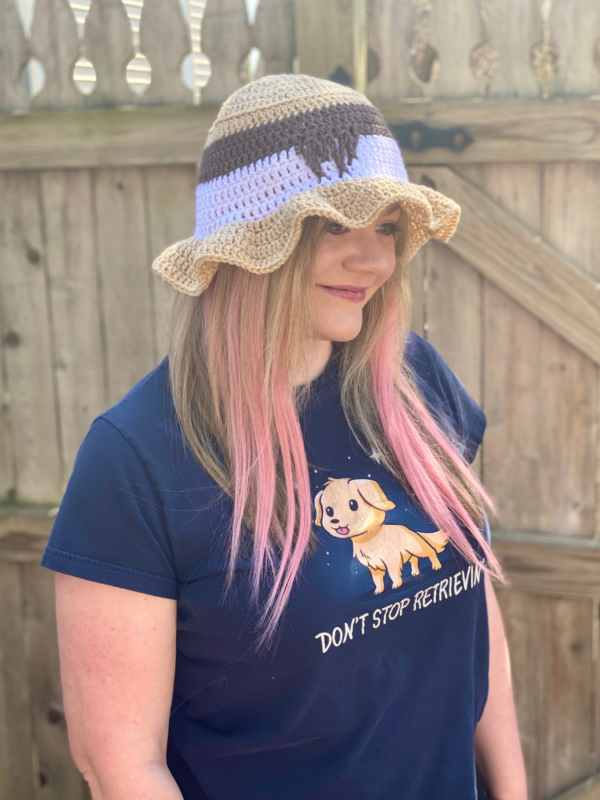
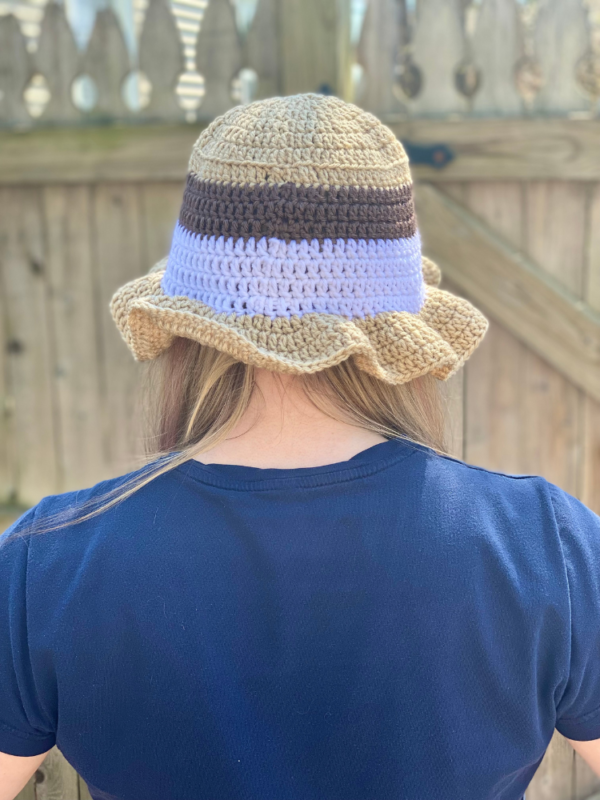
It’s almost summer, which means it’s time for cute funky hats that you can wear while enjoying summer activities like making s’mores! And there’s no better hat to wear during summer and fall bonfires than this kawaii S’mores Bucket Hat! It’s made to look like actual graham crackers, marshmallow, and melted chocolate. Plus it’s lightweight, easy to make, and cute to boot! This pattern works up fast and is a great way to use up colors from your yarn stash that you probably already have. This is sure to be the sweetest hat around for any season!
S’mores Bucket Hat
If you’ve seen some of my other patterns, like my Frog Gingham Bucket Hat, my S’mores Amigurumi, and my S’mores Turtle, then you already know that I love crocheting bucket hats and s’mores! And since I love combining foods with things like accessories and animals when I crochet, it only seemed natural that I’d make a s’mores bucket hat for summer and fall. I love the idea of wearing this at barbecues and bonfires for actual s’mores making! I also love the simplicity of this pattern; it’s just a small project that mostly consists of double crocheting and a few color changes. Throw in a few “drips” as an accent and you’ve got one delicious looking hat!
You can grab these yarns on Amazon now – Beige, Brown, and White!
Update July 2023! As part of the Summer Vibes blog hop by Fosbas, you can get the PDF copy of this pattern for FREE on July 19, 2023 only! Just go to the Blog Hop page to grab the coupon code, then follow the Ravelry link below to get your free pattern!


Supplies
Size H-8 / 5.0 mm crochet hook
About 200 yds of medium weight beige yarn (Red Heart Super Saver in Buff used in photos)
About 75 yds of medium weight white yarn (Red Heart Super Saver in White used in photos)
About 25 yds of medium weight yarn in brown (Caron Simply Soft in Taupe used in photos)
Yarn Needle
Scissors
Abbreviations
*= indicates beginning/end of a section to be repeated
BLO = back loop only
Ch = chain
Dc = double crochet
FLO = front loop only
Rep = repeat
Rnd(s) = round(s)
Sl st = slip stitch
St(s) = stitch(es)
Size
About 20-21 inches circumference; one size fits most teens and women
Gauge
4 dc and 2 rows = about 1 inch
How to Make This
Instructions
Body of Hat
Rnd 1 – With beige yarn, make a magic ring. 12 dc in ring. Join with sl st to first dc of rnd. Ch 2 (12 dc)
Rnd 2 – 2 dc in each st around. Join with sl st to first dc of rnd. Ch 2 (24 dc)
Rnd 3 – *2 dc in next st, dc in next st.* Rep from * to * around. Join with sl st to first dc of rnd. Ch 2 (36 dc)
Rnd 4 – *2 dc in next st, dc in next 2 sts.* Rep from * to * around. Join with sl st to first dc of rnd. Ch 2 (48 dc)
Rnd 5 – *2 dc in next st, dc in next 3 sts.* Rep from * to * around. Join with sl st to first dc of rnd. Ch 2 (60 dc)
Rnd 6 – *2 dc in next st, dc in next 4 sts.* Rep from * to * around. Join with sl st to first dc of rnd. Ch 2; do not fasten off (72 dc)
Rnd 7 – working in BLO (this rnd only – first photo below), dc in each st around. In last st of rnd, join brown yarn. Join with sl st to first dc of rnd. Ch 2 (72 dc)
Rnds 8 -10 – dc in each st around. In last st of Rnd 10, join white yarn. Join with sl st to first dc of rnd. Ch 2 (72 dc)
Rnd 11 – 14 – dc in each st around. In last st of Rnd 14, join beige yarn. Join with sl st to first dc of rnd. Ch 2; do not fasten off (72 dc)
Brim of Hat
Rnd 1 – working in FLO (this rnd only – see second photo below), *2 dc in next st, dc in next st.* Rep from * to * around. Join with sl st to first dc of rnd. Ch 2 (108 dc)
Rnd 2 – *2 dc in next st, dc in next 2 sts.* Rep from * to * around. Join with sl st to first dc of rnd. Ch 2 (144 dc)
Rnd 3 – *2 dc in next st, dc in next 3 sts.* Rep from * to * around. Join with sl st to first dc of rnd. Ch 2 (180 dc)
Rnd 4 – dc in each st around. Join with sl st to first dc of rnd. (180 dc)
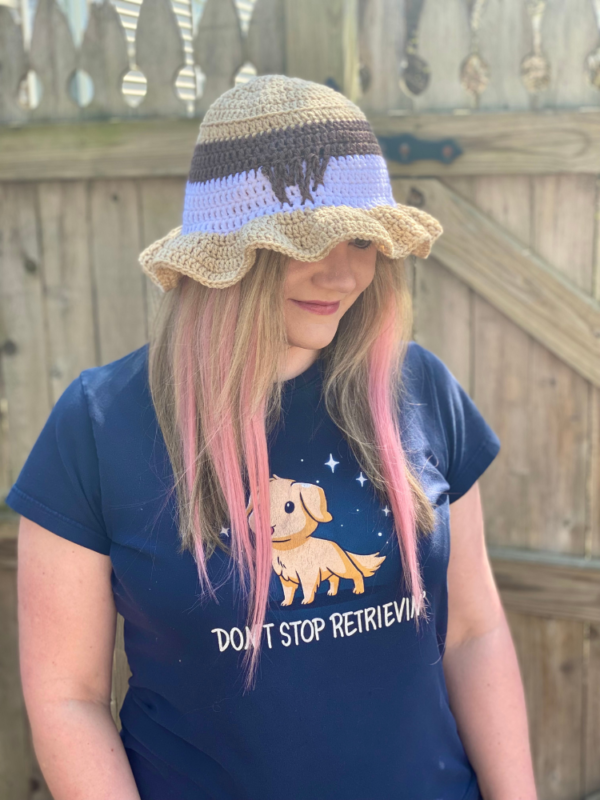
Fasten off. Third photo below shows finished piece.


Chocolate Drips
Attach brown yarn around top of any st of Rnd 7 (first photo below), *ch 5 (second photo). Sl st to st directly below on Rnd 14 (third and fourth photos). Ch 5 (fifth photo), sk st next to st where brown yarn was joined, join with sl st to next st (sixth photo). Sl st around next st. Ch 3, sl st to st directly below on Rnd 12. Ch 3, sk st next to most recent sl st made, sl st in next 2 sts.* Rep from * to * once. Seventh photo shows finished drips; eighth photo shows finished hat. Fasten off, weave in all ends.


Here is the finished hat!
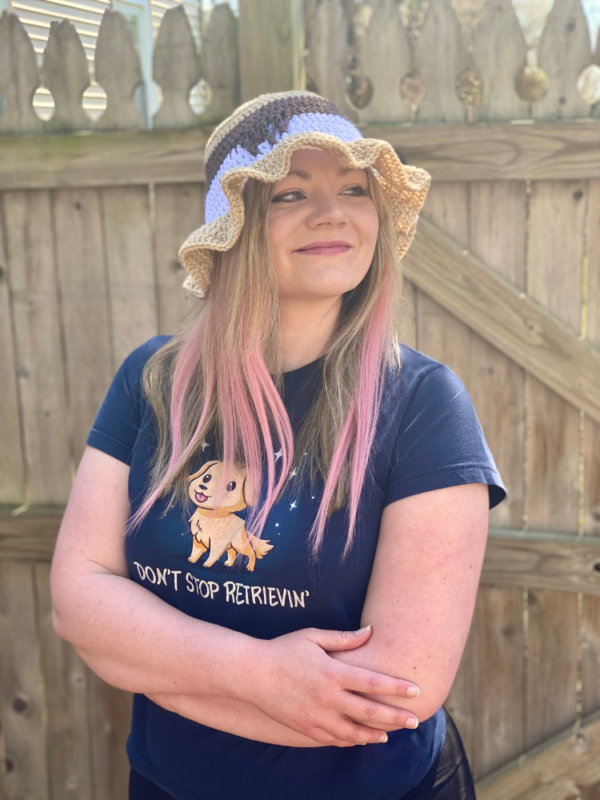
I hope you enjoyed crocheting this S’mores Hat along with me today. If you love fun, free patterns like this one, then please be sure to sign up for my email list to keep up to date with all my latest designs:
Also, please be sure to follow me on social media, and tag me in photos of your finished projects made from my patterns, so I can see your lovely work!
Don’t forget to pin it for later HERE!
And you can find that ad-free PDF pattern HERE!
Happy Crocheting!
COPYRIGHT:
This pattern is owned by Crafty Kitty Crochet (Melissa Moore). Any reselling or distribution of this pattern is prohibited. Sale of items made using this pattern is welcomed, but I do ask that credit/a link be provided back to my site, craftykittycrochet.com.


Comments (2)
Ghost S'more – Amigurumi Crochet Pattern ~ Crafty Kitty Crochet
April 29, 2023 at 2:43 pm
[…] new things (go check out my Amigurumi S’mores, S’mores Turtle, S’mores Jellyfish and S’mores Bucket Hat patterns for more info!) And one of my favorite things to make during spooky season is a cute, […]
30+ Best Crochet Summer Projects for 2023 – Fosbas Designs
July 19, 2023 at 7:34 am
[…] Get the pattern here […]