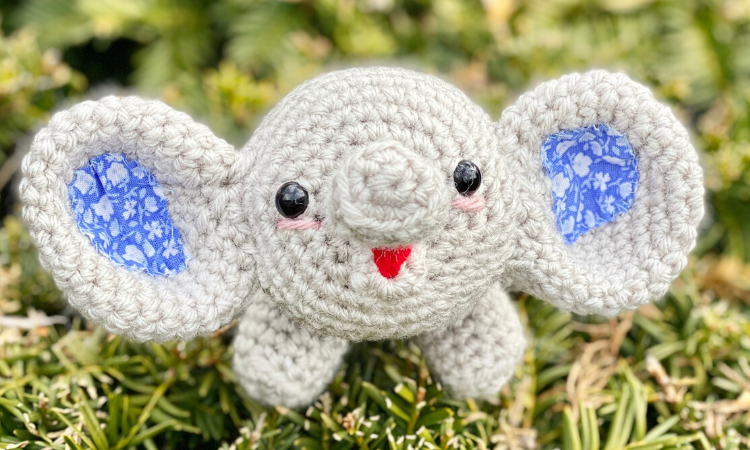
Bouncy Baby Elephant – Crochet Pattern
This bouncy baby elephant amigurumi is fun, fast, and easy to make! Plus, it’s super cute and easily customized! What an adorable gift this would make for a baby shower or as a kids’ toy. It’s also unique and adorable decor, especially for elephant lovers! The possibilities are endless!
Pin it for later!
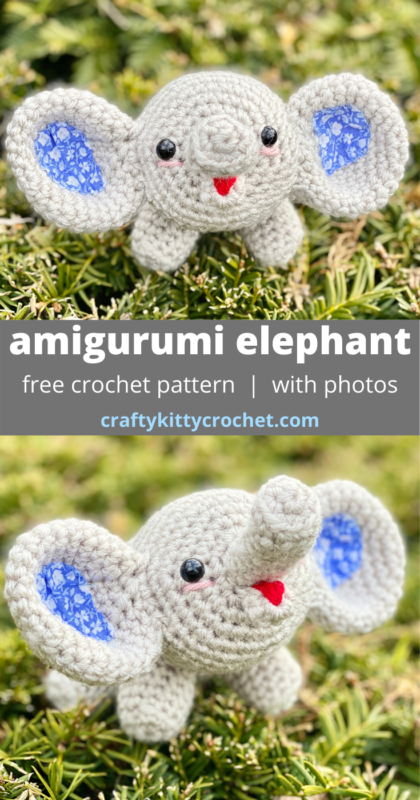
If you’ve been reading my blog for a while, then you know I love to make amigurumi! (See more of my amigurumi patterns HERE!) Many of my crocheted critter and play food ideas come from back in the day, when I used to make custom ordered crochet products for sale. These elephants were in pretty high demand when I used to make them as custom orders! No one can resist the happy, laughing look that adding the tiny mouth piece adds!
You really can’t go wrong with classic grey for this little cutie, but the great thing about the pattern is that it can be customized in so many ways! How about an elephant in coordinating nursery/baby colors, sports team colors, or even in variegated yarn?! The (optional) fabric inner ears are another great way to customize this bouncy baby. What colors will you make your elephant?!
Speaking of yarn colors, my favorite to use for this little elephant is an old favorite – you guessed it, Lion Brand Vanna’s Choice in Linen! You can find some on Amazon HERE! I’m also a big fan of Pink (HERE
) and Sky Blue (HERE
)!
So who’s ready to have trunks full of fun with this pattern? Let’s get started!
Supplies
*Size D/3 3.25 mm crochet hook
*1 skein of Lion Brand Vanna’s Choice in Linen (or approx. 150 yds of medium weight yarn)
*Small amounts of Vanna’s Choice in Pink and Scarlet for Blush and Mouth
*1 pair of 9 or 10 mm safety eyes
*Fiberfill stuffing
*Small amount of fabric for Ears (optional)
*Sewing needle and sewing thread for attaching fabric to Ears (optional)
*Pen or pencil for tracing fabric for Ears (optional)
*Yarn Needle
*Scissors
Abbreviations
Beg = beginning
BLO = back loop only
Ch = chain
Rem = remaining
Rep = repeat
Rnd(s) = rounds
Sc = single crochet
Sc2tog = single crochet 2 together
St(s) = stitch(es)
Gauge
Exact gauge is not essential to this project.
Size
Approx. 5 ½ inches in length (not including trunk)
Instructions
Head/Body
(This piece is worked in continuous rnds; you may wish to use a stitch marker and move it up at the beg of each new rnd.)
Rnd 1 – make a magic ring. 6 sc in ring (6 sc)
Rnd 2 – 2 sc in each st (12 sc)
Rnd 3 – 2 sc in next st, sc in next. Rep around (18 sc)
Rnd 4 – 2 sc in next st, sc in next 2 sts. Rep around (24 sc)
Rnd 5 – 2 sc in next st, sc in next 3 sts. Rep around. (30 sc)
Rnd 6 – 2 sc in next st, sc in next 4 sts. Rep around (36 sc)
Rnds 7 – 11 – sc in each st around. Attach safety eyes and begin stuffing. (36 sc)

Rnd 12 – Sc2tog over next 2 sts, sc in next 4 sts. Rep around (30 sc)

Rnd 13 – Sc2tog over next 2 sts, sc in next 3 sts. Rep around. Continue stuffing. (24 sc)
Rnd 14 – sc in each st around (24 sc)
Rnd 15 – 2 sc in next st, sc in next 3 sts. Rep around. (30 sc)
Rnd 16 – 2 sc in next st, sc in next 4 sts. Rep around (36 sc)

Rnds 17 – 26 – sc in each st around. Continue stuffing. (36 sc)

Rnd 27 – Sc2tog over next 2 sts, sc in next 4 sts. Rep around (30 sc)
Rnd 28 – Sc2tog over next 2 sts, sc in next 3 sts. Rep around (24 sc)
Rnd 29 – Sc2tog over next 2 sts, sc in next 2 sts. Rep around (18 sc)
Rnd 30 – Sc2tog over next 2 sts, sc in next st. Rep around. Finish stuffing. (12 sc)
Rnd 31 – Sc2tog over next 2 sts; rep around (6 sc)
Rnd 32 – Sc2tog over next 2 sts. Leave rem sts unworked. Do not fasten off. (5 sc)

Tail
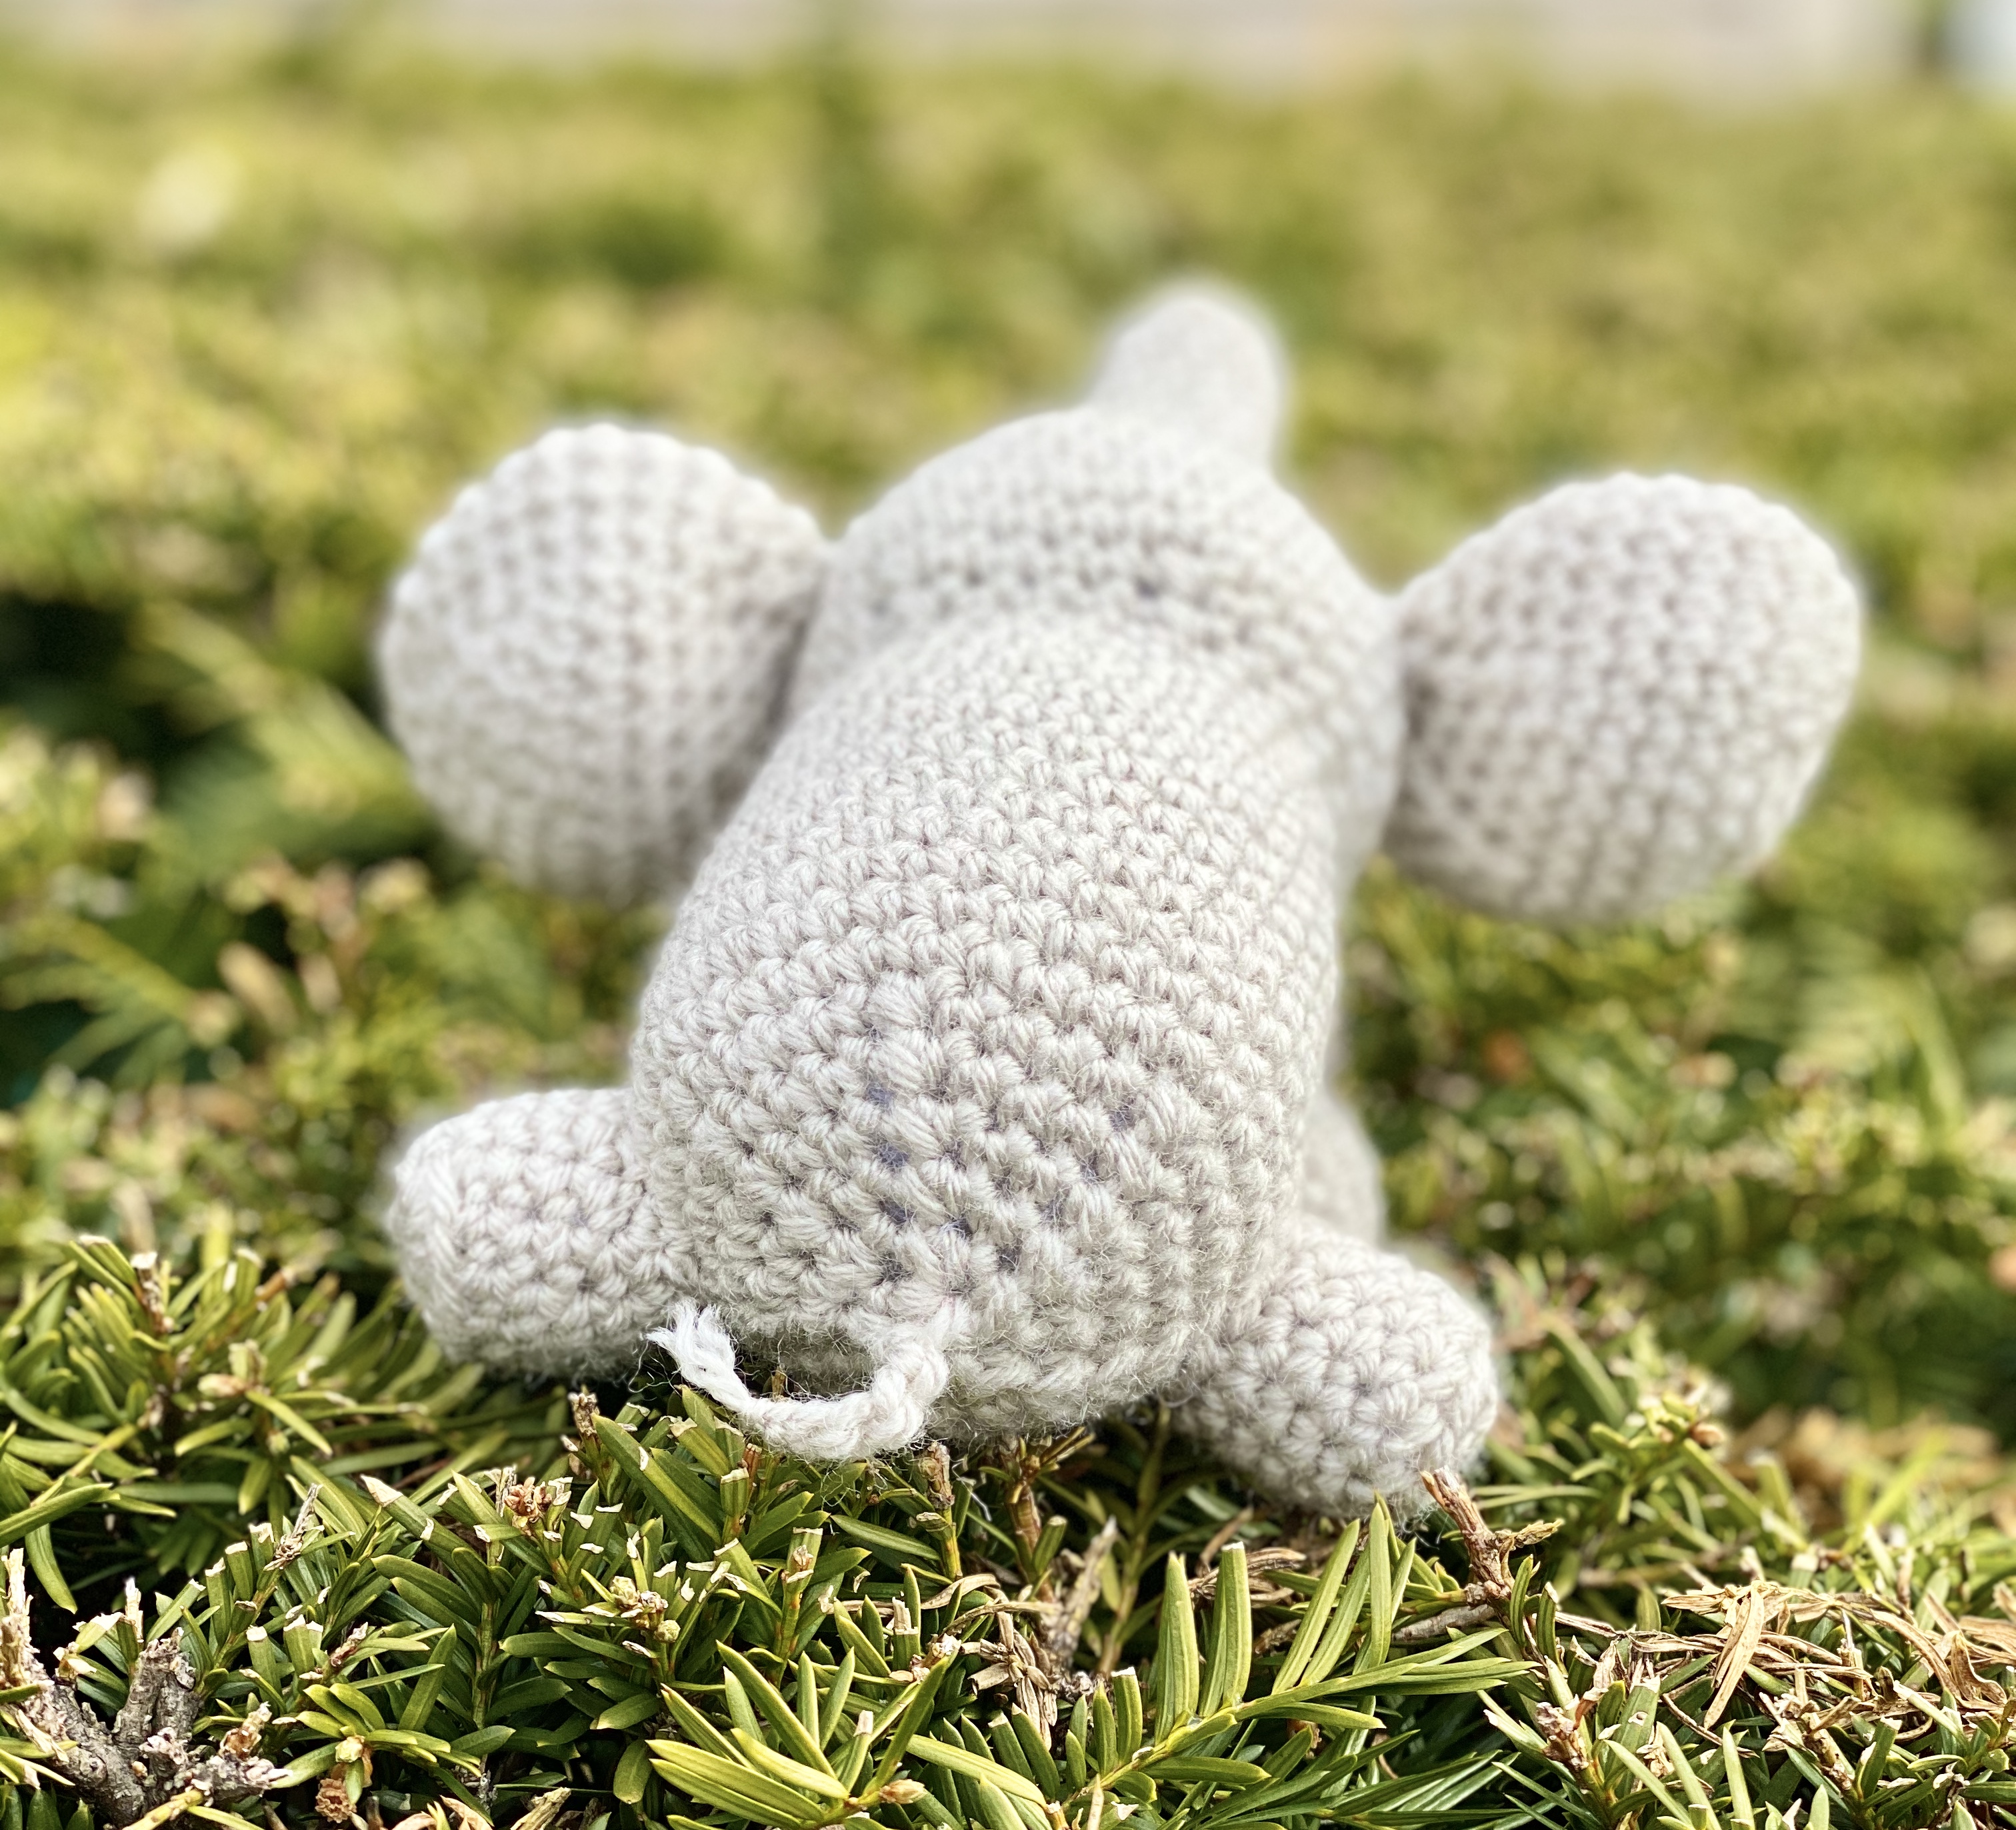
Insert hook from st you are currently in (from Rnd 32) to st across from you and make a sl st to close gap from Rnd 32.


Ch 6. Fasten off, leaving a small tail. Trim tail and use a hook or needle to fray the ply of the yarn slightly.


Trunk
(This piece is worked in continuous rnds; you may wish to use a stitch marker and move it up at the beg of each new rnd.)
Rnd 1 – make a magic ring. 5 sc in ring (5 sc)
Rnd 2 – 2 sc in each st (10 sc)
Rnd 3 – working in BLO, sc in each st around. (10 sc)

Rnds 4 – 11 – sc in each st around. (10 sc per rnd)
Fasten off, leaving long tail for sewing.

Mouth
(This piece is worked in continuous rnds; you may wish to use a stitch marker and move it up at the beg of each new rnd.)
Rnd 1 – make a magic ring. 6 sc in ring (6 sc)
Rnds 2 – 3 – sc in each st around. (6 sc)
Fasten off, leaving long tail for sewing.

Inner Mouth
With Scarlet on needle, make several vertical lines on flattened Mouth piece. Tie off ends and hide inside sts.


Ear (make 2)
(This piece is worked in continuous rnds; you may wish to use a stitch marker and move it up at the beg of each new rnd.)
Rnd 1 – make a magic ring. 6 sc in ring (6 sc)
Rnd 2 – 2 sc in each st (12 sc)
Rnd 3 – 2 sc in next st, sc in next. Rep around (18 sc)
Rnd 4 – 2 sc in next st, sc in next 2 sts. Rep around (24 sc)
Rnd 5 – 2 sc in next st, sc in next 3 sts. Rep around. (30 sc)
Rnds 6 – 9 – sc in each st around. (30 sc per rnd)
Rnd 10 – Sc2tog over next 2 sts, sc in next 3 sts. Rep around (24 sc)
Rnd 11 – Sc2tog over next 2 sts, sc in next 2 sts. Rep around (18 sc)
Rnd 12 – Sc2tog over next 2 sts, sc in next st. Rep around (12 sc)
Rnd 13 – Sc2tog over next 2 sts; rep around (6 sc)
Fasten off, leaving long tail for sewing.

Inner Ear (optional – make 2)
Fold small piece of fabric in half and cut a half-heart shape slightly smaller than the size of Ears.


Trace this shape on a separate piece of the fabric with a pen or a pencil to make second Inner Ear.


Press Ears flat. With sewing needle and thread, sew fabric to each Ear. Fasten off and weave in or tie off thread ends.


Legs
(This piece is worked in continuous rnds; you may wish to use a stitch marker and move it up at the beg of each new rnd.)
Rnd 1 – make a magic ring. 6 sc in ring (6 sc)
Rnd 2 – 2 sc in each st (12 sc)
Rnd 3 – working in BLO, sc in each st around. (12 sc)
Rnds 4 – 7 – sc in each st around. (12 sc per rnd)
Fasten off, leaving long tail for sewing.

Assembly
Press Ears so that they have a bowl shape. Line Ears up with eyes and sew Ears to Head (do not stuff first). Sew Trunk between Eyes. (Do not stuff first.)


Sew Mouth directly under Trunk. (Do not stuff Mouth.)


Stuff Front Legs and sew them closely together near where Body begins (Rnds 16/17 of Head/Body). Stuff and sew back Legs so that the are sticking out from the sides slightly, as opposed to being directly underneath Body. (This will help shift the weight of Head/Body so that it is not so top heavy and does not tip over towards the Head.)


With Pink, sew a horizontal line under each eye for Blush.
Weave in all ends or tie off and hide knots inside sts.
Here is the finished elephant!
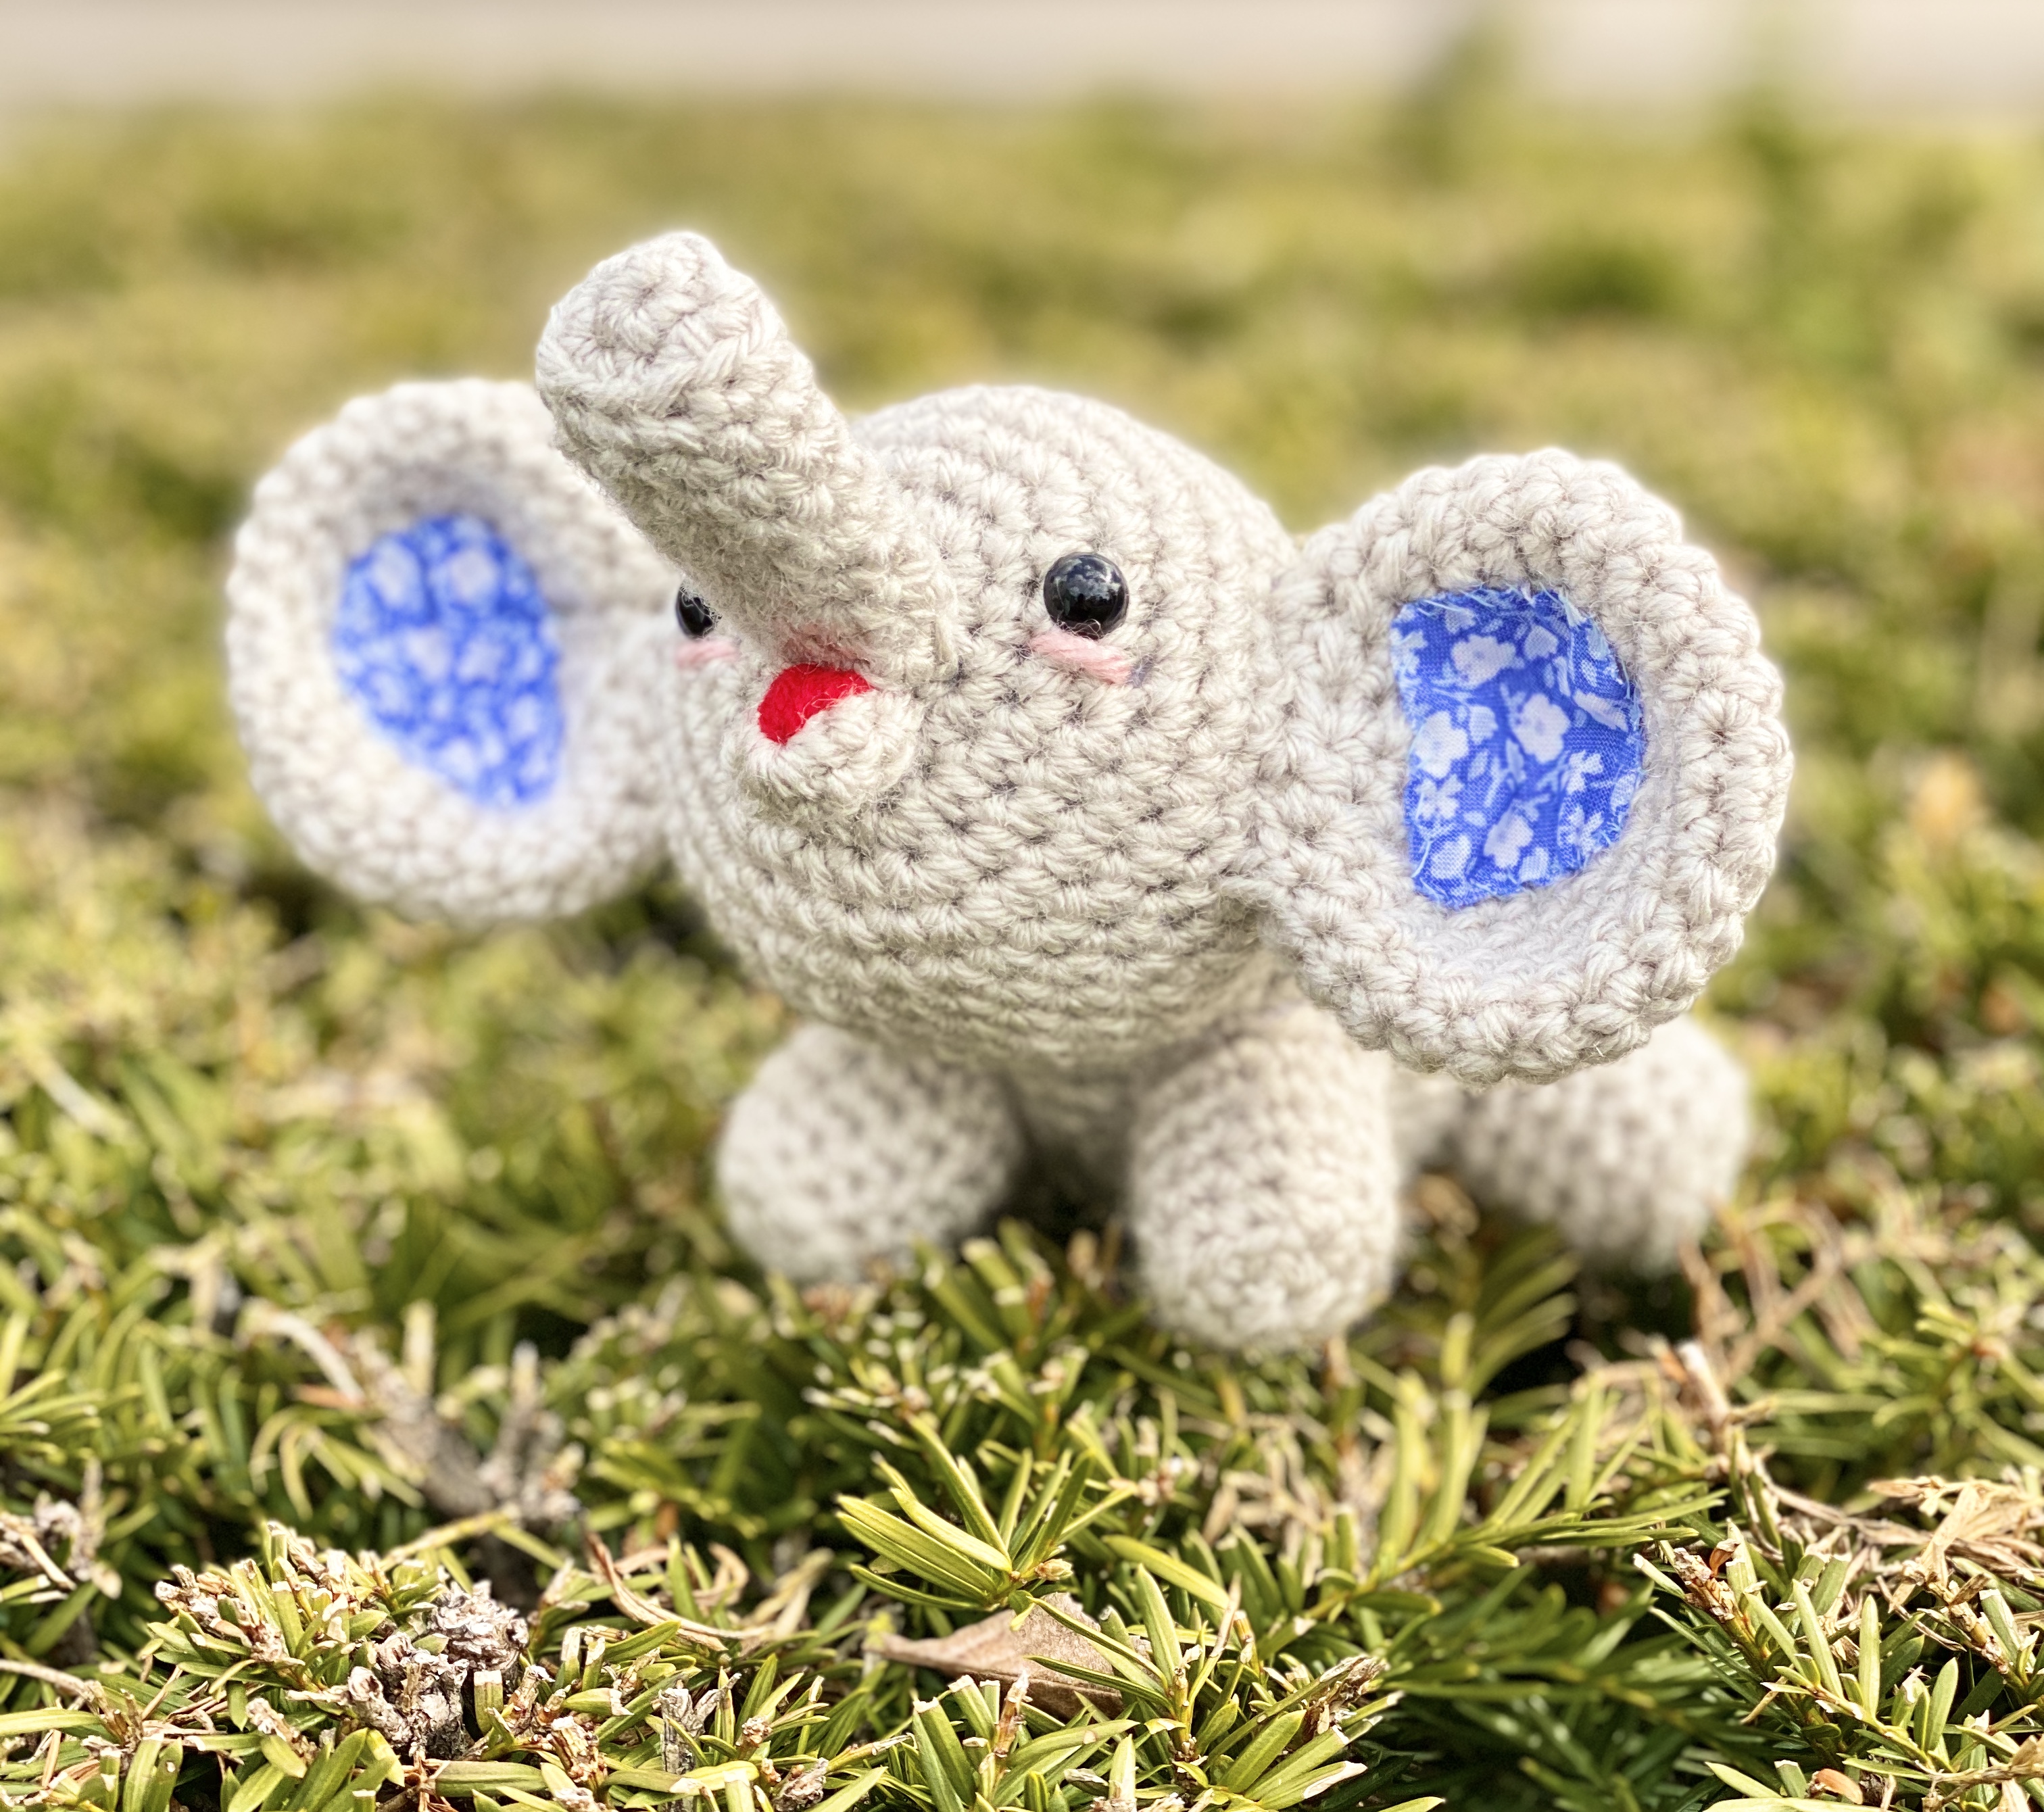
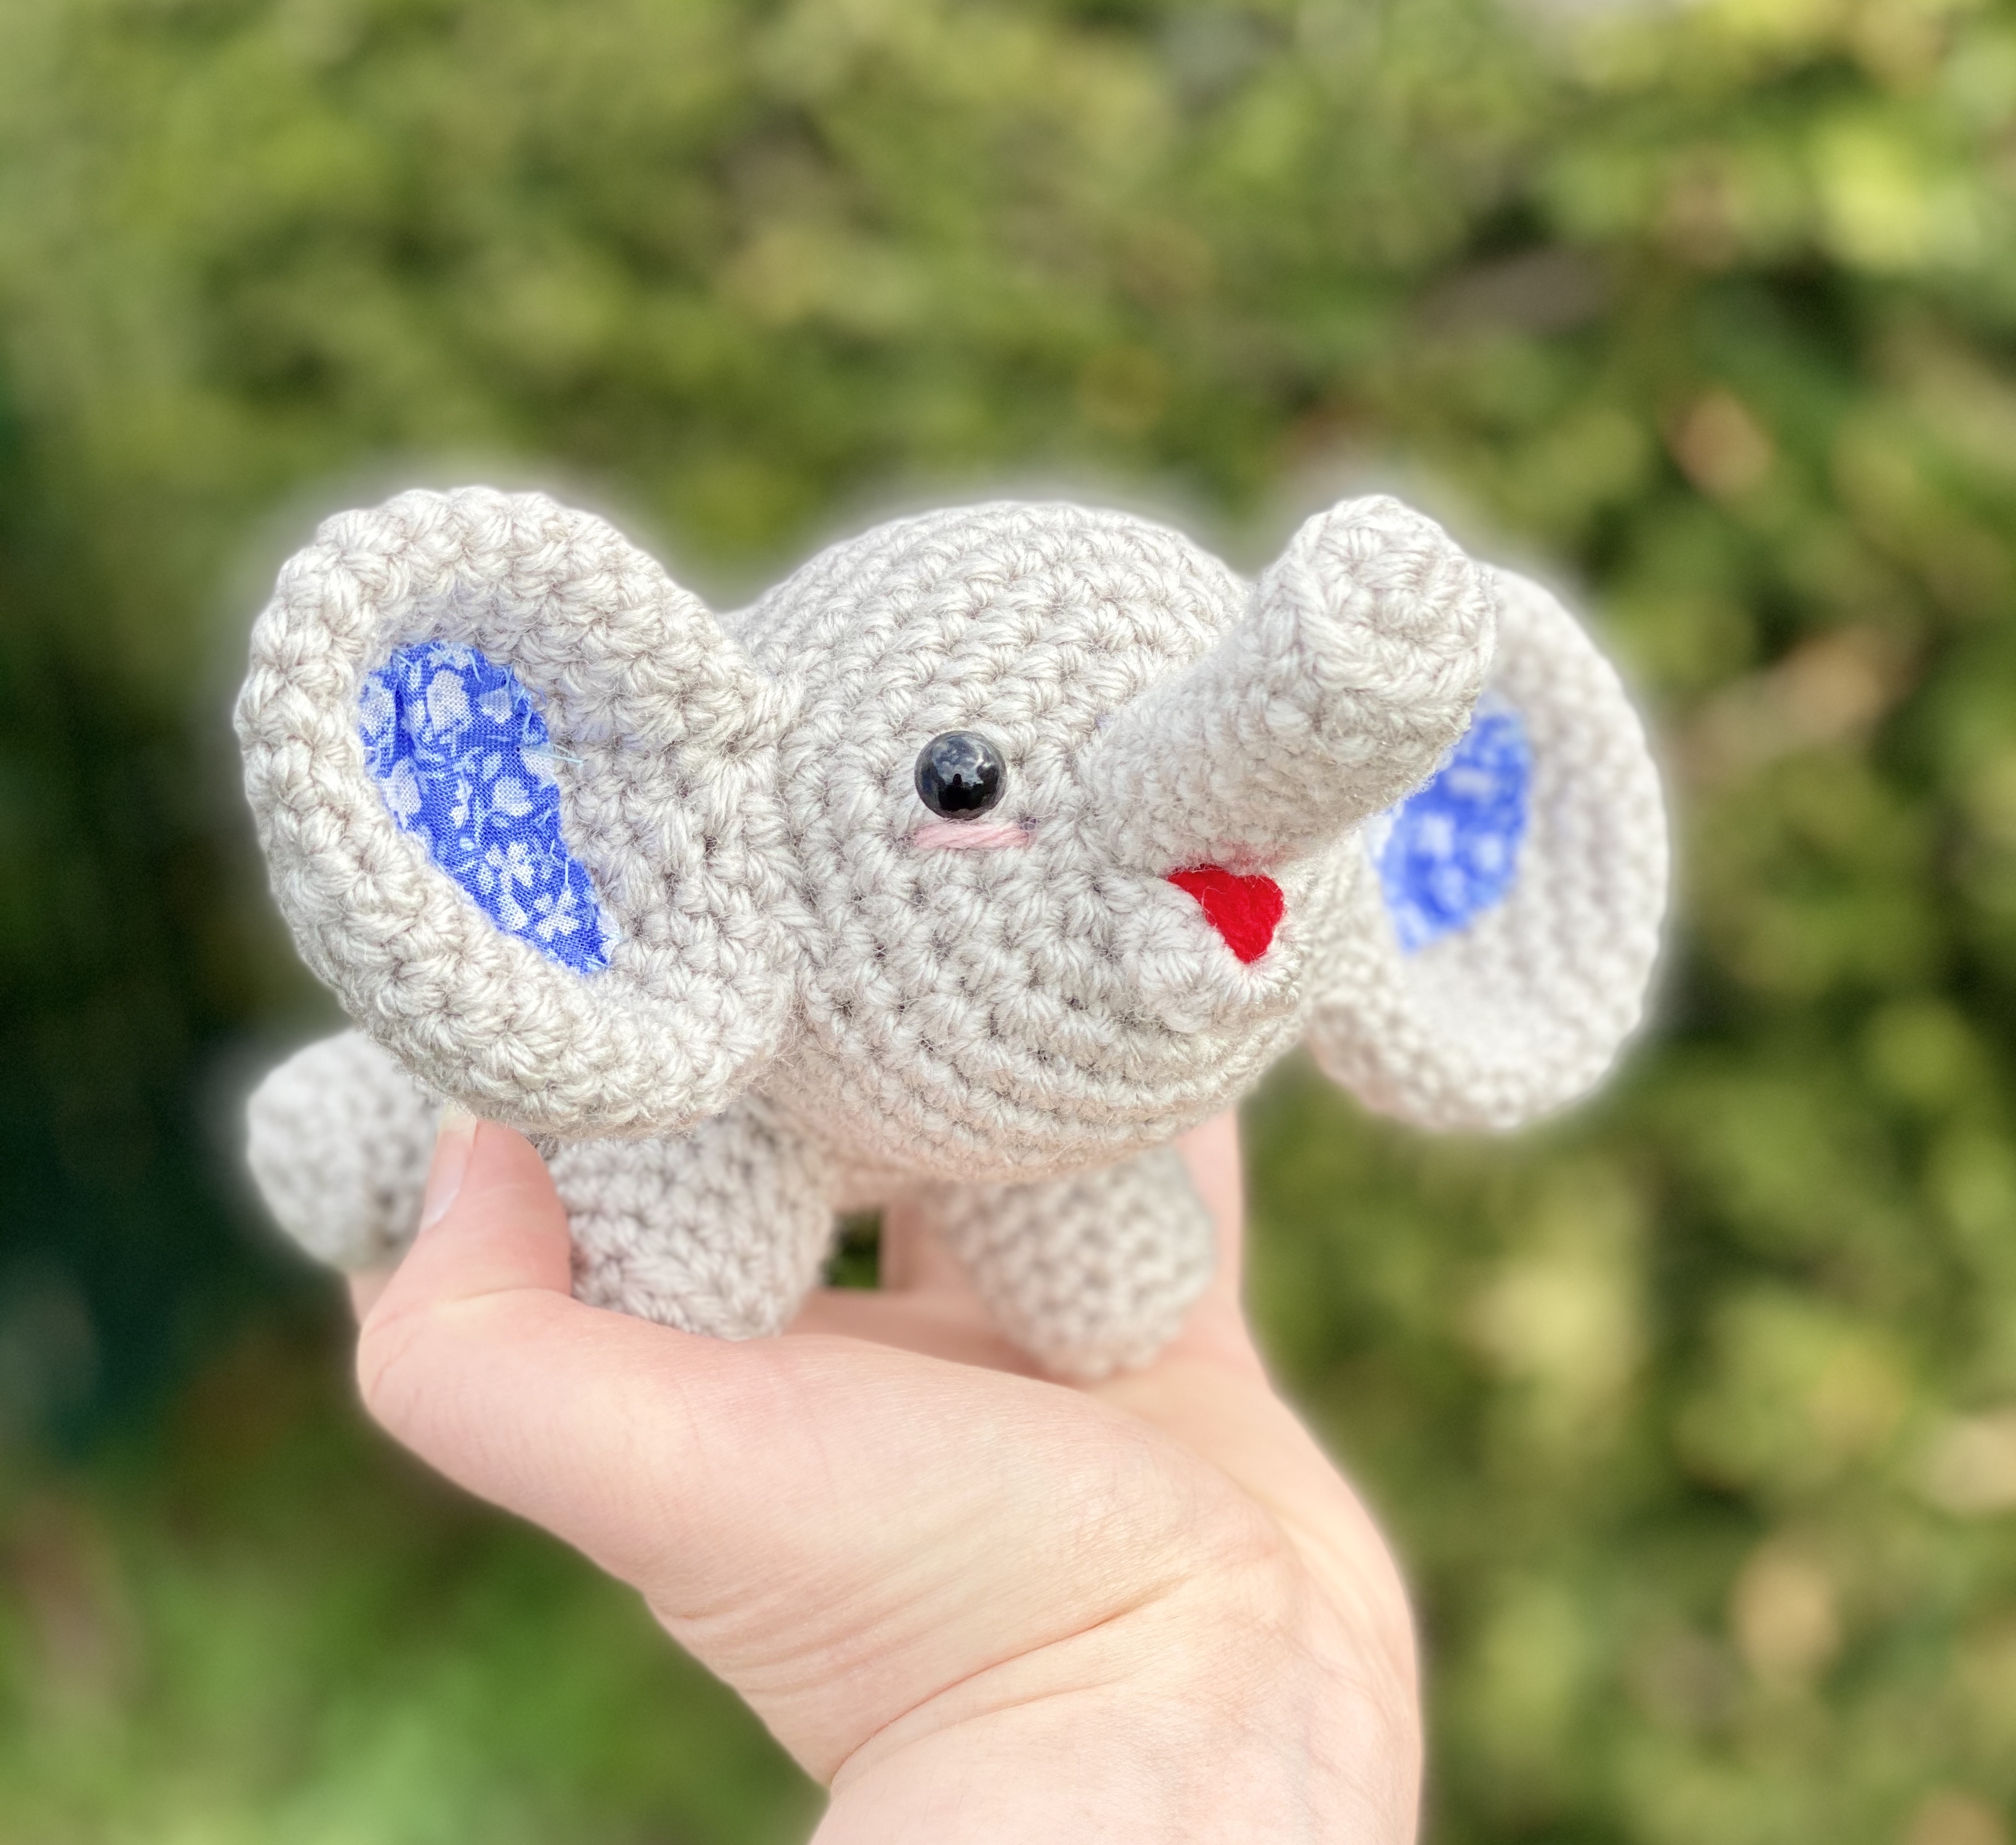
I hope you had a blast crocheting this tiny elephant along with me! If you love fun free crochet patterns, including adorable amigurumi, then please be sure to subscribe to my email list and follow me on social media. I have so many more fun patterns coming soon!
Happy Crocheting!
COPYRIGHT:
This pattern is owned by Crafty Kitty Crochet (Melissa Moore). Any reselling or distribution of this pattern is prohibited. Sale of items made using this pattern is welcomed, but I do ask that credit/a link be provided back to my site, craftykittycrochet.com.


