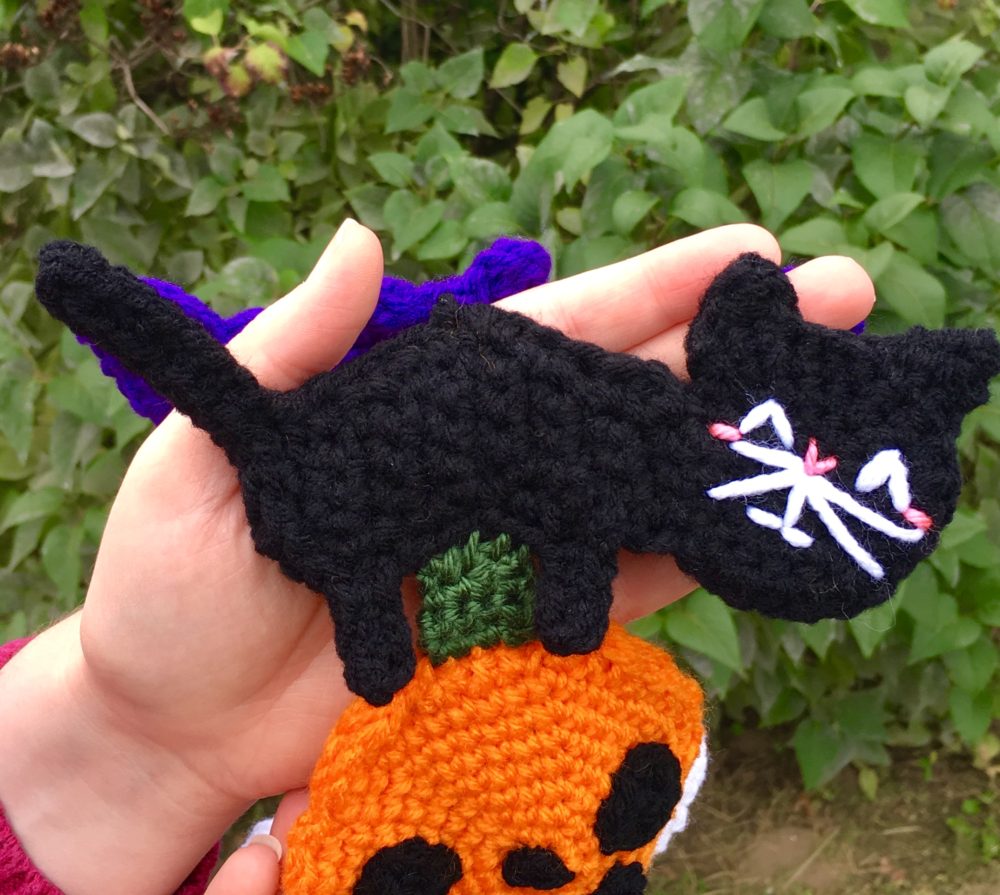
Halloween Scarf CAL (Crochet-Along) Part 4 – Black Cat!
You probably already guessed this from the name of my site, but I LOVE cats!!! Just one of the many reasons why I love Halloween is because it’s really a “cat” kind of holiday. So much Halloween decor, cards, etc. have cats on them (and I own about 80% of all Halloween cat decor that exists on this planet as of right now, so I should know). When I was designing this scarf, I knew that including a black cat in there somewhere was a must! I knew I wanted the cat to have the classic arched back, and overall spooky look, but with my signature dash of “kawaii”.
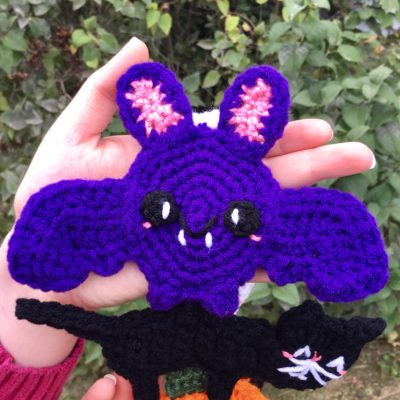
So, I present to you the final part in my Halloween Crochet-Along: the Black Cat! And following this pattern, stick around for the instructions on how to sew each character of your scarf together, in order to complete this ghoulishly good project we’ve been working on throughout October! (By the way, you can find the patterns for the other characters in this scarf in my previous posts – Pumpkin, Ghost, and Bat!)
Ready for this fun and easy pattern to cross your path? Let’s go!
(NOTE: You can purchase an ad-free, PDF copy of the ENTIRE pattern in my shop here!)
Supplies:
Size F/5 3.75 mm Crochet Hook
Yarn Needle
Scissors
Red Heart Super Saver in:
- White (face)
- Black (head/body)
*NOTE: This yarn is a staple for any stash, in my opinion! I like to have basic colors like Black, especially, on hand – you can get some on Amazon here!
Red Heart Soft Baby Steps in Strawberry (blush)
Stitch markers (optional)
Abbreviations:
Ch(s) = chains
Rem = remaining
Rep = repeat
Rnd = round
Sc = single crochet
Sc2tog = single crochet 2 together
Sc3tog = single crochet 3 together
Sk = skip
Sl st = slip stitch
St(s) = stitch(es)
Instructions
Head (Make 8)
Note: Head of Cat is worked in continuous rnds; do not join. You may choose to use stitch markers at the end of each rnd.
Rnd 1 – With Black, make a magic ring, 6 sc in ring (6 sc)
Rnd 2 – 2 sc in each st around (12 sc)
Rnd 3 – 2 sc in next st, sc in next; rep around (18 sc)
Rnd 4 – 2 sc in next st, sc in next 2 sts; rep around. Do not fasten off. (24 sc)
Body (Make 8)
Row 1 – Sc over next 3 sts, ch 1, turn (3 sc)

Row 2 – Sc over 4 sts. Ch 1, turn (4 sc)

Row 3 – Sc2tog over 2 sts, sc in next, 2 sc in last st. Ch 1, turn (4 sc)


Row 4 – Sc over 4 sts. Ch 1, turn (4 sc)
Rows 5 – 8 – Rep Rows 3 & 4 two more times (4 sc per rnd)

Row 9 – 2 sc in first st, sc in next st, Sc2tog over last 2 sts. Ch 1, turn (4 sc)
Row 10 – Sc across, ch 1 (4 sc)
Rows 11 – 14 – Rep Rows 9 & 10 two more times. Do not ch 1 at the end of Row 14.
Fasten off, weave in ends.

Edging/Tail/Legs
Working around entire piece, attach black yarn near top base of neck with wrong side facing.

Sc evenly up top of back (3 sc), 2 sc in arch of back, sc down back (4 sc).


Sc 1 on rear of cat. Ch 10 to make Tail. Sc in each ch across (9 sc).

Sc on last 2 sts of rear. Working on underside of cat, 1 sc. To make first leg, ch 5, sc in each ch across (4 sc), sk one st on belly of cat and sc in next 2.

Sc2tog over next 2 sts, sc in next. To make second leg, ch 5, sc in each ch across (4 sc), sk one st and join with sl st in next st. Fasten off, leaving a long tail for sewing. Weave in all other ends.


Ears (make on all 8 Head/Bodies)
Row 1 – Join Black on top of head on right side, sc across 3 sts. Ch 1, turn (3 sc).
Row 2 – Sc3tog. Ch 1, turn (1 sc)
Row 3 – 1 Sc. Fasten off (1 sc)


To make second ear, rep above 3 rows, starting two sts to the left of first ear. Fasten off, weave in ends (or tie off on back of Cat) except for long tail from Edging.

Assembly
(Note: for one side of double-sided Cat, sew face onto Right Side. For other side of double-sided Cat, sew face onto Wrong Side.)
Sew on eyes, nose, whiskers, smile, and blush. To make eyes, sew two small upside-down v’s near right and left edges of face, in the center of face. Using same strand from eyes, sew whiskers by making long sideways v’s starting from center of face (using starting point of beg magic ring as center point is useful for keeping whiskers and face centered). Make smile using same white strand; sew a small vertical line below whiskers, with two small horizontal lines coming out from the center of it. To make nose, sew a small v above mouth and whiskers using Pink. Use same strand to make blush; sew small horizontal lines near outer corner of each eye. Fasten off and tie off ends on back of Cat.


Place together sides that do not have Faces sewn on, and sew Cats together to make a double-sided Cat. Fasten off, leaving a tail at top of head of Cat for sewing it onto the scarf later. Weave in any other ends.

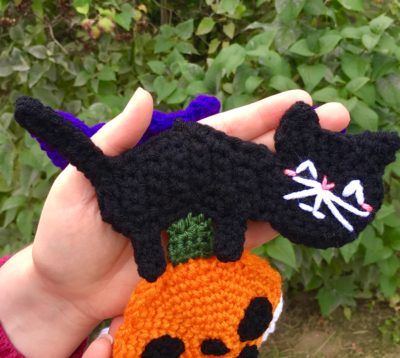
Here’s the finished Cat!
Now it’s time to put the scarf together!!!
Scarf Assembly
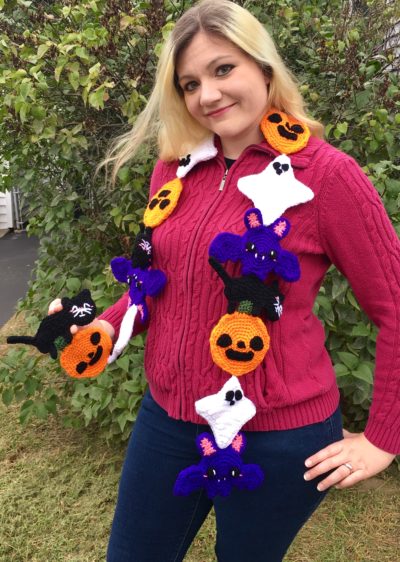
Using long tail left over from sewing two sides of Bat together, sew top of Bat to bottom tip of Ghost. Weave in ends from sewing on body of Ghost. Use same process to sew Ghost to Pumpkin, and Pumpkin to Cat. Repeat this order of attaching characters until all are sewn together.
(Note: for added variety, you may choose to alternate the position that the Cat is sewn into throughout the scarf; i.e. sewing it with the head pointing to the left in one alternation of the pattern, then sewing it with the head facing to the right in the next alternation.)


Here’s the scarf all finished!!!
I hope you’ve enjoyed this Halloween Scarf Crochet-Along! Have spooky fun in your scarf this Halloween, and please be sure to keep up to date with all my new FREE patterns coming out by subscribing (“Subscribe” box on right side of page) and following me on social media (links below)!
COPYRIGHT: This pattern is owned by Crafty Kitty Crochet (Melissa Moore). Any reselling or distribution of this pattern is prohibited. Sale of items made using this pattern is welcomed, but I do ask that credit/a link be provided back to my site, craftykittycrochet.com.


Comments (1)
Pumpkin Patch Poncho – Crochet Pattern – Crafty Kitty Crochet
August 26, 2019 at 10:03 pm
[…] that I am a fall/Halloween fanatic. Last year, I hosted a frightfully fun crochet-along for a Kawaii Halloween Scarf. In the past, when I sold finished crocheted products full time, my shop was always full of the […]