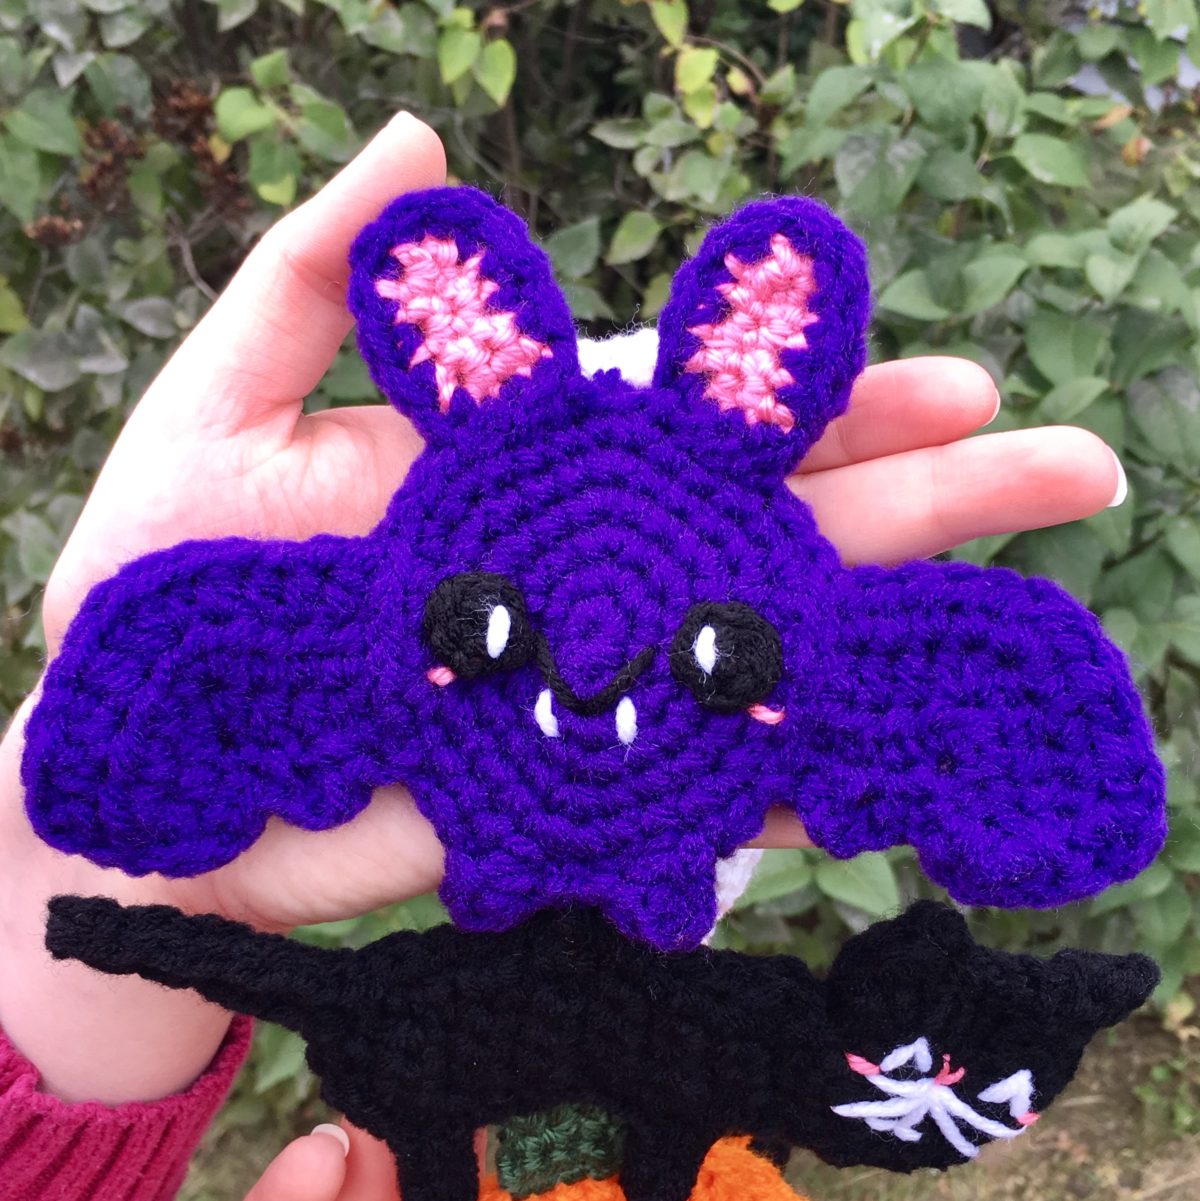
Halloween Scarf CAL (Crochet-Along) Part 3 – Bat!
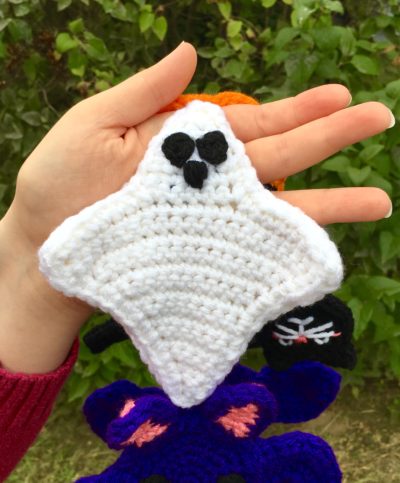
I’ve gone batty for this little Bat, which happens to be the third part of my Halloween scarf CAL! When I was coming up for the design for this little guy, I knew I wanted it to be as kawaii as possible. So I decided to give him wide, sparkly eyes, and a big round face, with some bashful blush to top it all off! I also wanted to make sure I used purple for at least one of the characters – purple is my all-time favorite color, as well as being an essential Halloween color. I’m really happy with how the bat came out, and I think it’s perfect for this fun scarf we’ve been crocheting throughout the Halloween season! If you’re just joining in on the CAL, check out the other two character patterns of the scarf that have been released so far on my blog: the Pumpkin and the Ghost!
Ready to sink your teeth into this Bat pattern? Let’s go!
(NOTE: You can purchase an ad-free, PDF copy of the ENTIRE pattern in my shop here!)
Supplies:
Size F/5 3.75 mm Crochet Hook
Yarn Needle
Scissors
Red Heart Super Saver in:
- Amethyst (Body of bat/wings)
NOTE! The color of this yarn is just gorgeous – a deep, jewel toned purple – and guess what? Amazon has a JUMBO skein of this yarn for less than $6! You could make a bunch of these little bats with that much yarn! Get in on this awesome bargain here!
- White (Eye sparkles, fangs)
- Black (Eyes/mouth)
Red Heart Soft Baby Steps in Strawberry (Ears, blush)
Stitch markers (optional)
Abbreviations:
Beg = beginning
Ch(s) = chains
Hdc = half double crochet
Rep = repeat
Rnd = round
Sc = single crochet
Sk = skip
Sl st = slip stitch
St(s) = stitch(es)
Size:
Approx. 6.5” wide by 5” tall; finished scarf length: approx. 66.5” long
Gauge:
Exact gauge is not essential to this project.
*NOTE: The bat is double-sided, meaning that it has a face/body on one side, as well as on the other side. The pattern explains how to sew two sides together to make one complete Bat. There are four total Bats on the scarf.
Instructions
Body (Make 8)
Note: Body of Bat is worked in continuous rnds; do not join. You may choose to use stitch markers at the end of each rnd.
Rnd 1 – Make a magic ring, 6 sc in ring (6 sc)
Rnd 2 – 2 sc in each st around (12 sc)
Rnd 3 – 2 sc in next st, sc in next; rep around (18 sc)
Rnd 4 – 2 sc in next st, sc in next 2 sts; rep around (24 sc)
Rnd 5 – 2 sc in next st, sc in next 3 sts; rep around (30 sc)
Rnd 6 – 2 sc in next st, sc in next 4 sts; rep around (36 sc)
Rnd 7 – *Ch 3, Hdc in next 2 chs, sk one st on body, sl st in next st.* sl st in next st. Rep from * to *. Leave rem sts unworked. Fasten off, leave long tail for sewing. Weave in tail from beg ch only.


Wings (Make 16)
Row 1 – Ch 7, hdc in 2nd ch from hook and in next 2 chs. In next ch, 3 hdc. Hdc in next 2 sts. Ch 1, turn (8 hdc).

Row 2 – Hdc in next 3 sts. 3 Hdc in next st. Hdc in next 4 sts, ch 1, turn (10 hdc).

Row 3 – Hdc in next 5 sts. 3 Hdc in next st. Hdc in next 4 sts. Ch 1 (12 hdc).

Row 4 – Working around to other side of wing, sc in edge of wing (4 sc – first photo below), ch 1, sc in next 2 sts of underneath wing, sk next st, sc in next (second photo below). Ch 3, sc in next st (third and fourth photos below). Sc in next st. Fasten off, leave long tail for sewing (fifth photo below shows finished Wing). Weave in tail from beg ch only (9 sc).


Ears (Make 16)
Row 1 – With Pink, ch 2. In 2nd ch from hook, 3 sc. Ch 1, turn (3 sc).
Row 2 – Sc across, ch 1, turn. (3 sc)
Rows 3 – 6 – Rep Row 2. In last st, switch to purple (3 sc per row).
Working around piece, sc 5 up side, sc in tip, sc 5 down other side, sc 3 across Row 6, join with sl st to first sc in side. Fasten off, leave long tail for sewing (weave in beg tails only).


Eyes (Make 16)
Rnd 1 – With Black, Make a magic ring; 6 sc in ring. Sl st to first sc of ring. Fasten off, leaving a long tail for sewing (weave in beg tails only).
Eye Sparkle: With White, make a small vertical line near the inner edges of each eye. Tie off ends on back of Eye.
Assembly
Sew eyes to center of body near right/left edges. Sew ears on top of center of head, about 2 sts apart.

For smile and fangs, make a v with black yarn between eyes. To make Fangs, sew a small vertical line with White underneath each line of the v, close to the center point. Tie off ends on back of bat.


Blush (sew on each side)
With pink, make a small line near bottom outer corners of each eye. Tie off ends on back of Bat.
Sew wings on sides of body, lining up the top of the wing with the top of the eye. Overlap body over top of wing slightly, to keep wings at correct angle. Turn right wing on its wrong side before sewing on. Tie off ends on back of bat.


With wrong sides facing together, line bats up so that all appendages match evenly. Sew together using long tail.


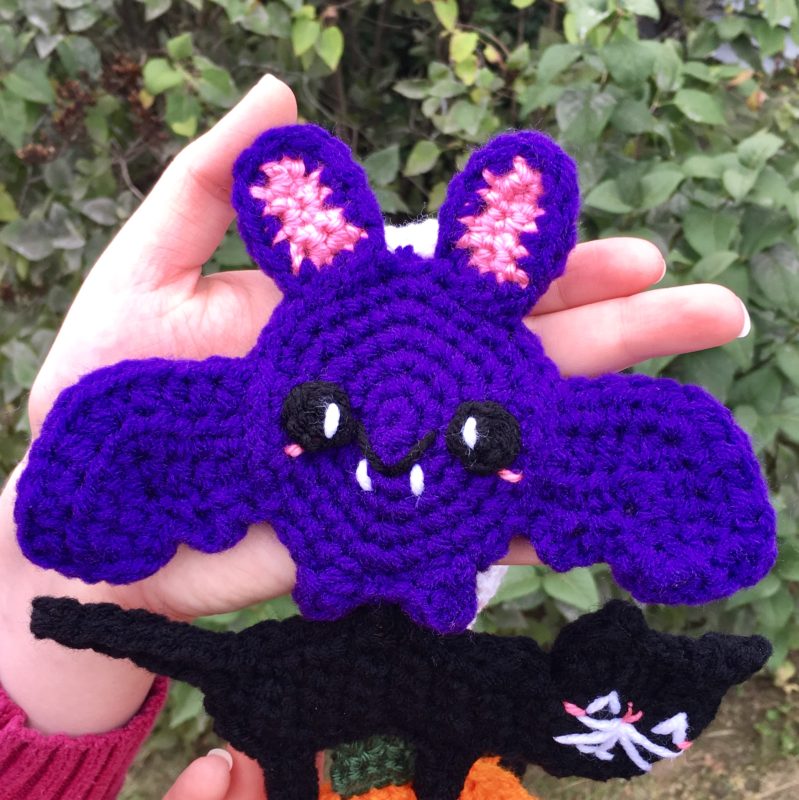
Here is the finished Bat!
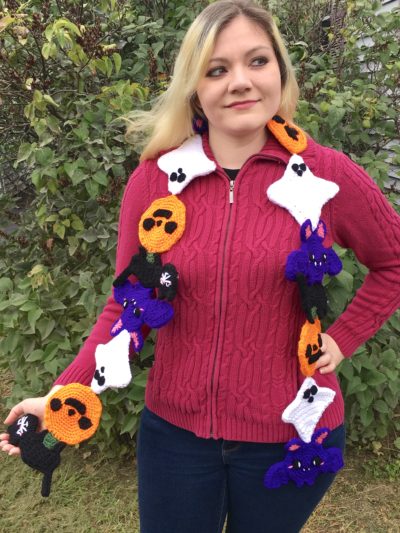
And here’s a preview of the finished Scarf!
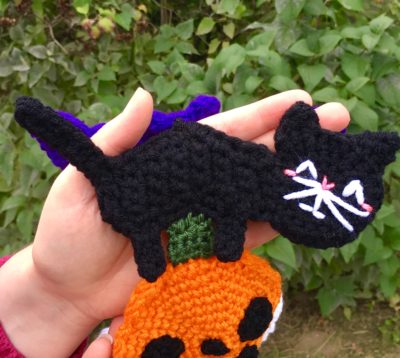
Join me next time for the LAST part of this Halloween Scarf CAL – the Black Cat!
COPYRIGHT: This pattern is owned by Crafty Kitty Crochet (Melissa Moore). Any reselling or distribution of this pattern is prohibited. Sale of items made using this pattern is welcomed, but I do ask that credit/a link be provided back to my site, craftykittycrochet.com.


Comments (1)
Halloween Scarf CAL (Crochet-Along) Part 4 – Black Cat! ~ Crafty Kitty Crochet
April 25, 2021 at 3:29 pm
[…] So, I present to you the final part in my Halloween Crochet-Along: the Black Cat! And following this pattern, stick around for the instructions on how to sew each character of your scarf together, in order to complete this ghoulishly good project we’ve been working on throughout October! (By the way, you can find the patterns for the other characters in this scarf in my previous posts – Pumpkin, Ghost, and Bat!) […]