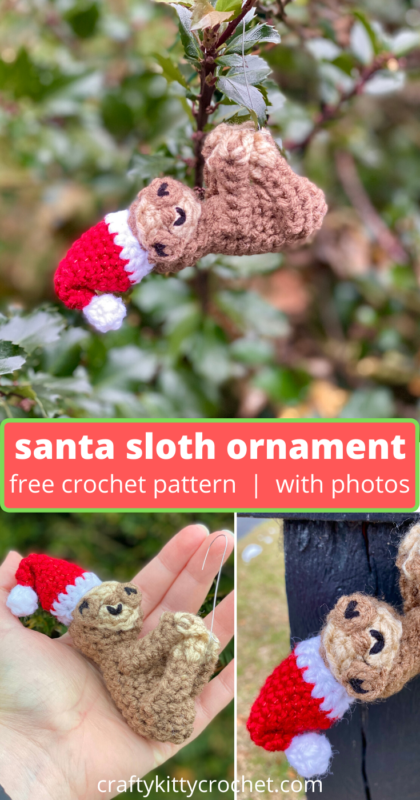
12 Weeks of Christmas: Santa Sloth Crochet Pattern
Forget the stress and rush of the holiday season; take notes from this relaxed and cheerful sloth and treat yourself to a few minutes of rest and crocheting! This fun little sloth is small, cute, and will look great on your Christmas tree! Or how about making this as a gift for that person in your life who needs to take a break and get some rest? What a fun idea with a thoughtful message! It’s a great DIY craft that you can make quickly and that looks adorable when finished!
Pin it for later!
Sloths have become such popular animals in drawings, memes, etc. in recent years. And why not? They’re cute to look at and fun to design! This crochet pattern only uses a few basic stitches and works up fairly fast for an amigurumi pattern. Since sloths don’t have tails or a lot of other extra appendages, you only need to focus on sewing on the little guy’s arms, legs, face and hat! Nice and simple!
Another reason I love the idea of crocheting a holiday sloth is because I think it’s important to remember to relax, take a break from all the hustle and bustle, and enjoy the season! This time of year can be really stressful for many. How about taking some “me” time to sip some hot cocoa and crochet a fun little sloth?!
I’ve crocheted sloths before (still working on polishing another sloth pattern I designed a while back!!) and fell in love with this awesome color combo that is just perfect for sloths! I used Red Heart Super Saver in Cafe Latte (on Amazon HERE) and Red Heart Super Saver in Buff (on Amazon HERE
) and I’m so happy with the results! To top it all off, I used an all-time favorite yarn of mine, Caron Simply Soft Party, in Red Sparkle (on Amazon HERE
) for the sparkly Santa hat. It doesn’t get much more Christmas-y than a glittery Santa hat!!!
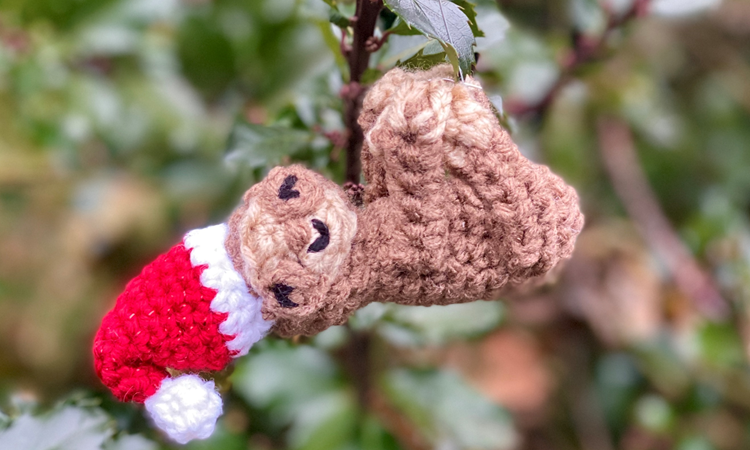
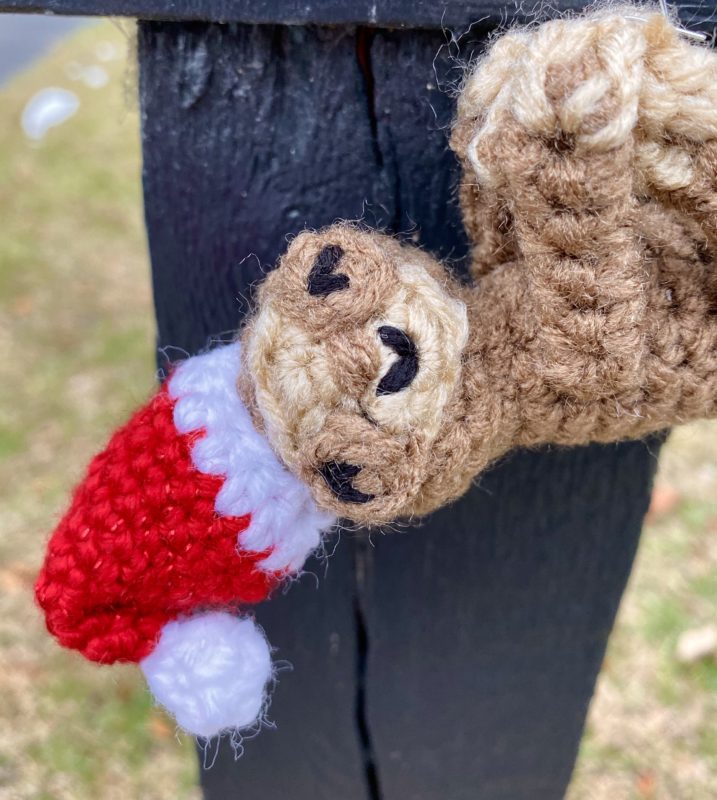
What’s the cutest part about this ornament? For me, it has to be that the idea of a sloth ornament is so perfect, since sloths can often be seen hanging off branches in the wild! You could make an entire forest of tiny sloths hanging off your tree with this pattern!
So who’s ready to chill out during this chilly time of year, and make a sweet little Santa Sloth? I know I am – let’s get started!!!
Supplies
Size D-3 / 3.25 mm crochet hook
1 skein each of Red Heart Super Saver in Café Latte, Buff and White
Small amount of Red Heart Super Saver in Black for eyes and smile
1 skein of Caron Simply Soft Party in Red Sparkle
Fiberfill stuffing
Yarn Needle
Scissors
Ornament hook or small amount of yarn for hanging
Abbreviations
Beg = beginning
Ch = chain
Hdc = half double crochet
Rep = repeat
Rnd(s) = round(s)
Sc = single crochet
Sc2tog = single crochet 2 together
St(s) = stitch(es)
Gauge
Exact gauge is not essential to this project.
Size
About 5 inches (including Santa Hat)
Instructions
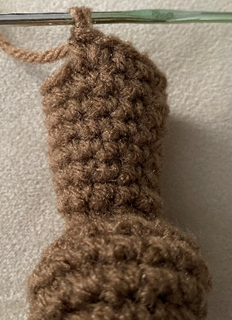
Head & Body
This piece is worked in continuous rnds; do not join. You may wish to use a stitch marker and move it up at the beg of each new rnd.
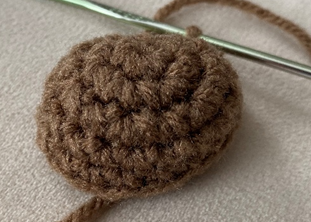
Rnd 1 – with Café Latte, make a magic ring. 6 sc in ring (6 sc)
Rnd 2 – 2 sc in each st around. (12 sc)
Rnd 3 – 2 sc in next st, sc in next st; rep around (18 sc)
Rnds 4 – 5 – sc in each st around. Stuff head at the end of Rnd 5 (18 sc)
Rnd 6 – sc2tog over next 2 sts, sc in next st; rep around (12 sc)
Rnd 7 – sc2tog in each st around (6 sc)
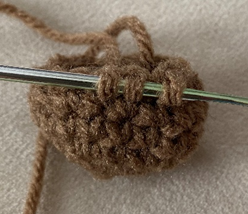
Rnd 8 – 2 sc in each st around (12 sc)
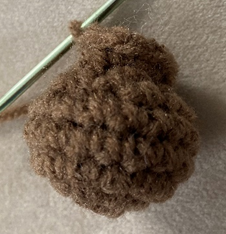
Rnds 9 – 14 – sc in each st around (12 sc)
Rnd 15 – sc in next 5 sts, 2 sc in next st, sc in next 4 sts, sc2tog over next 2 sts (12 sc)
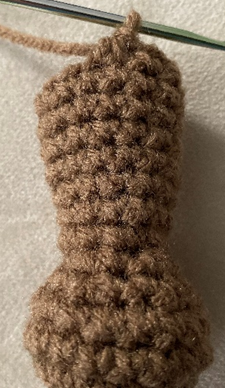

Rnd 16 – rep Rnd 15. Stuff Body (12 sc)
Rnd 17 – sc2tog in each st around. Finish stuffing (6 sc)
Rnd 18 – sc2tog two times; leave rem sts unworked. (4 sc)
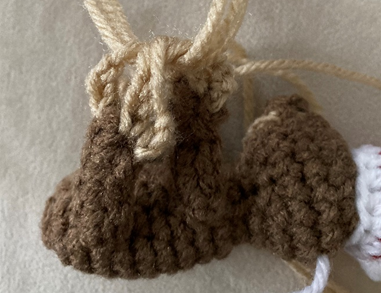
Fasten off, leaving tail for sewing rem gap from end of Rnd 18.
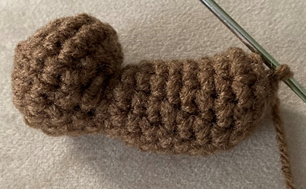
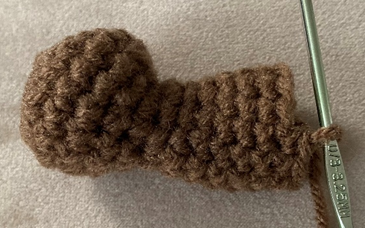
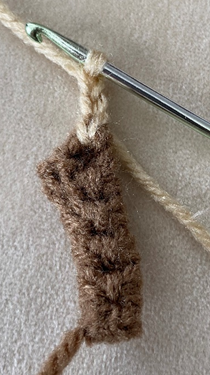
Arm/Leg (make 4)
With Café Latte, ch 6.
Row 1 – sc in 2nd ch from hook and in each st across. Ch 1, turn (5 sc)
Row 2 – sc in each st across. Ch 1, turn (5 sc)
Row 3 – rep Row 2; do not ch 1 at end of row (5 sc)
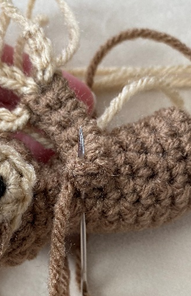
Fasten off, leaving long tail for sewing. Fold Arm/Leg lengthwise and sew together.

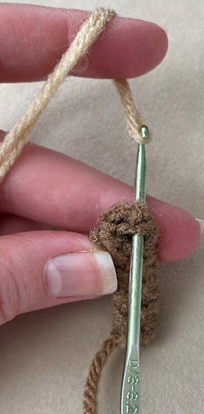
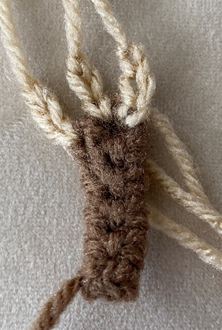
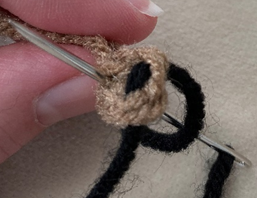
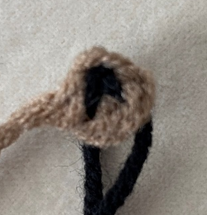
Hand
Attach Buff at one end of Arm/Leg, ch 3. Fasten off, leaving long tail. Rep twice for 3 total fingers/claws.
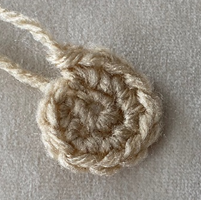
Face
This piece is worked in continuous rnds; do not join. You may wish to use a stitch marker and move it up at the beg of each new rnd.
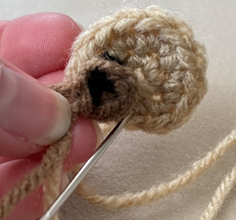
Rnd 1 – with Buff, make a magic ring. 6 sc in ring (6 sc)
Rnd 2 – 2 sc in each st around. (12 sc)
Fasten off, leaving long tail for sewing.
Eye Patch (make 2)
With Café Latte, make a magic ring, 3 sc in ring (3 sc)
Fasten off, leaving long tail for sewing.
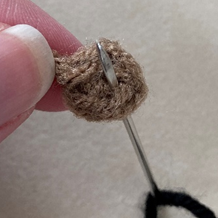
Embroidering Eye
With Black on yarn needle, make a small upside down “v” on Eye Patch. Tie off ends on back of Eye Patch.
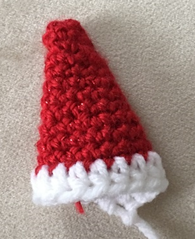
Santa Hat
This piece is worked in continuous rnds; do not join. You may wish to use a stitch marker and move it up at the beg of each new rnd.
Rnd 1 – With Red Sparkle, make a magic ring; 6 sc in ring (6 sc)
Rnds 2 – 3 – sc in each st around. (6 sc)
Rnd 4 – sc in next st, 2 sc in next st; rep around (9 sc)
Rnds 5 – 6 – sc in each st around (9 sc)
Rnd 7 – sc in next 2 sts, 2 sc in next st; rep around (12 sc)
Rnds 8 – 9 – sc in each st around (12 sc)
Rnd 10 – sc in next 3 sts, 2 sc in next st; rep around (15 sc)
Rnds 11 – 12 – sc in each st around. Attach White in last st of rnd (15 sc)
Rnd 13 – hdc in each st around. (15 hdc)
Fasten off, leaving long tail for sewing.
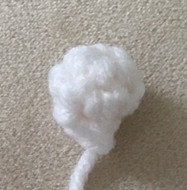
Hat Puff
This piece is worked in continuous rnds; do not join. You may wish to use a stitch marker and move it up at the beginning of each new rnd.
Rnd 1 – With White, make a magic ring; 6 sc in ring (6 sc)
Rnd 2 – sc in each st around. (6 sc)
Rnd 3 – sc2tog around. (3 sc)
Fasten off, leaving long tail for sewing.
Finishing
Sew Eyes to Face.
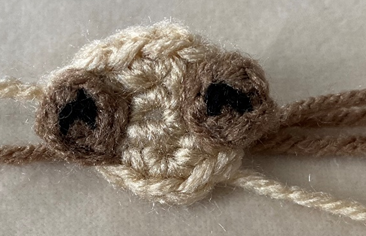
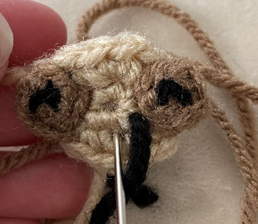
With Black, make a small “v” between Eyes for Smile. With Café Latte, sew small lines above Smile for Nose.
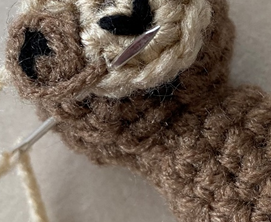
Sew Face to Head.
Sew Arms and Legs to sides of Body.
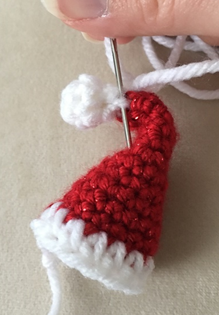
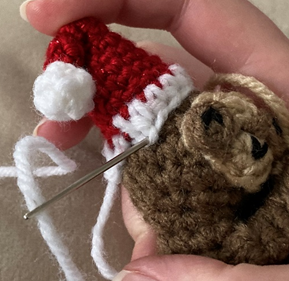
Sew Hat Puff to Santa Hat. Fold Hat slightly at tip and use rem yarn tail from Hat Puff to sew in place through middle of Santa Hat (hide yarn tail inside of hat or weave in ends). Sew Santa Hat to Head.
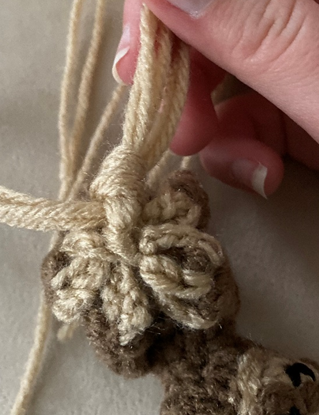
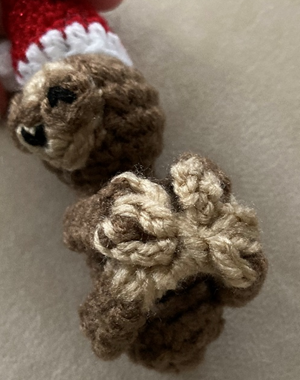
Tie front arm and leg together using leftover tails from Hands. Repeat on back arm/leg. Tie both pairs together. Tie again, angling yarn ends towards underneath arms/legs, so that when yarn is trimmed, the knot does not show as much.
Weave in or tie off (and hide inside sts) any rem ends.
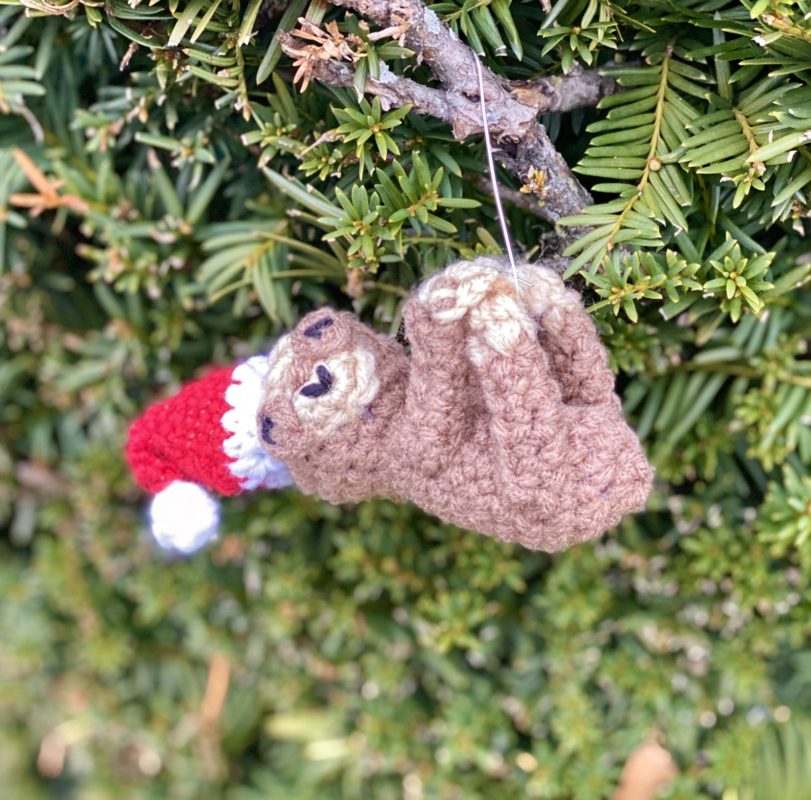
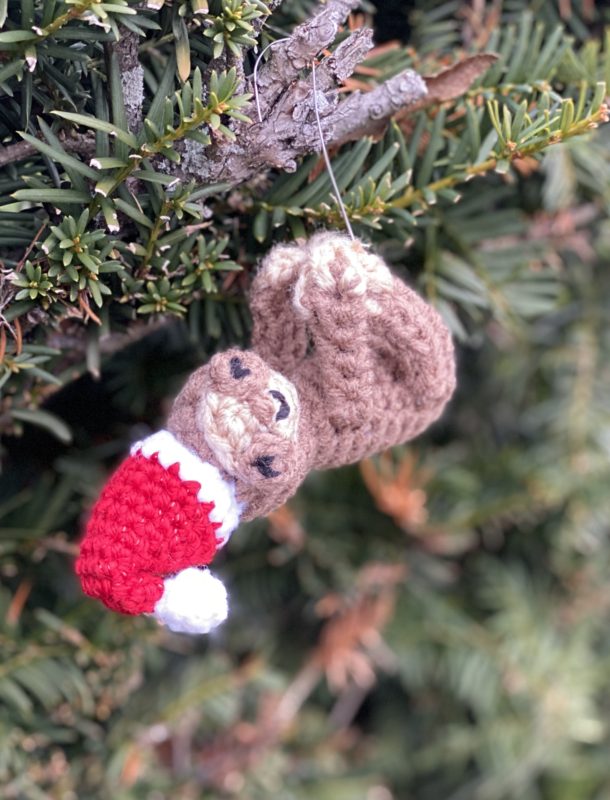
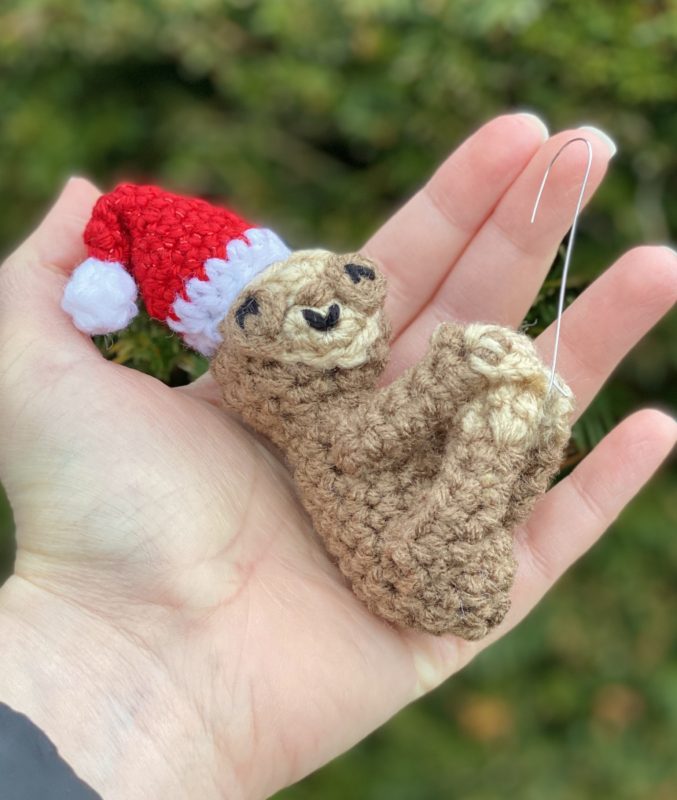
Here is the finished Sloth!
I hope you had fun crocheting this Santa Sloth along with me! If you love fun, free crochet patterns, please be sure to subscribe to my email list and follow me on social media. I have a ton more cute patterns like this one coming soon!!!
Happy Crocheting!
COPYRIGHT: This pattern is owned by Crafty Kitty Crochet (Melissa Moore). Any reselling or distribution of this pattern is prohibited. Sale of items made using this pattern is welcomed, but I do ask that credit/a link be provided back to my site, craftykittycrochet.com.