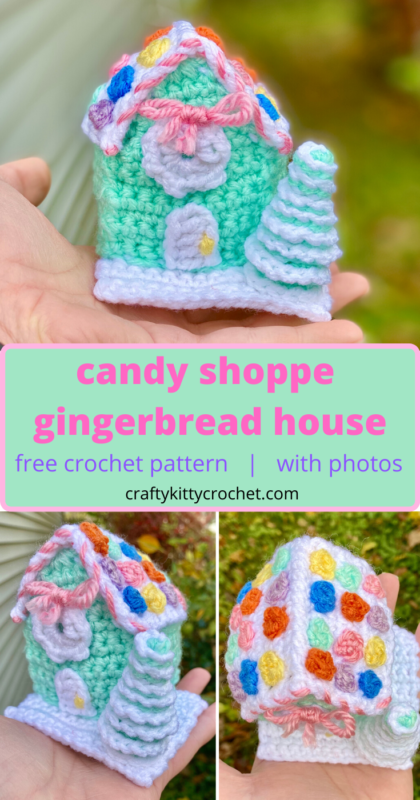
12 Weeks of Christmas: Candy Shoppe Gingerbread House Ornament
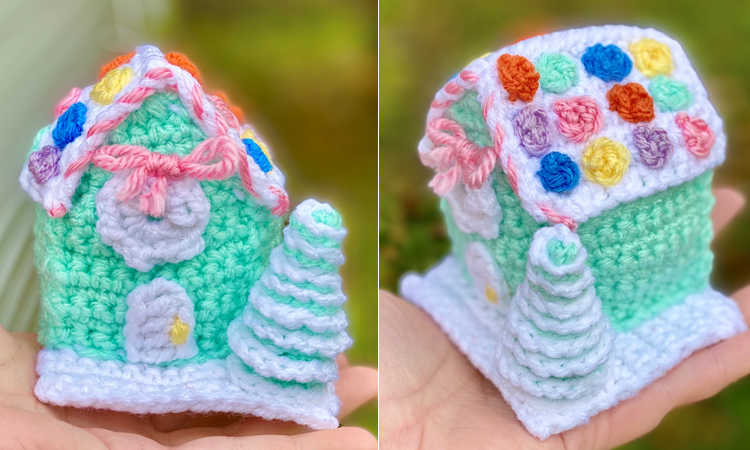
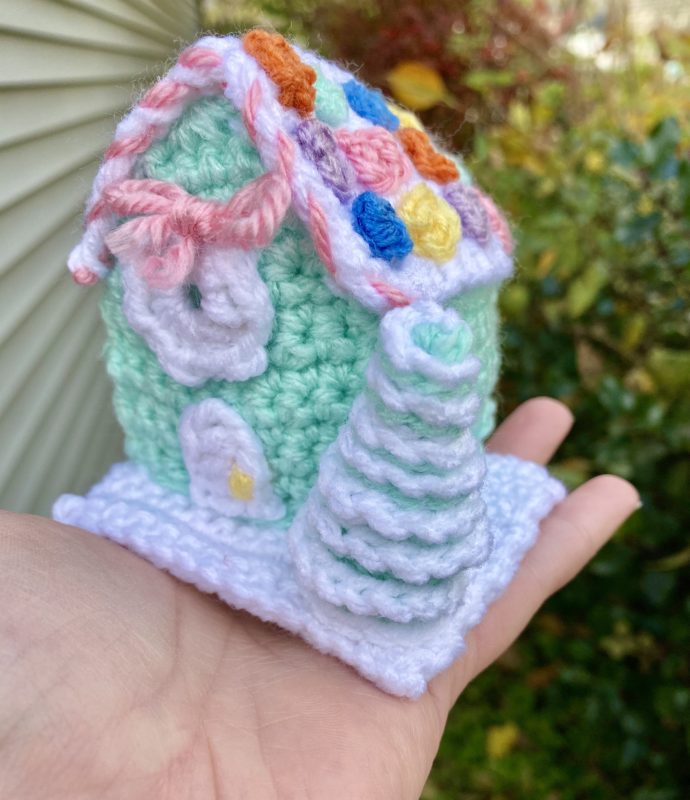
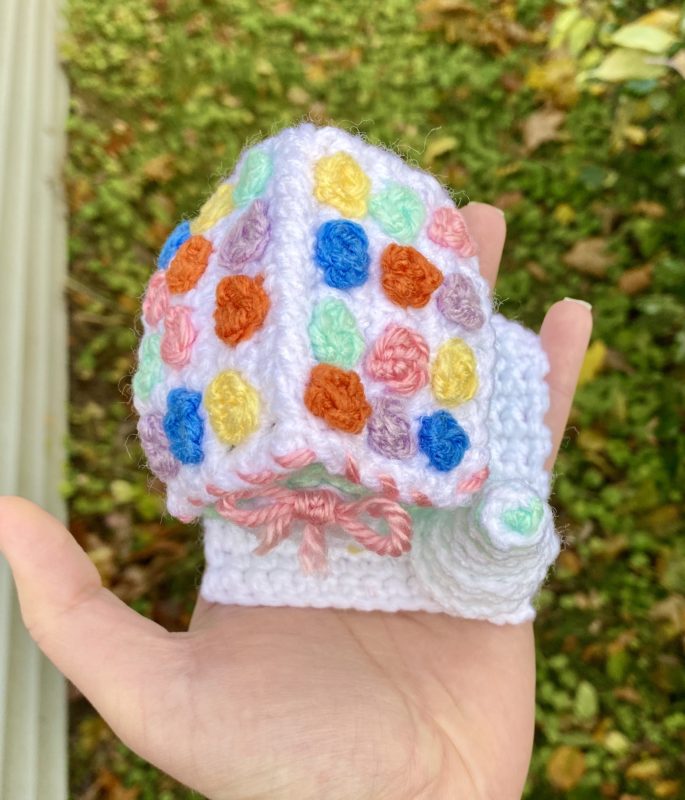
The holidays bring with them so much joy and sweetness – and literal sweetness is no exception! Inspired by the sugar rush that comes each Christmas, this Candy Shoppe Gingerbread House is decorated in colorful pastels and is just as sweet as can be! The pattern is easy and only uses a few different crochet stitches, so there’s no need to stress when it comes to making the perfect DIY tree ornament!
The inspiration for this gingerbread house happens to be “kawaii” aesthetic. Kawaii is a Japanese word that means “cute”, and the word is widely known as a style of pop culture that includes fashion, food, etc. I often see colorful pastels associated with kawaii aesthetic, so I decided to make this gingerbread house in all pastels! Not only is it part of a style that I truly enjoy, but it’s also a little different from a traditional gingerbread house, which means it will really pop out when put near most Christmas decor!
Pin it for later!
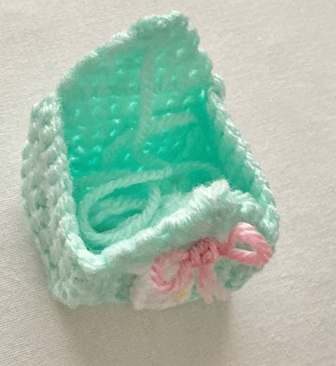
Instead of making just the house, I also decided to make a small base / platform for the ornament so that there would be room for a tiny tree. I made the tree the same color as the house, since it was a shade of green, but I also decided to make “snow” using a very simple repetition of the slip stitch. I love the end results!!!
So how did I achieve that bright, cheery pastel look? A lot of it had to do with the yarn! I’ve had some Red Heart with Love in Minty (on Amazon HERE!) in my stash for a while, and I’ve been dying to use it! I also found that it was very well complimented by the vibrant pastel shade of pink – Red Heart Soft Essentials in “Rose” (on Amazon HERE
!). They’re both pastels, but are much brighter to look at than your average pastel shade!
This is such a cute and unique gift to give this holiday season! It works well for anyone who loves candy and sweets, has a “girly” style of fashion or decor, or even just for anyone who loves one-of-a-kind ornaments that you don’t see everyday! Since the pattern is very easy and works up fairly quickly, you could make one of these candy cuties for a whole bunch of people on your gift list!
Ready to whip up some sweet gingerbread goodness? Then let’s get started!!!!
Supplies
Size D-3 / 3.25 mm crochet hook
Red Heart With Love in Minty
Red Heart Soft Essentials in Rose
Red Heart Super Saver in White
Small amounts of Red Heart Super Saver in Lemon, Delft Blue, and Orchid
Small amount of Red Heart with Love in Mango
Fiberfill Stuffing
Yarn Needle
Scissors
Ornament hook or small amount of thread/yarn to hang
Abbreviations
*=indicates the beginning/end of a section to be repeated
BLO = back loop only
Ch = chain
Dc = double crochet
Rep = repeat
Rnd(s) = round(s)
Sc = single crochet
Sc2tog = single crochet 2 together
Sc3tog = single crochet 3 together
Sl St = slip stitch
St(s) = stitch(es)
Gauge
Exact Gauge is not essential to this project
Size
Finished ornament measures about 3 inches wide by 3 inches tall
Instructions
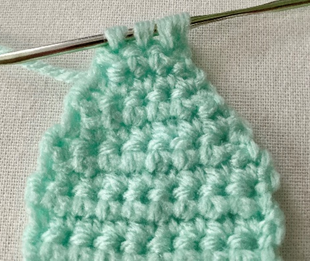
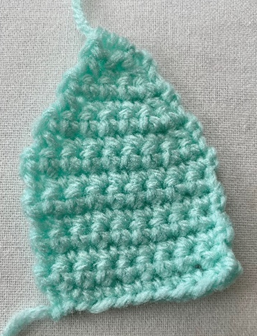
Front and Back of House (make 2)
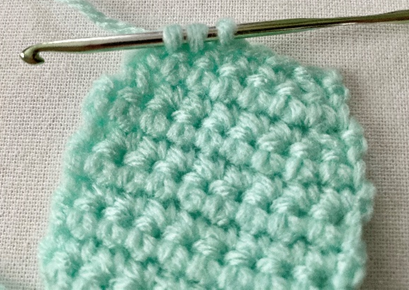
With Minty, ch 10.
Row 1 – sc in 2nd ch from hook, and in each st across. Ch 1, turn (9 sc)
Rows 2 – 8 – sc in each st across. Ch 1, turn (9 sc)
Row 9 – sc2tog over next 2 sts, sc in next 5 sts, sc2tog over last 2 sts. Ch 1, turn (7 sc)
Row 10 – sc in each st across. Ch 1, turn (7 sc)
Row 11 – sc2tog over next 2 sts, sc in next 3 sts, sc2tog over last 2 sts. Ch 1, turn (5 sc)
Row 12 – sc in each st across. Ch 1, turn (5 sc)
Row 13 – sc2tog over next 2 sts, sc in next st, sc2tog over last 2 sts. Ch 1, turn (3 sc)
Row 14 – sc3tog over next 3 sts. (1 sc)
Fasten off.
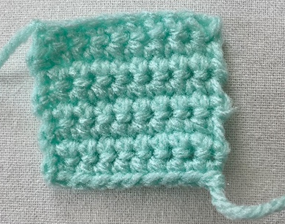
Side of House (make 2)
With Minty, ch 10.
Row 1 – sc in 2nd ch from hook, and in each st across. Ch 1, turn (9 sc)
Rows 2 – 8 – sc in each st across. Ch 1, turn; do not ch 1 at end of Row 8. (9 sc)
Fasten off, leaving long tail for sewing.
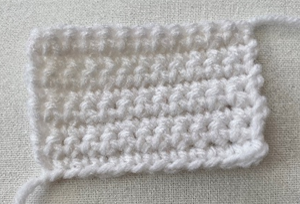
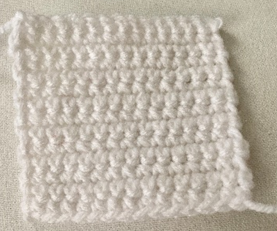
Roof (make 2)
With White, ch 13.
Row 1 – sc in 2nd ch from hook, and in each st across. Ch 1, turn (12 sc)
Rows 2 – 8 – sc in each st across. Ch 1, turn; do not ch 1 at end of Row 8. (12 sc)
Fasten off, leaving long tail for sewing.
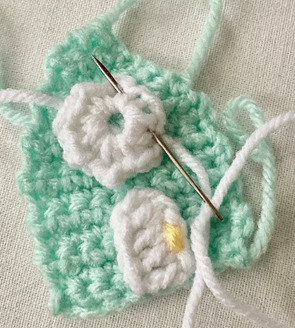
Wreath
With White, ch 5. Join with sl st to first ch.
Rnd 1 – Ch 1, *sc in ring, ch 2.* Rep from * to * 6 more times. Join with sl st to first sc of rnd. (7 sc)
Fasten off, leaving long tail for sewing.

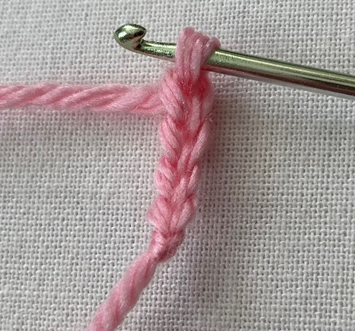
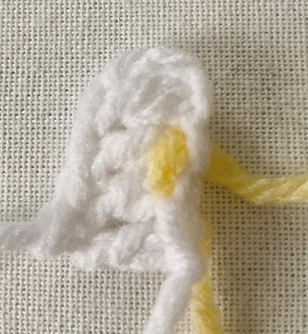
Door
With white, ch 6.
Row 1 – dc in 3rd ch from hook, and in each st across. (4 dc)
Fasten off, leaving long tail for sewing.
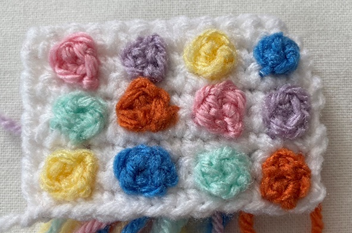
Candy (make 24 total – 12 per each side of roof)
With Lemon, Minty, Rose, Delft Blue, Mango, or Orchid, ch 4. Sl st into first ch.
Fasten off, leaving long tail for sewing.

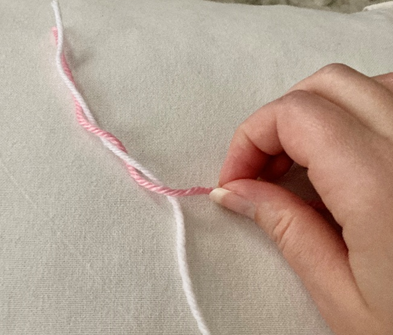
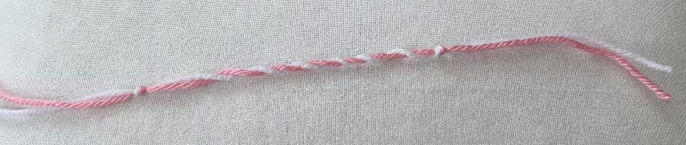
Peppermint Stripe
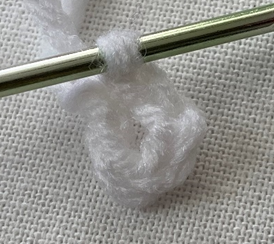
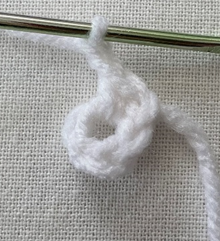
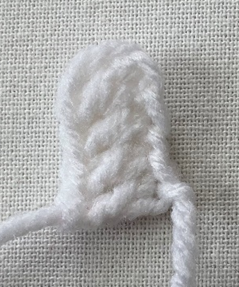
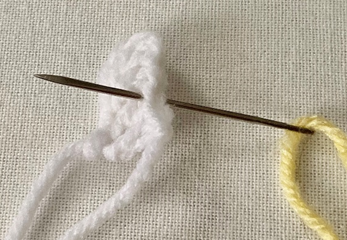
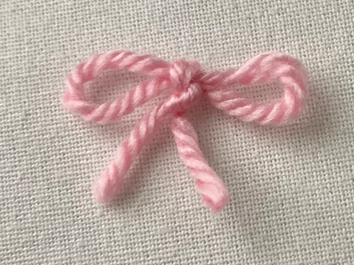
With about 7 inches of White and Rose, tie a knot at one end and begin twisting yarn. Continue to twist until about 3 – 3.5 inches from the end of piece is reached (or however much is needed to cover the shape of the front of the Roof), then tie a secure knot. If piece starts to untwist, twist both ends in opposite directions to tighten the shape of the twist.
Base
With White, ch 15.
Row 1 – sc in 2nd ch from hook, and in each st across. Ch 1, turn (14 sc)
Rows 2 – 14 – sc in each st across. Ch 1, turn; do not ch 1 at end of Row 14. (14 sc)
Fasten off, leaving long tail for sewing.
Tree
This piece is worked in continuous rnds; do not join. You may wish to use a stitch marker and move it up at the beginning of each new round. Note: all rounds starting with Rnd 2 are worked in BLO.
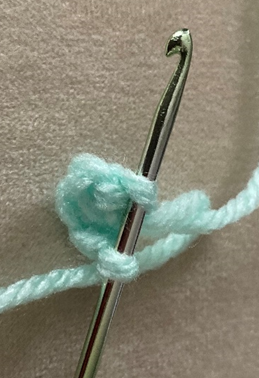
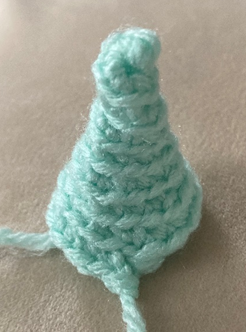
Rnd 1 – With Minty, make a magic ring. 4 sc in ring (4 sc)
Rnd 2 – sc in each st around. (4 sc)
Rnd 3 – 2 sc in next st; rep around (8 sc)
Rnd 4 – sc in each st around. (8 sc)
Rnd 5 – 2 sc in next st, sc in next st; rep around. (12 sc)
Rnd 6 – sc in each st around. (12 sc)
Rnd 7 – 2 sc in next st, sc in next 2 sts; rep around. (16 sc)
Rnd 8 – sc in each st around. (16 sc).
Fasten off Minty, leaving long tail for sewing.
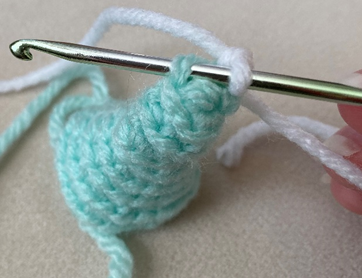
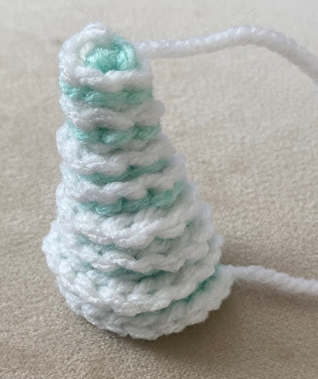
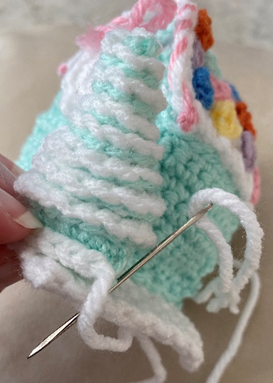
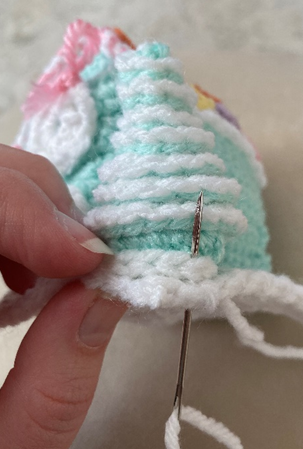
Attach White in rem loop (of sts worked in BLO) of first st from Rnd 2. Sl st in each rem loop around, down to bottom of Tree.
Fasten off.
Finishing
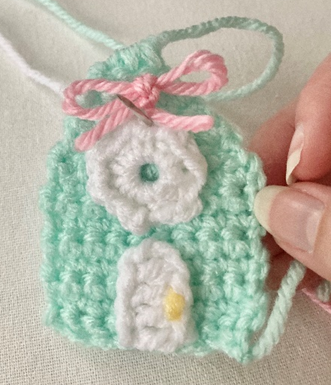
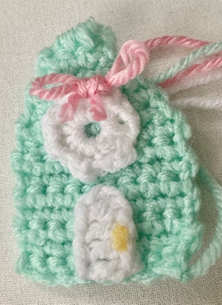
With Lemon, sew a few small vertical lines on Door for Door Knob. Sew Door to bottom of Front of House.

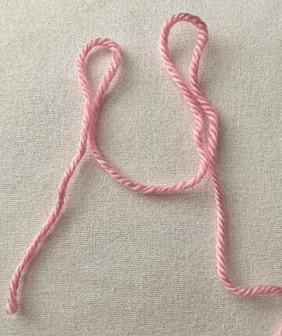
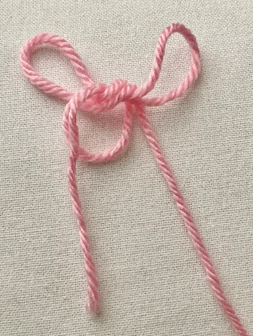
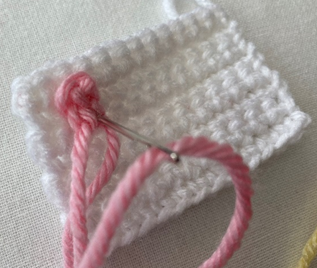
Sew Wreath to Front of House. Tie a bow using Rose and use a small amount of Rose to sew it on to Wreath (sew near center knot of Bow).
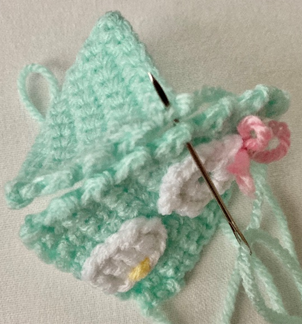
Sew one Side to Front of House, sew that side to Back of House, and sew rem Side to Back and Front of House.
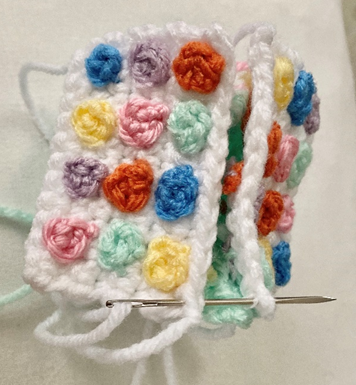
Sew 12 Candy pieces to each piece of Roof, alternating colors. Tie off ends on back of piece.
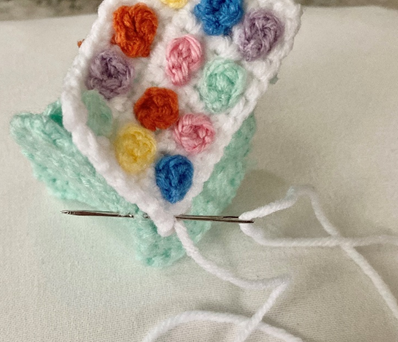
Sew one Roof piece to top of House, slightly overlapping edges of Roof piece with the rest of the House. Rep on other side and sew two Roof pieces together at peak of House.
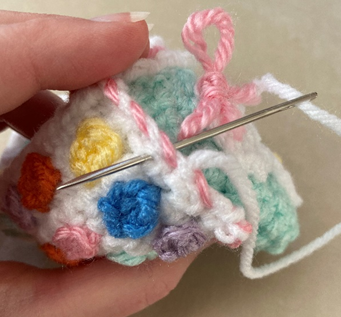
Sew Peppermint Twist to front of Roof, carefully weaving between twists so that tail you are sewing with does not cover twist motif.

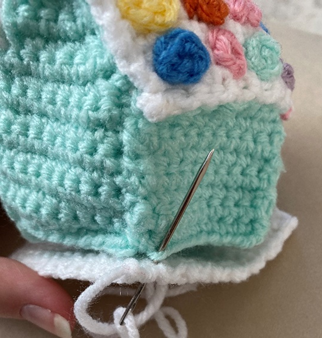
Stuff House lightly (do not overstuff!) and sew House to Base using long tail left over from fastening off Base, lining up back of house with back/corner of Base (so that room is left in front for sewing Tree).
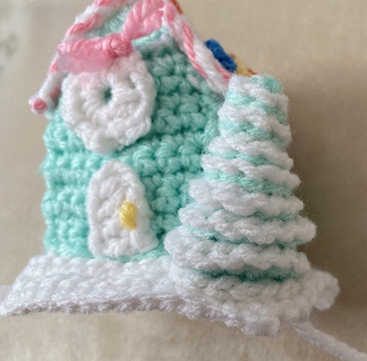
Using long tail left over from White edging on Tree, sew Tree to Base in opposite corner (in front of House).
Weave in all ends or tie knots and hide inside sts.
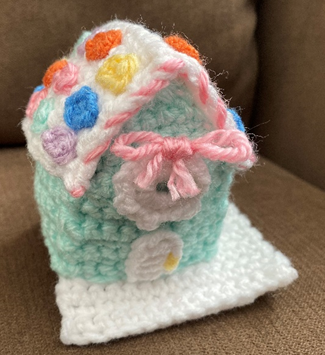
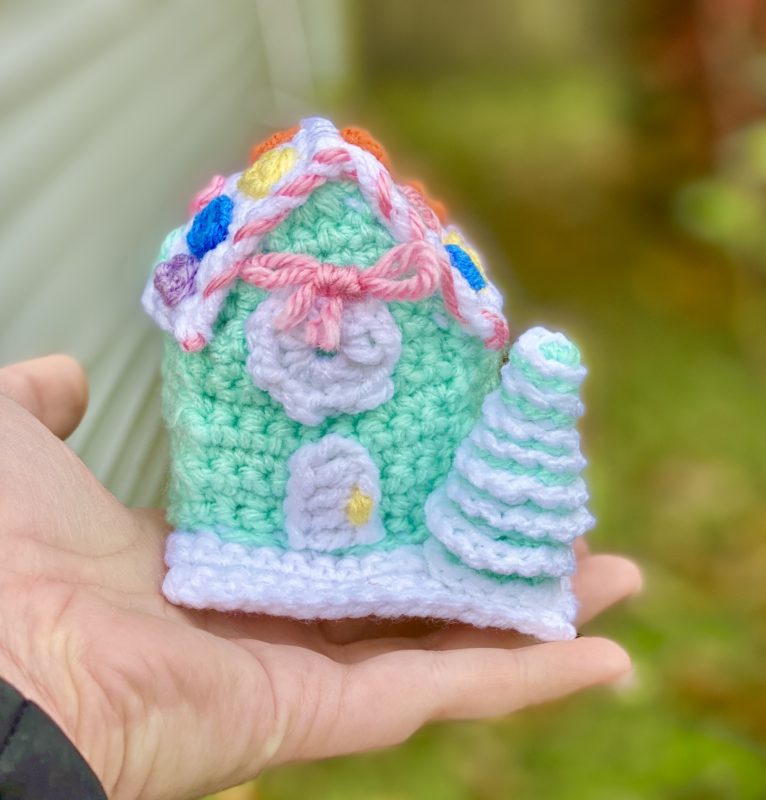
Here is the finished Gingerbread House!

I hope you enjoyed crocheting this Gingerbread House along with me! If you love fun, free patterns like this one, please be sure to subscribe to my email list and follow me on social media. I have lots more crochet patterns coming soon – seasonal, amigurumi, fashion, etc.!
Happy Crocheting!
COPYRIGHT: This pattern is owned by Crafty Kitty Crochet (Melissa Moore). Any reselling or distribution of this pattern is prohibited. Sale of items made using this pattern is welcomed, but I do ask that credit/a link be provided back to my site, craftykittycrochet.com.