
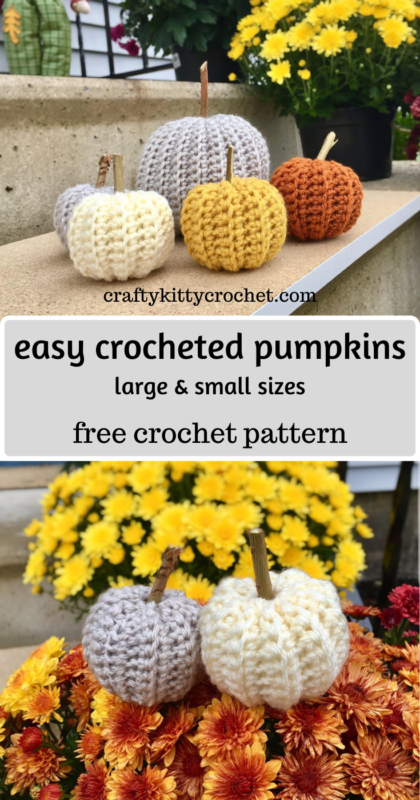
Easy Peasy Pumpkins – Free Crochet Pattern
Fall is blooming all around us right now – we are in the heart of October and that means leaves are turning bright colors, there’s a chill in the air, and everyone is buzzing with excitement for Halloween and Thanksgiving! There’s no better time to work up some fun, easy, and fast pumpkins. The pattern includes two different sizes, so you can decorate every space in your house with these little cuties!
Not an expert crocheter? No problem! This pattern uses the chain and single crochet stitches, and the whole piece is just one flat piece (no working in the round!) so it’s equivalent to just a practice swatch. Been crocheting for a while and just looking for a fun, easy project to use as a breather between more complex ones? Then you will love this pattern, too! It has something for everyone, and who doesn’t love a project that is just too cute with minimum effort??
(Pin it for later!)
This is also a great stash buster pattern. It doesn’t use much yarn at all (I think I used about 1/3 of a skein to make both a large and a small pumpkin). So if you have some leftovers that you’d like to turn into something beautiful that you can re-use each year, then look no further!
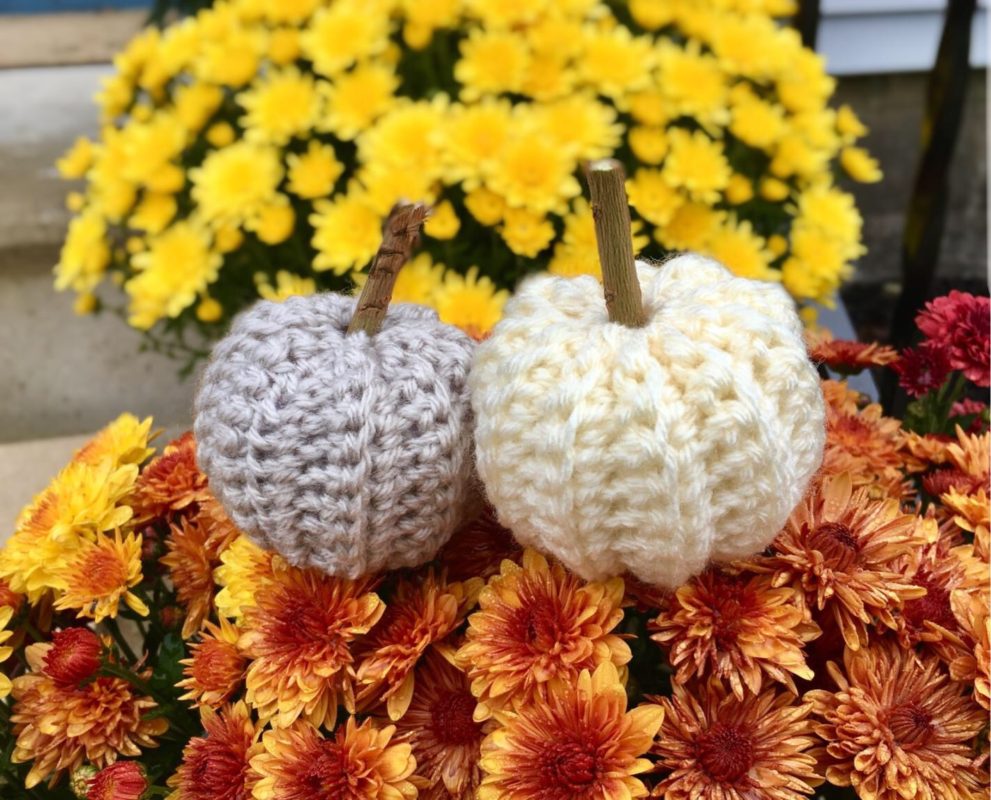
Speaking of yarn, I love how my pumpkins came out using Lion Brand Vanna’s Choice. If you’ve been reading my blog for a while, then you know it’s basically one of my favorite yarns! My style is usually more “kawaii” than “rustic”, but there’s something about fall that brings out the rustic lover in me. So I wanted some colors that would scream “farmhouse chic”. I think that “Mustard” (on Amazon HERE) and “Rust” (on Amazon HERE
) were made for rustic decor!!! Pair them up with gorgeous neutrals like “Linen” (on Amazon HERE
) and “Fisherman” (on Amazon HERE
) and you’ve got something that looks like it came out of a magazine about rustic decor!
This pattern is also really fun to customize! I used good old twigs from my front yard as the stem, but if you wanted to get fancy, these would be really pretty (and smell amazing) if cinnamon sticks were used as the twig. Speaking of scents, bonus points if you fill your pumpkins with aroma sachets along with the fiberfill stuffing!!!!
So who’s ready to “fall” in love with this pattern? I know I am! Let’s get started!!
Supplies
Size H-8 / 5.00 mm crochet hook
1 skein of Lion Brand Vanna’s Choice (or other medium weight yarn); colors used in photos are Linen, Fisherman, Rust, and Mustard
Fiberfill stuffing
Yarn needle
Scissors
Twig or Cinnamon Stick to use as Stem
Abbreviations
BLO = back loop only
Ch = chain
FLO = front loop only
Rem = remaining
Rep = repeat
Sc = single crochet
St = stitch
Gauge
Exact gauge is not essential to this project.
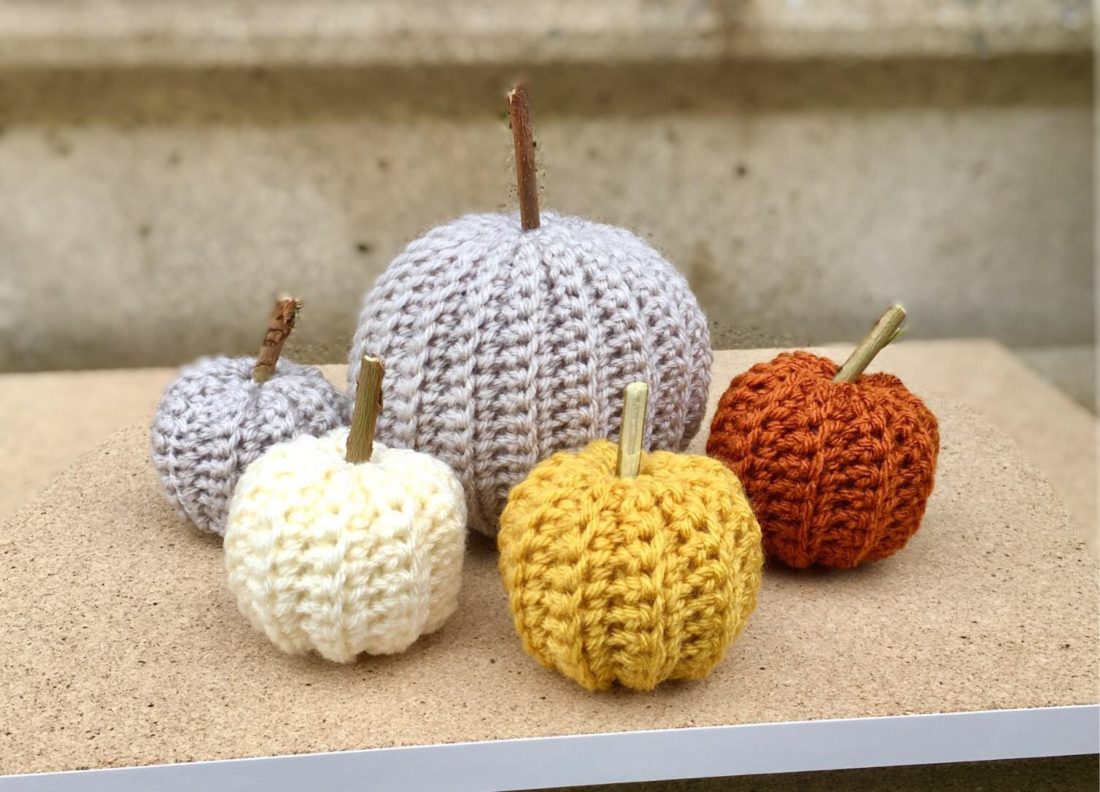
Size
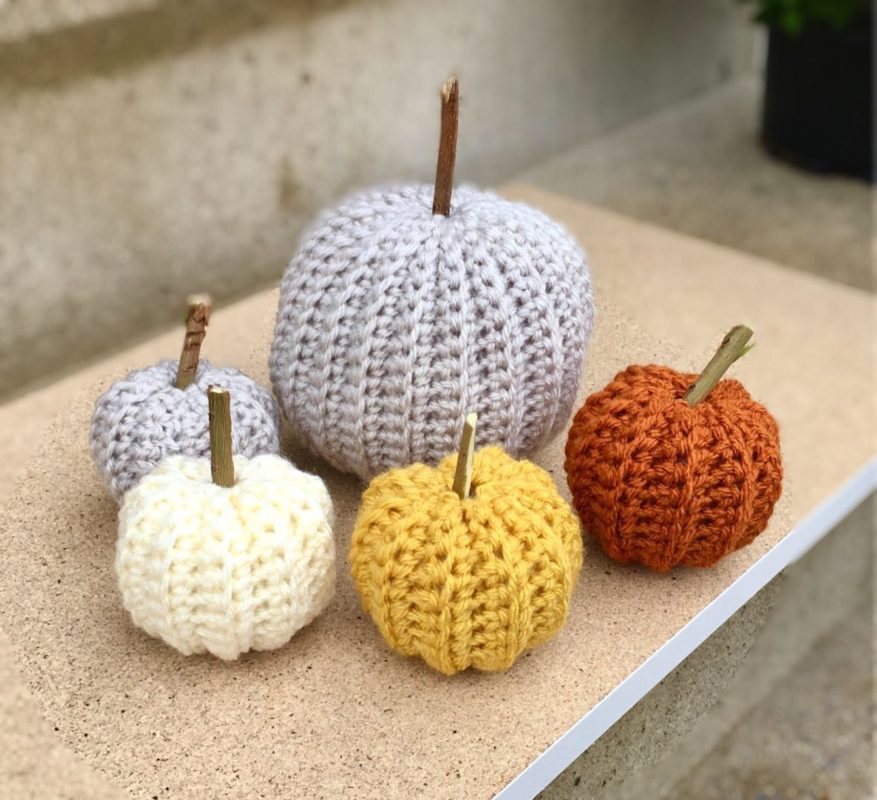
Large Pumpkin: about 4.5 inches wide; Small Pumpkin: about 2.5 inches wide
Instructions
Large Pumpkin
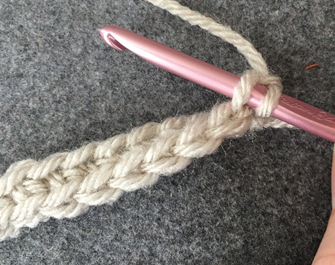
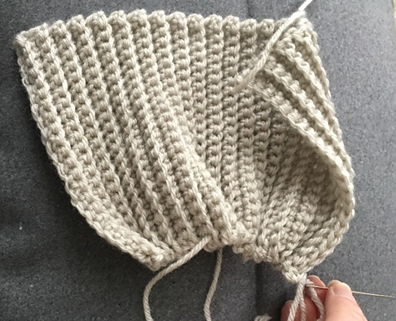
Ch 23.
Row 1 – sc in 2nd ch from hook and in each st across. Ch 1, turn (22 sc)
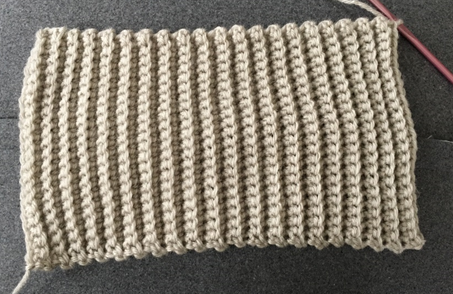
Rows 2 – 40 – working in BLO, sc in each st across. Ch 1, turn. Do not ch 1 at end of Row 40. (22 sc per row)
Fasten off, leaving long tail for sewing.
Small Pumpkin
Ch 12.
Row 1 – sc in 2nd ch from hook and in each st across. Ch 1, turn (11 sc)
Rows 2 – 20 – working in BLO, sc in each st across. Ch 1, turn. Do not ch 1 at end of Row 20. (11 sc per row)
Fasten off, leaving long tail for sewing.
Finishing
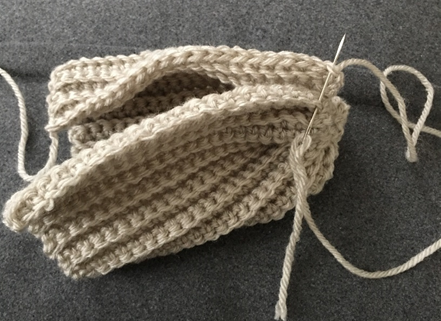
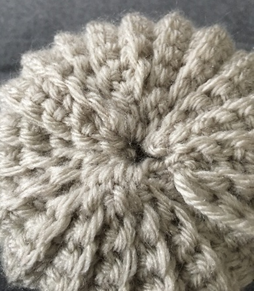
With long tail left over from fastening off on needle, gather entire bottom edge of Pumpkin on yarn needle. Pull tightly to cinch closed. Sew a knot to secure. Sew any rem gap closed with rem tail.
Sew two edges of Pumpkin together, working through BLO of edge closest to you, and FLO of edge furthest away from you.

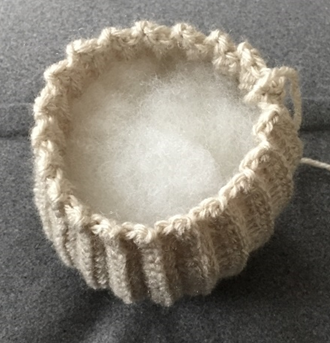
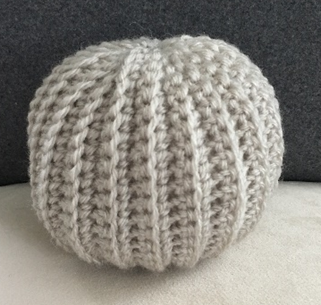
Turn inside out, stuff Pumpkin generously. Continue stuffing as top of Pumpkin is cinched in next step, if necessary.
Rep process used to cinch bottom of Pumpkin on top edge of Pumpkin. Pull to close, but leave a small gap for inserting Stem. Sew a knot to secure.
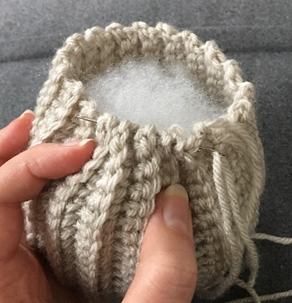
Weave in all ends.
Insert Stem into small opening at top of
Pumpkin.

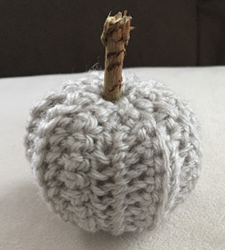
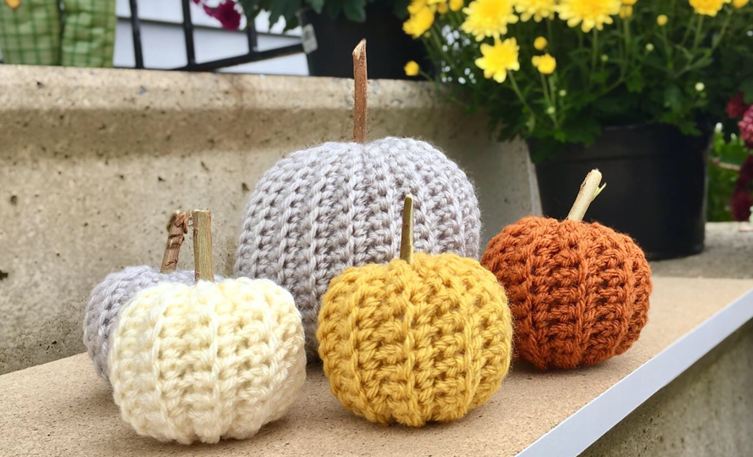
Here are some finished Pumpkins!
I hope you enjoyed crocheting these pumpkins along with me! If you love fun, free patterns, please be sure to subscribe to my email list and follow me on social media. I have lots more easy, fast, and fun crochet patterns coming your way soon!
Happy Crocheting!
COPYRIGHT: This pattern is owned by Crafty Kitty Crochet (Melissa Moore). Any reselling or distribution of this pattern is prohibited. Sale of items made using this pattern is welcomed, but I do ask that credit/a link be provided back to my site, craftykittycrochet.com.

Comments (2)
Pumpkin Placemats – Crochet Pattern ~ Crafty Kitty Crochet
October 10, 2020 at 5:12 pm
[…] I’ve released, such as my Pumpkin Messy Bun Beanie, Pumpkin Spice Latte Amigurumi, and Easy Peasy Pumpkins! But what if you want to incorporate pumpkins into your dining decor, as well? That’s where […]
Plushie Pumpkins – Crochet Pattern ~ Crafty Kitty Crochet
September 11, 2021 at 10:49 pm
[…] my almost-Halloween birthday! A few years ago I came up with a fun and easy pumpkin design: my Easy Peasy Pumpkins. They’re cute, fun, fast, and range from traditional to slightly rustic. This year, I decided to […]